Hope is the thing with feathers
That perches in the soul,
And sings the tune without the words,
And never stops at all – Emily Dickinson
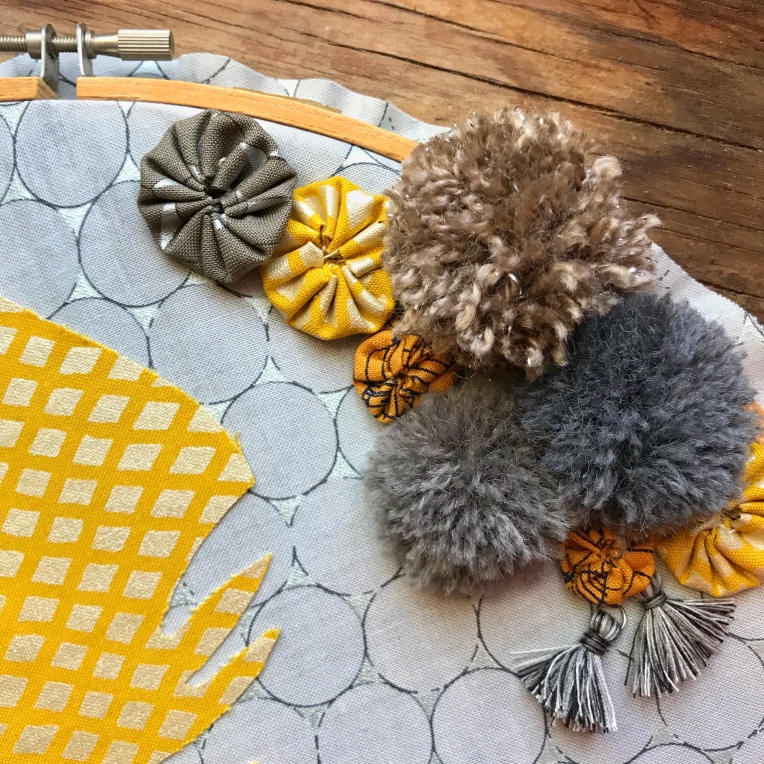
In my Cricut Maker post from yesterday, I promised to share with you the project that I made with my new machine.
I have to be completely honest and tell you that I wasn’t sure how much I would use my Maker, because I do so much hand embroidery and I very rarely use quilting or sewing patterns.
BUT, I have been completely sold with the one aspect of this machine. Something that I can see myself using over and over again: the FONTS! All 370 of them!
Working with fabric and embroidery, I have never found a great way to add fonts into my work. Sure, I’ve done it, but it has never been quite as easy as it was using Design Space and my Cricut Maker.
If you’ve been following along with me for awhile, you’ll know that it’s not a secret that I love to stitch feathers! I also wanted to work on a project that would be simple enough to show you how easy it is to cut fabric and shapes with my Maker, but that you could also envision this stitched up with your favorite fabric combinations!
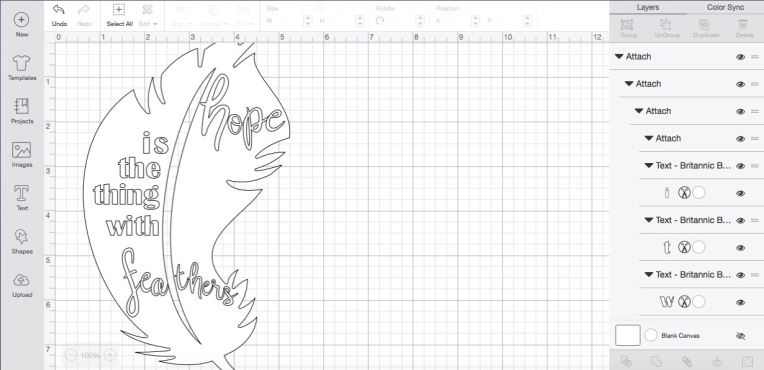
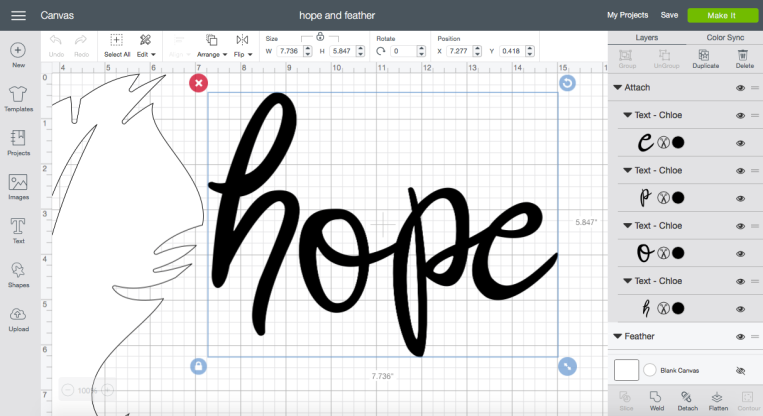
So here’s what the Design Space app looks like with a work in progress. You’ll see I have my word “hope” next to the feather that I’m also going to be using for the project. I was easily able to find a font that I liked, move and size each letter individually, and then attach them all together so that they would be cut out of one piece of fabric. An alternative to this would be to cut each letter out of a different fabric.
Remember how I told you yesterday that I would share my behind-the-scenes flubs? Well, this was a major one. When I first started working with the idea of combining a feather and the Emily Dickinson quote from above, I had much smaller font and the letters were going to be cut out of the feather. Great idea, right?! Look how fabulous it would have been!
But, it wasn’t fabulous.
Letters are great for the Maker to cut out of fabric with the rotary blade….when they are big enough. My first try had letters that were less than an 1″. It was a mess. I tried to separate the letters from the feather and made the mess worse. You don’t believe me, do you?
Well, here’s a picture to show just what a mess I made! Yes, it cut the words perfectly, but as I used the weeding tool (an awesome little Cricut tool!) to pull each one off the mat, the delicateness of the letters was not on my side and they shredded into an unusable mess of fabric!
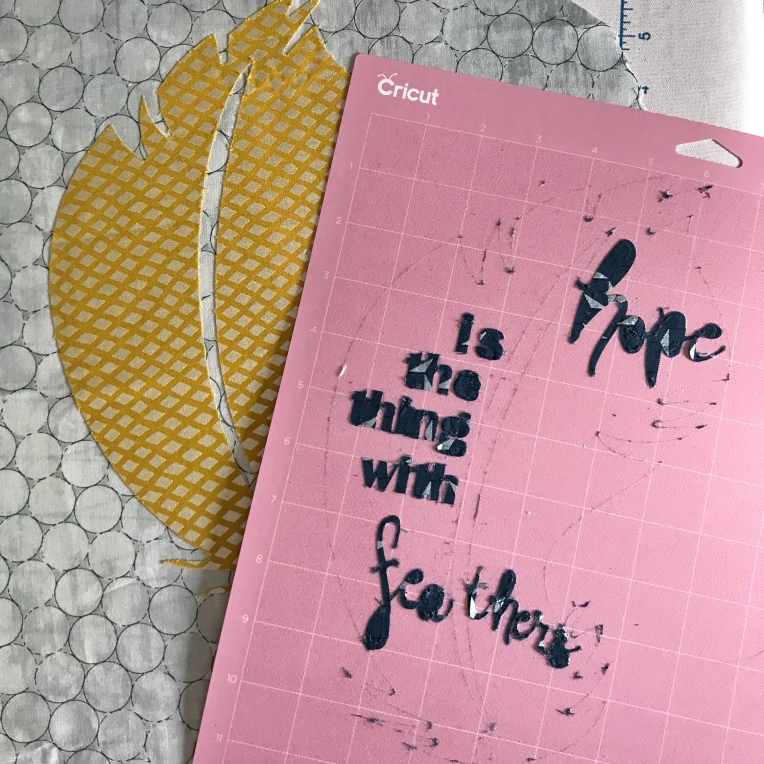
So, I knew that if I wanted the letters to work, they would have to be bigger and bolder. I have no problem adding big and bold to my work, but I needed to re-work the words cut out of the feather idea.
My second try went brilliantly! I cut the word “Hope” out of one fabric, weeded the letters from the fabric and was ready to move onto phase 2 of my project: adding them to the feather that I had already cut out.
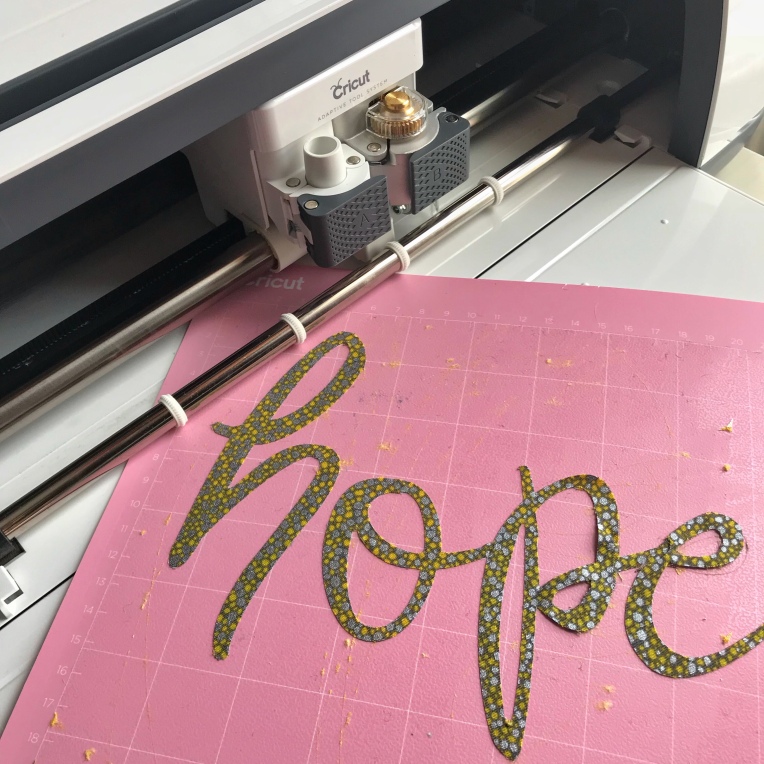
This pink mat that you see is the Fabric Mat which is designed to be used with the Maker. The Feather has been cut from the yellow fabric (all of the fabric you see here is by Jennifer Sampou)
And this shot shows the weeding tool I was talking about…it has a sharp edge and helps to pull the fabric pieces gently from the fabric/pattern/mat board. It isn’t strictly designed for fabric and can be super helpful when working with iron-on, vinyl, etc.
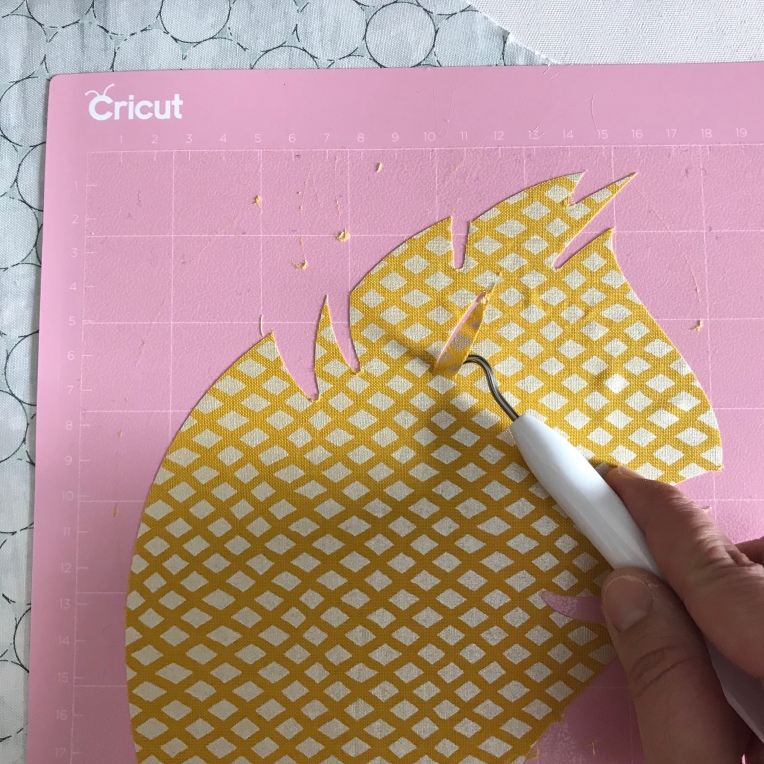

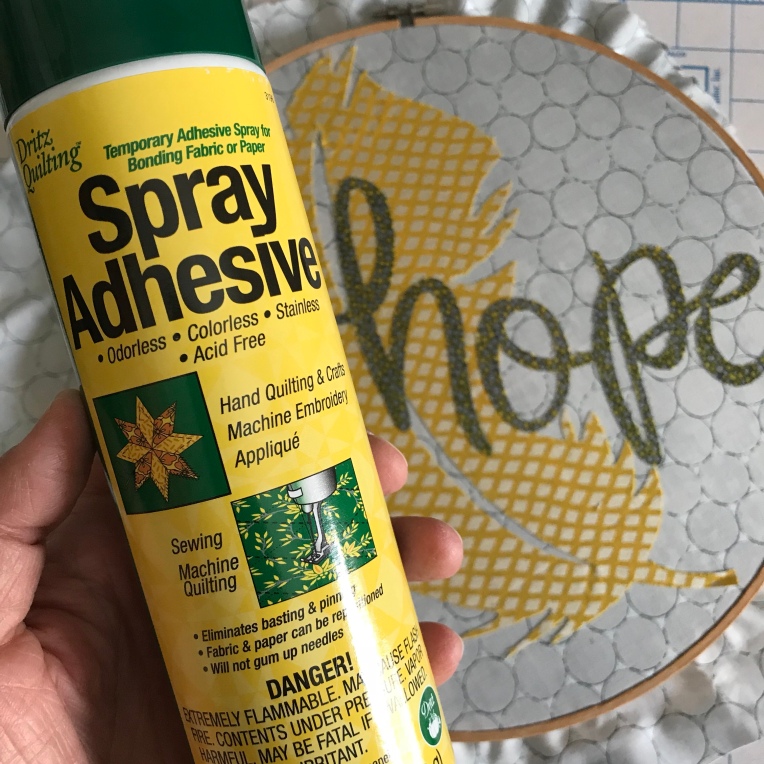
So there’s the feather, all cut out and ready to be attached! For both the feather and the words, I used this amazing (no, seriously!) product from Dritz Quilting. It is spray adhesive and can easily be found at your local craft store.
I sprayed the adhesive to the back side of the feather, pressed it into place with my hands on the background fabric and then did the same exact thing with the words. It is not a permanent hold, but rather a temporary one that keeps everything in place until you embroider your pieces to the fabric.
I can’t recommend this product enough!!! It is simple enough to stitch through and does not make your embroidery needles sticky…at all!
Are you ready to finally see my embroidered hoop?

For this project, I wanted to show how a simple design, cut from the Maker, could be embroidered and embellished and personalized with your choice of fabrics and colors.
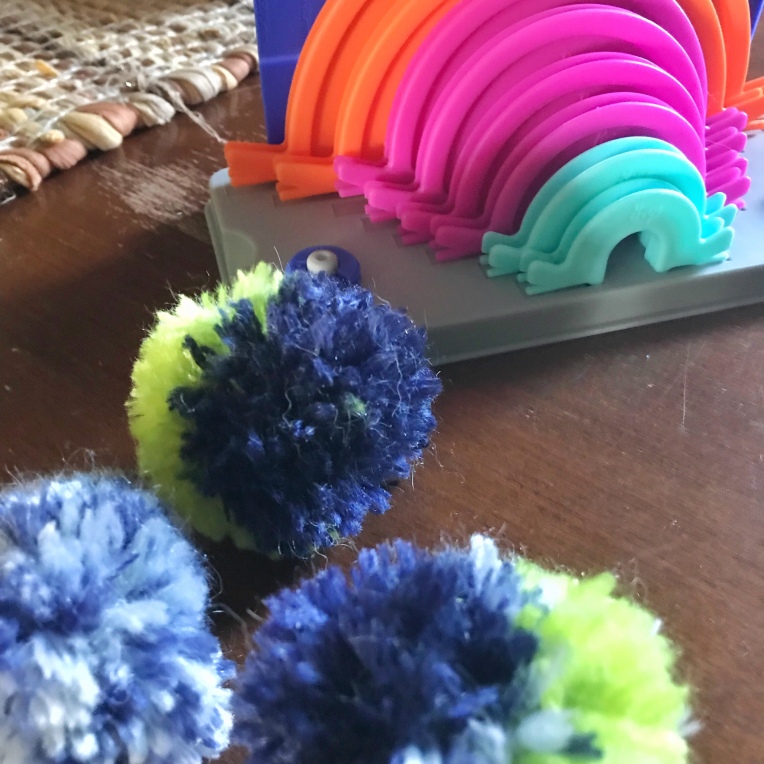
I have been on a Pom Pom making spree and to make the ones that I sewed onto this hoop, I used the Boye Pom Pom Tassel Maker. It is fun to coordinate the colors of your fabric with a yarn and even more fun to use a variegated yarn (like I used in the above picture).
The flowers on the lower corner of the hoop are paper embellishments that I found in the scrapbooking section of my local Michaels. I like to mix and match textures and paper is something you might not think to add to a hoop made with fabric!

So, a very simple project to make, made even simpler with the Cricut Maker!
If you are looking to replicate this project in Design Space, I used the Feather (#MC88B9C) from the Bohemian Wedding designs and the font is Chloe Whimsy.
You can easily change the size of both the feather and the letters to whatever hoop size you are working with. I used a 12″ hoop for this project.
This is a sponsored conversation written by me on behalf of Cricut. The opinions and text are all mine.
Great pictures and explanations. Appreciate that you included your flub! Thanks for your honest review.
LikeLiked by 1 person