I wish I could tell you that I love sewing something from a pattern, but in the interest of full disclosure, I’m going to tell you that it is one of my least favorite things to do!
What I do like to do, is stray outside of the lines and not have to worry about staying within the confines of a pattern!
So….when I was given the opportunity to work with one of Simplicity’s new patterns for the Cricut Maker, I hesitated and had to work myself up to giving this a try. I already knew that the machine would do much of the work…cutting the pieces, etc, but I wasn’t sure I was up for the challenge of following a pattern!
Because I have a soft spot for flowers, this Flower and Arrangement pattern caught my eye and I thought it might make a unique embellishment for a piece of hoop art. So, with reluctance (!), I accepted the challenge.

I’m going to walk you through this pattern, step by step, and I’ll give you a little hint about the process…it wasn’t as scary as I thought it was going to be!
Alright, let’s start this pattern!
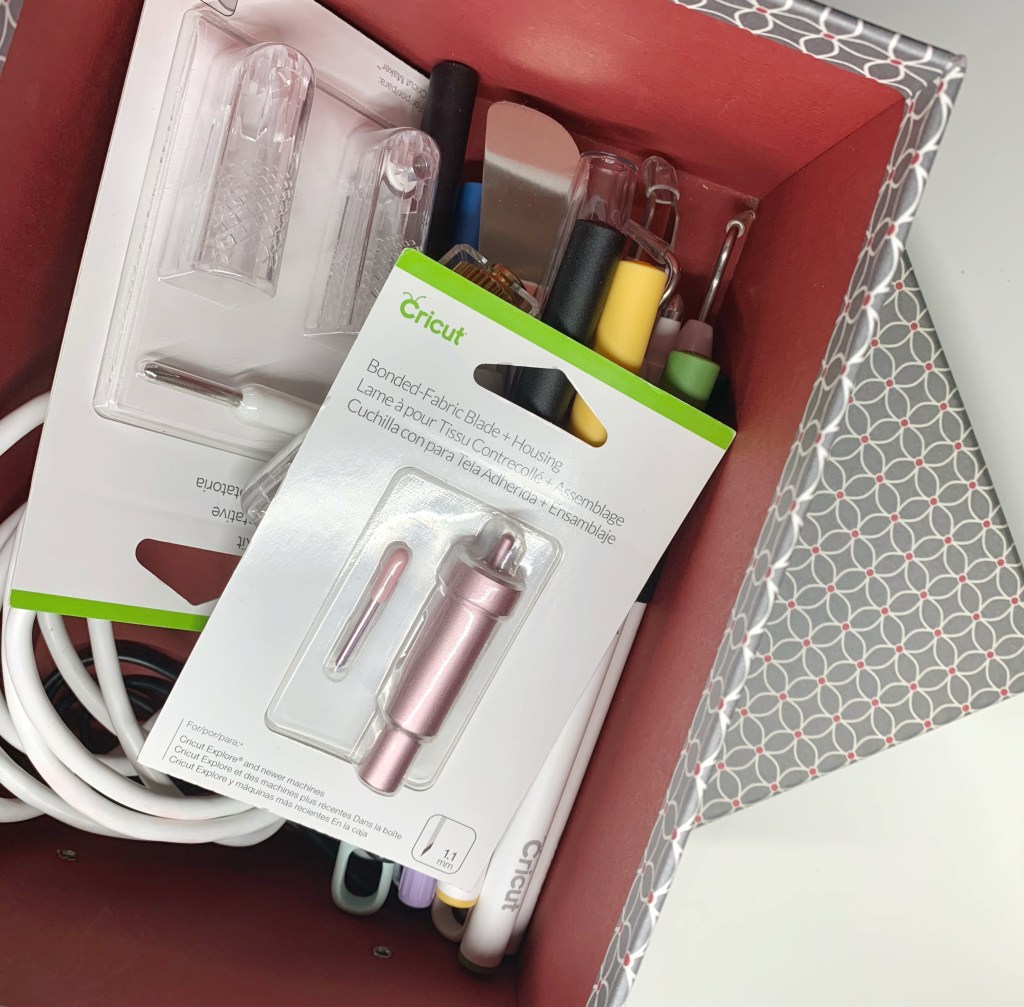
Step One: gather your Cricut materials and the Simplicity PDF pattern.

You will need the fabric mat, the rotary blade for cutting fabric and the washable fabric pen for marking the pattern pieces.
Step Two: gather your fabrics.
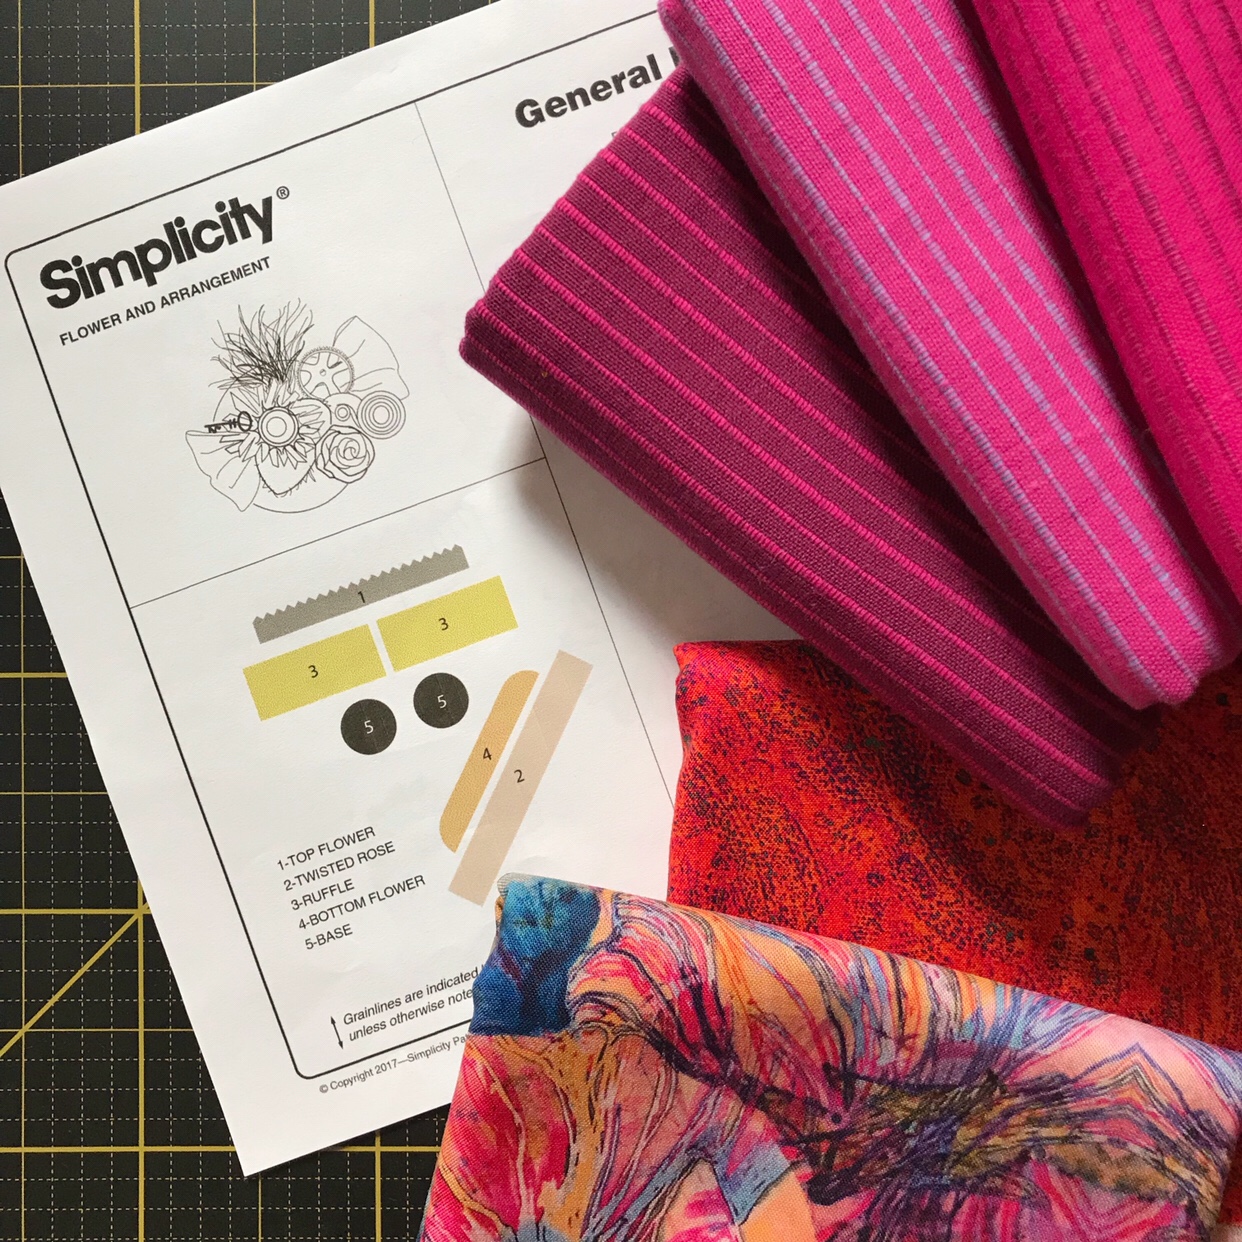
The pattern shows you the pieces that make up the flower. You can base your color choices off of that like I did my second time through.
I’ll be honest and tell you that I forgot to print the pattern directions first and so I just randomly picked colors from my pile of fabrics when it told me to insert a new mat!
It all turned out very pretty in the end but I would not recommend that you use my method!!
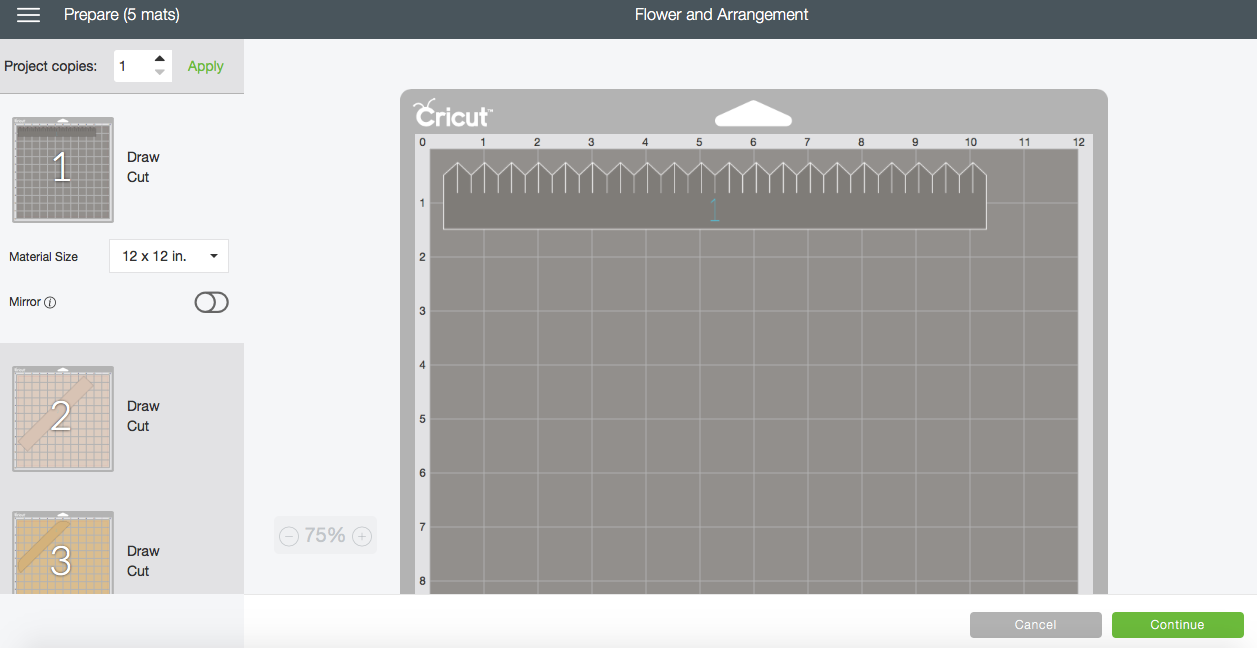
So, you’ve read through the pattern (well done, you!) and you’ve chosen your fabrics. It’s time to move on to Step Three: Let the machine do the work for you!
The screen shot shows you what you will see in Design Space. From this point on, you will just be putting the correct fabrics on the mats and the machine will do everything else!
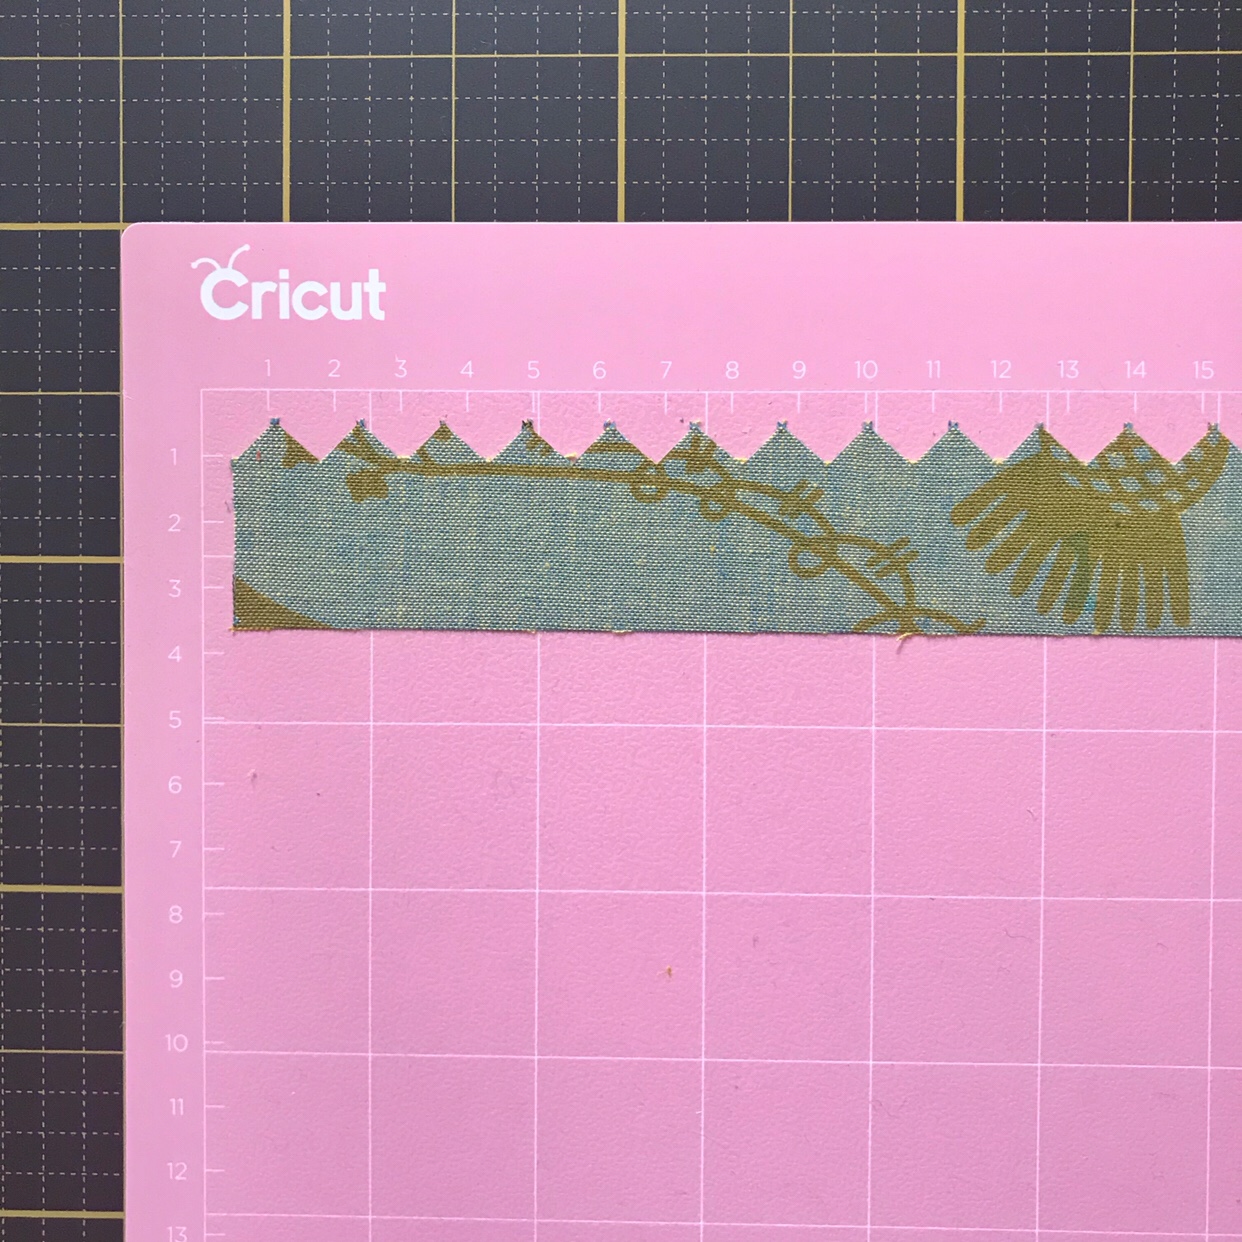
The rotary blade and washable pen are in position and my fabric is ready to be cut!

Check this out: do you see all of those perfect little points that have been cut out? Yup, the machine did that, not me!
Step Four: continue letting the machine do the work! How easy is that?!
You will soon end up with a tidy little pile of cut pieces, just like what you see below!
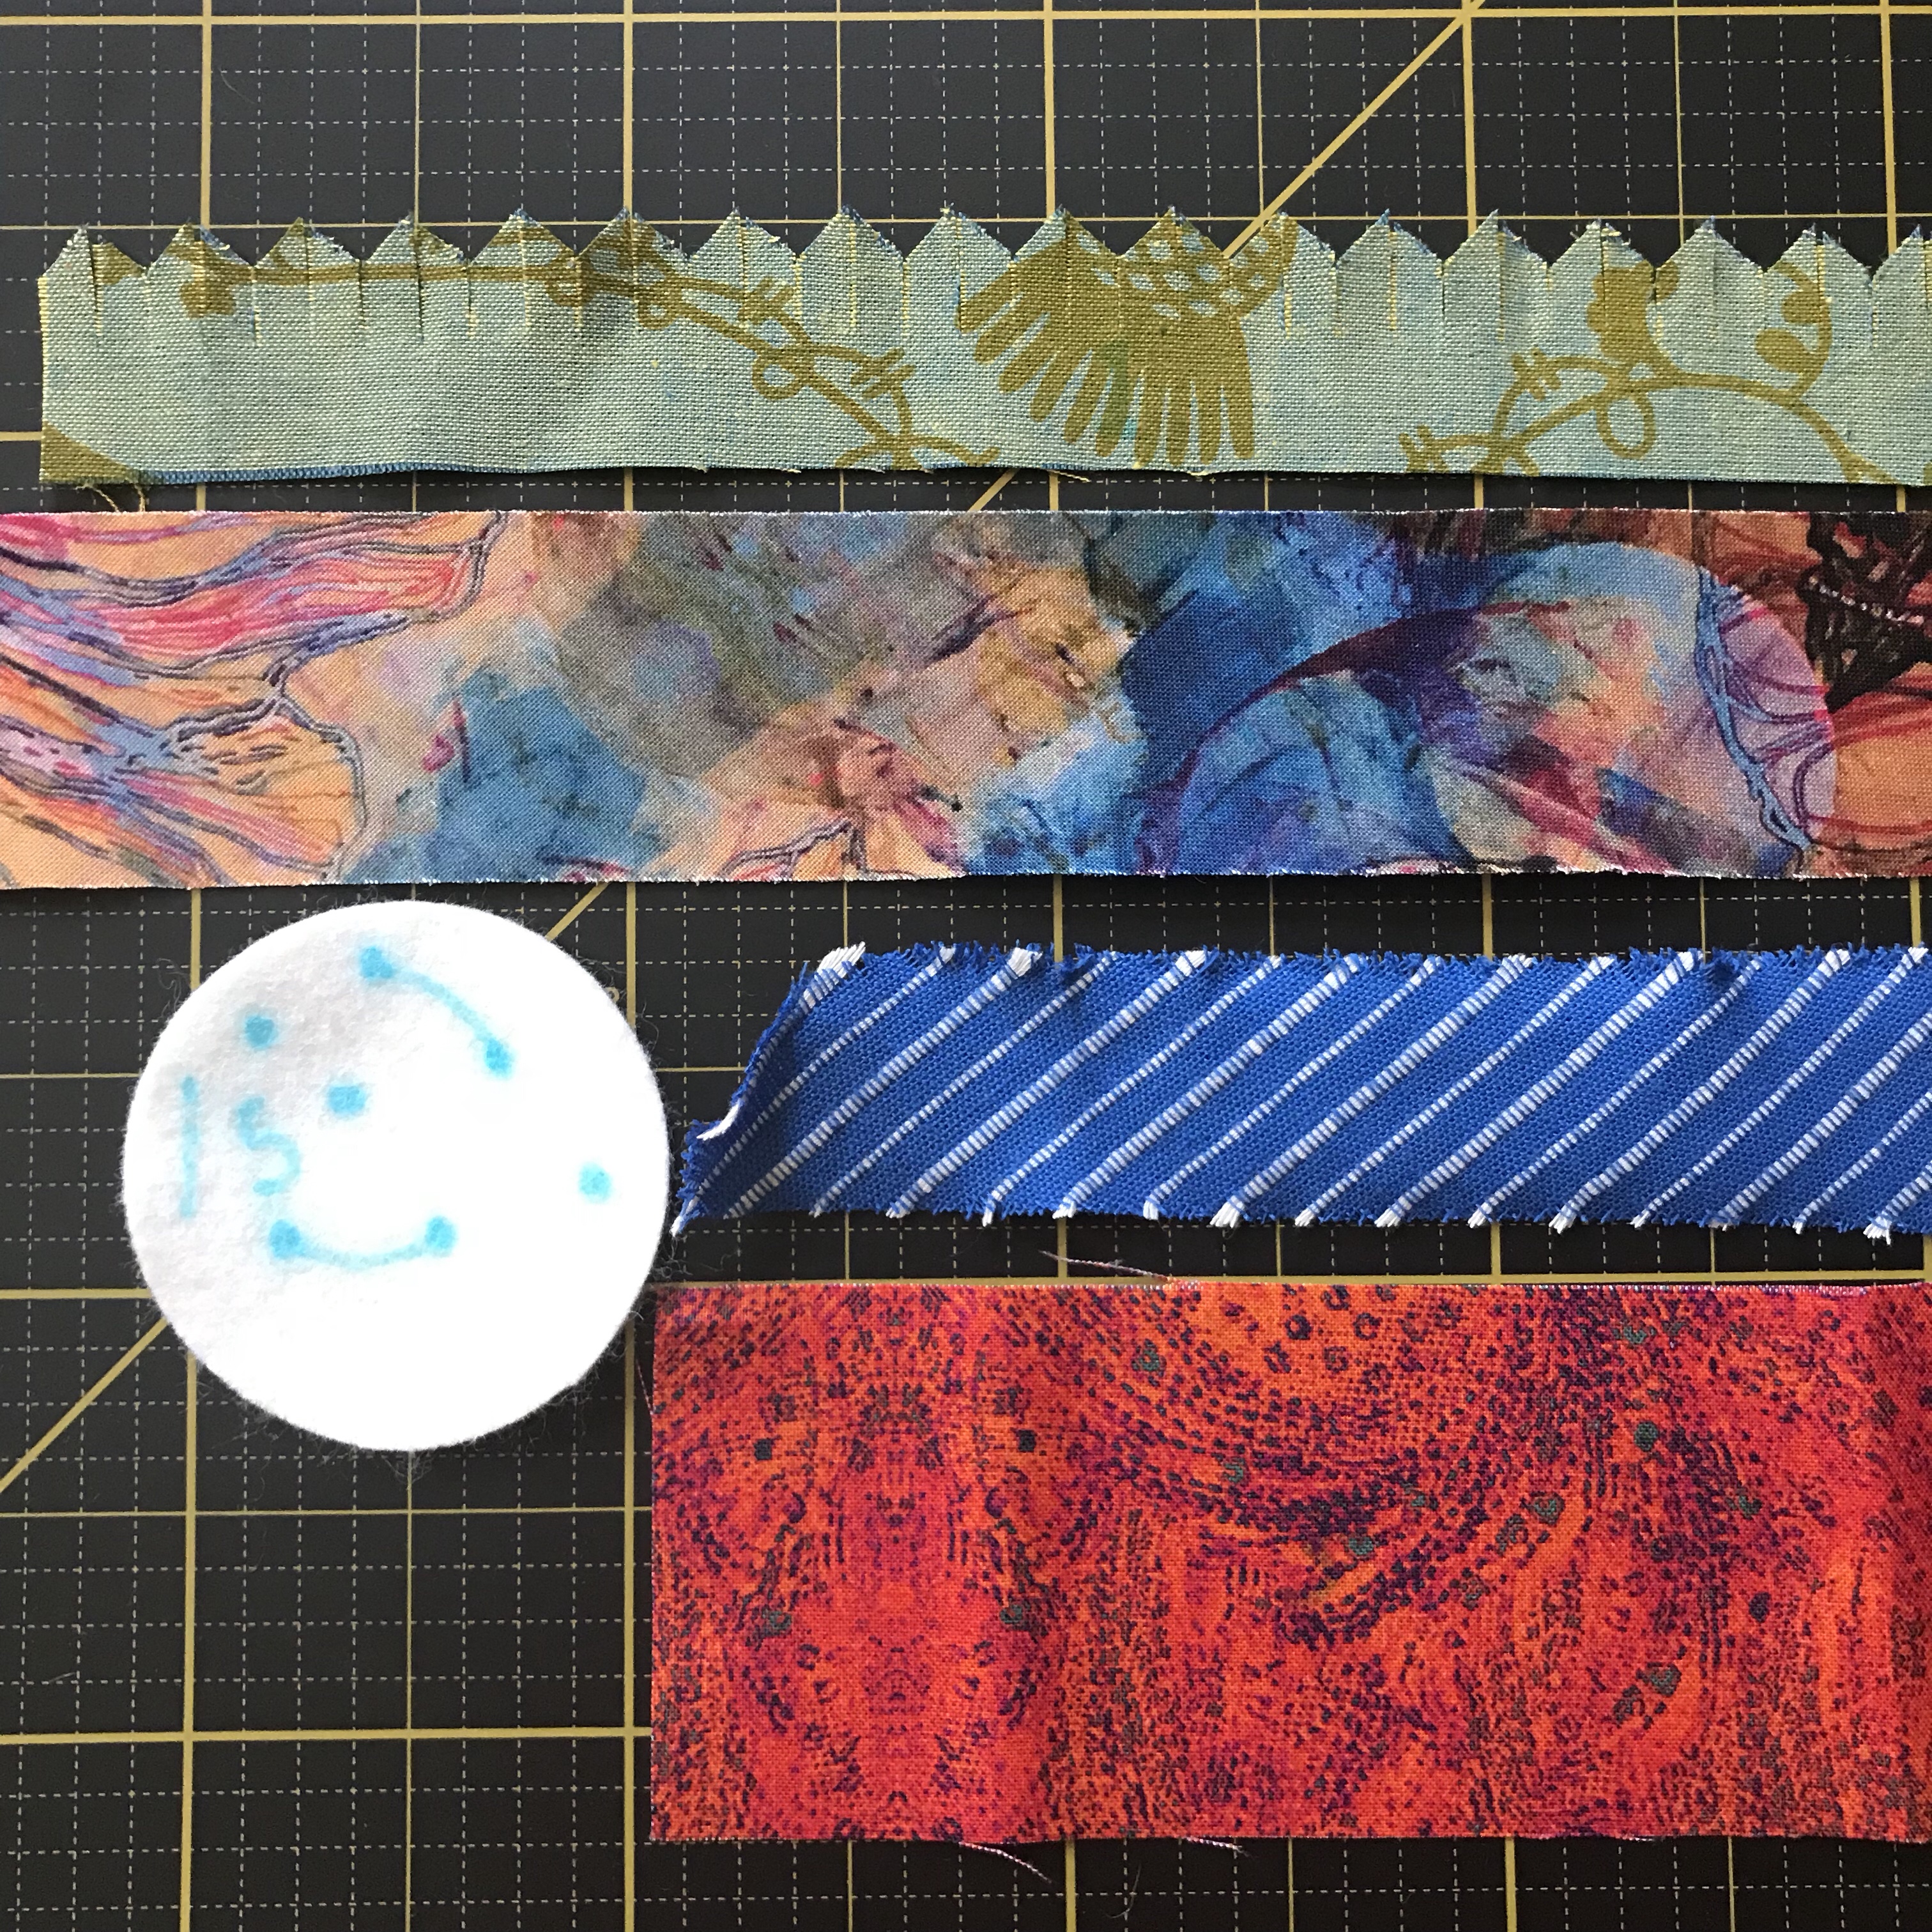
One suggestion after working through this pattern a few times: when you get to the two round circle pieces, choose a heavier fabric. My first choice was a thinner batik piece of fabric. My second choice was a heavier piece of textured cotton fabric. Finally on my third time cutting the pieces for the pattern, I decided to use a scrap of wool felt and that was definitely the best choice. The other fabric pieces worked fine, but because this is the piece that you are hand sewing everything on to, you want something fairly sturdy.
I should also warn you that Step Five involves me breaking from the pattern in one other way: I did not use my sewing machine! Nope, not once.
If you follow along with my stitching adventures, you’ll already know that I prefer hand stitching to machine sewing. I wanted to try this entire pattern without the machine, just so that I could tell you that it was possible! And it is!
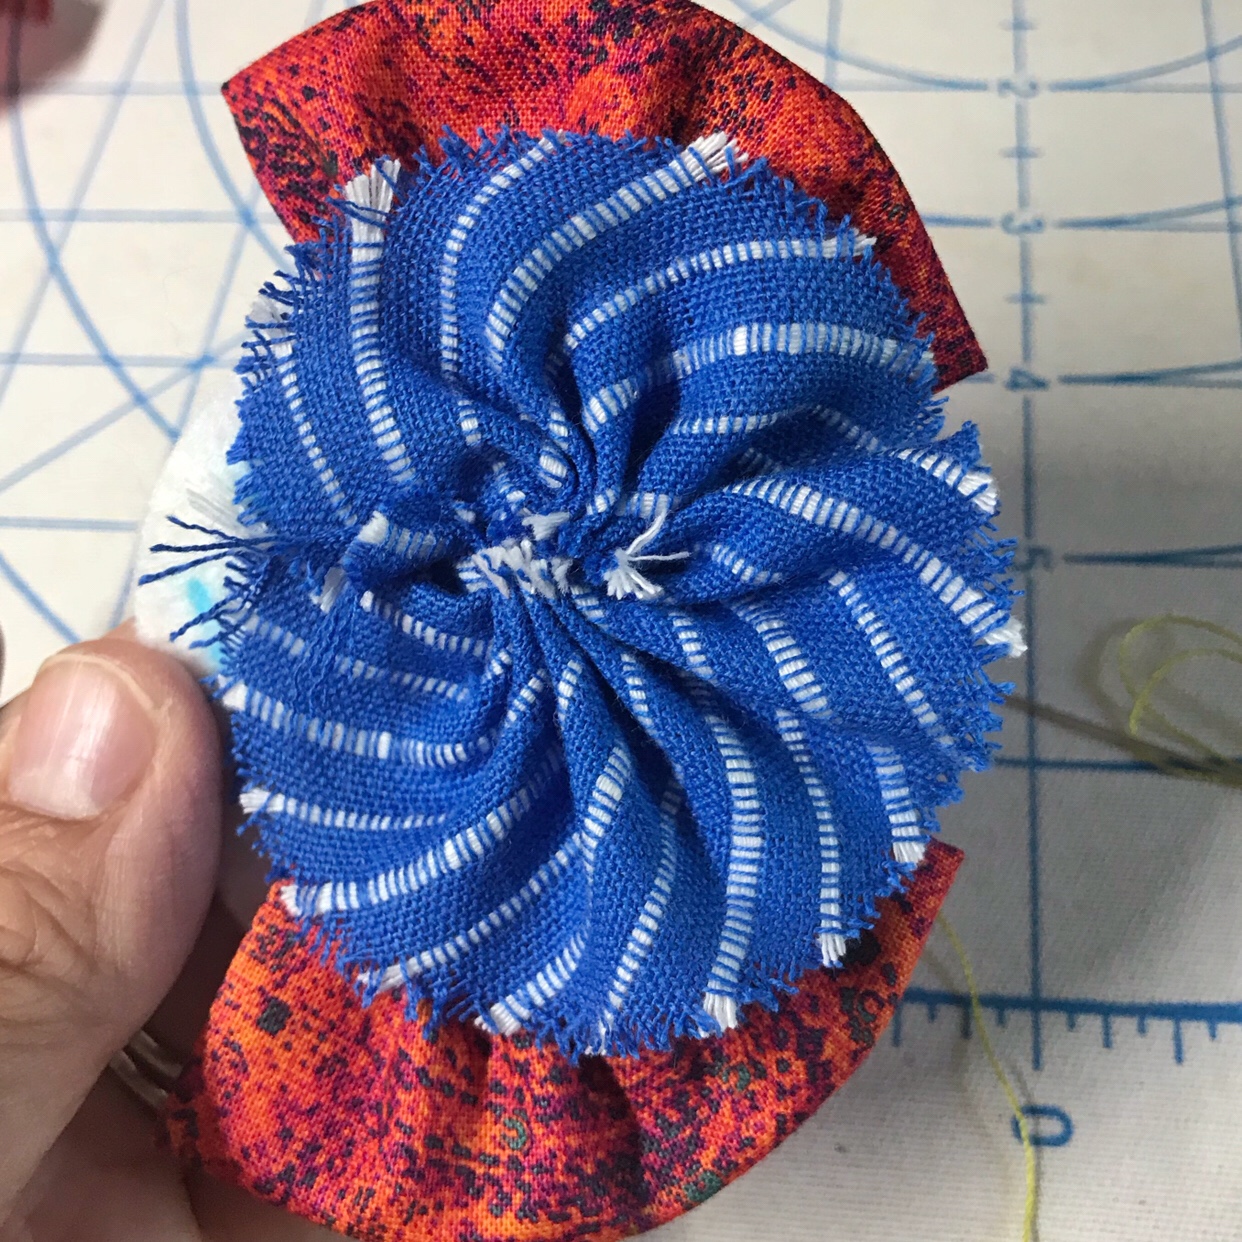
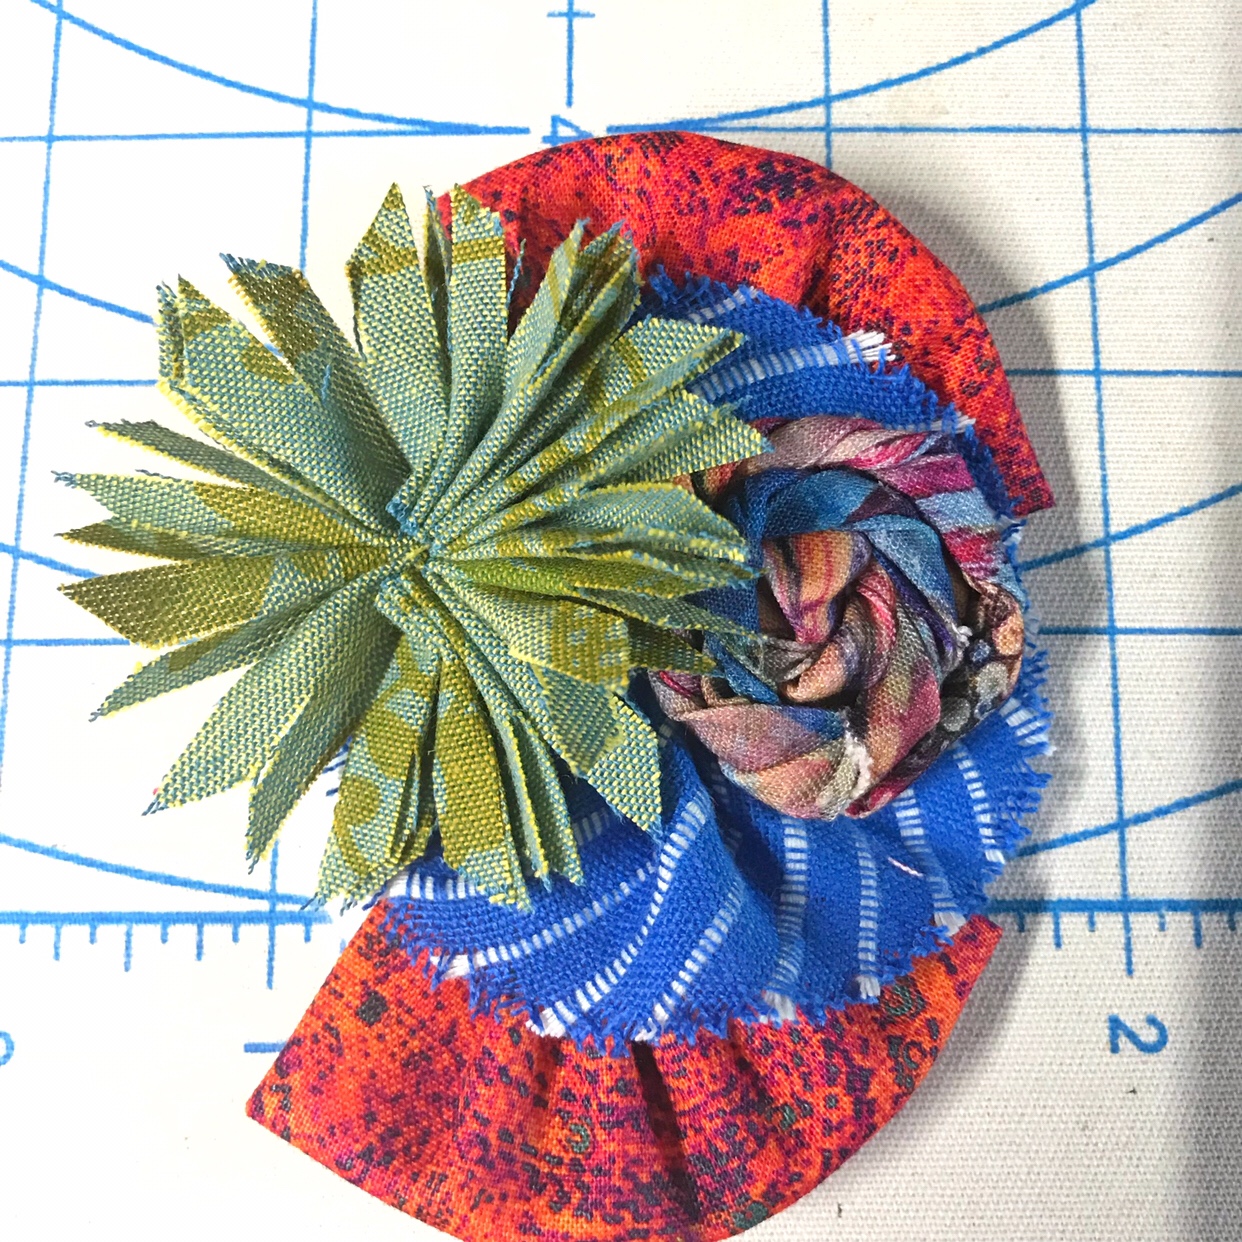
Your pieces have all been cut and you are ready to turn them into flowers!
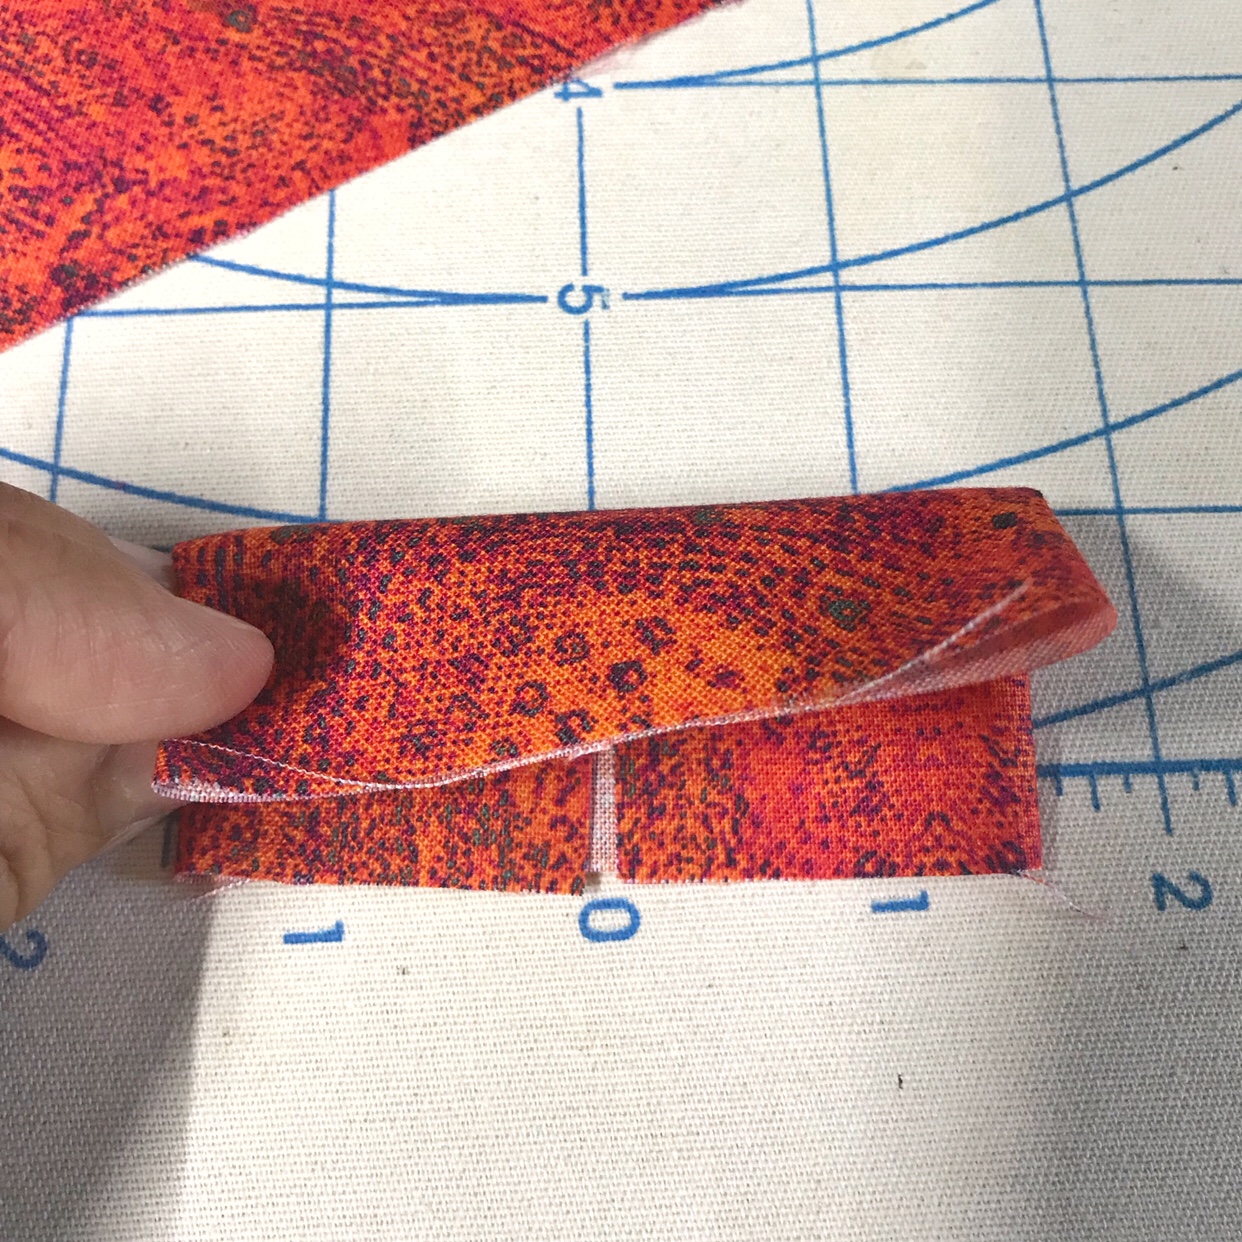
This was the only step that slightly confused me and so I wanted to show several pictures to help you out.
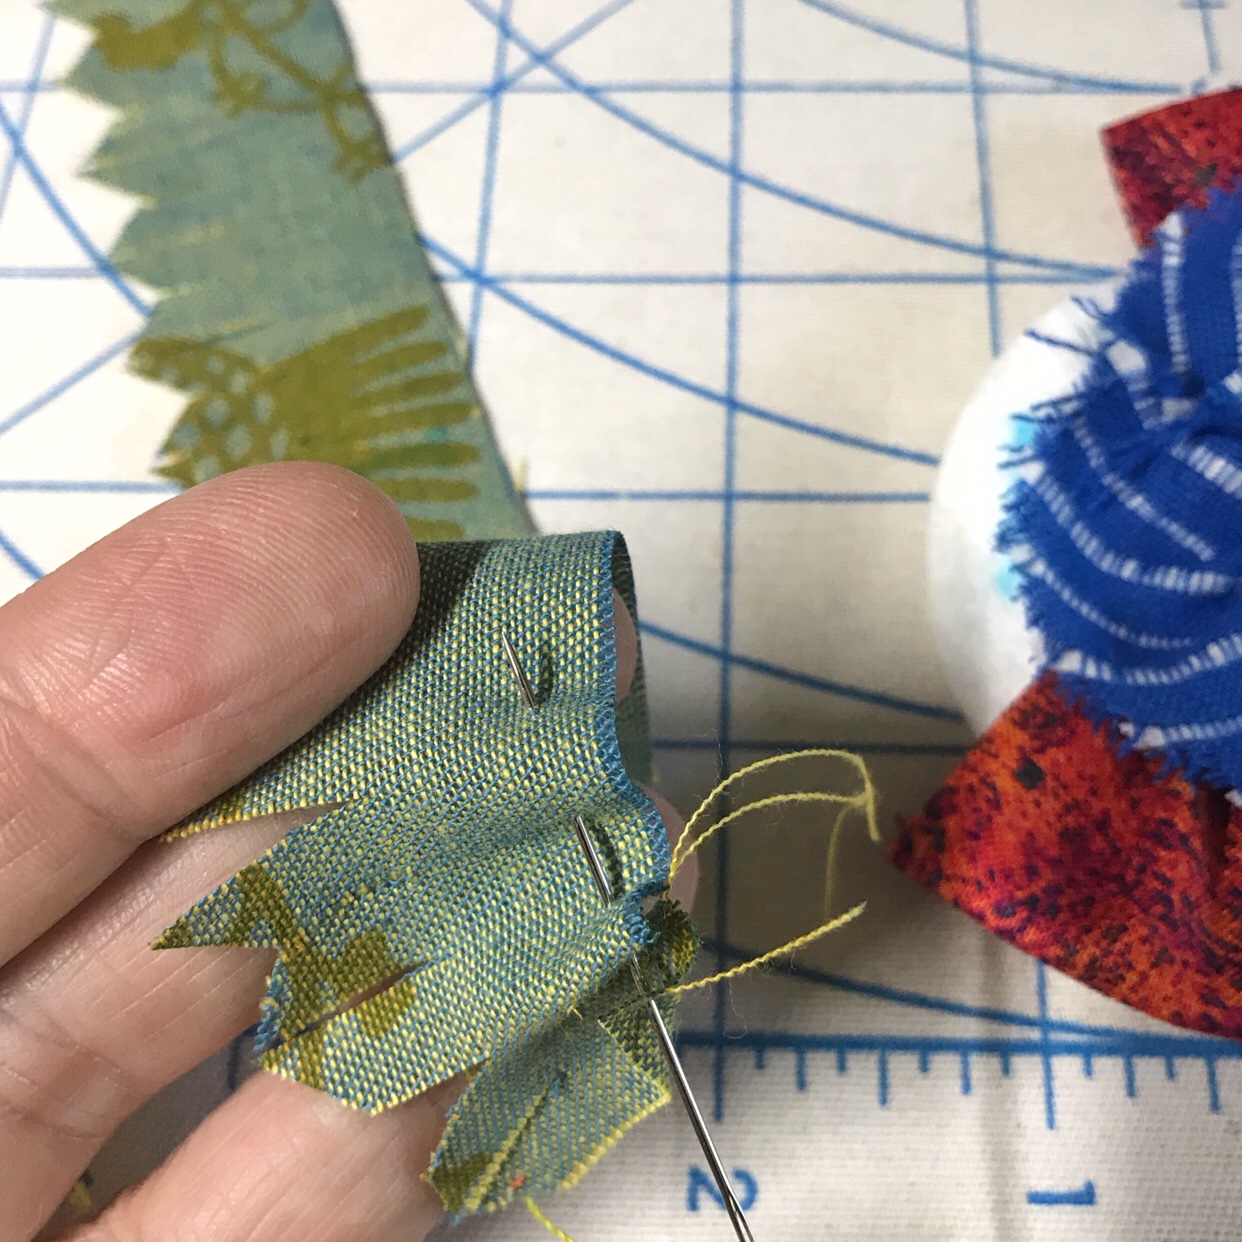
You will fold the sides of your rectangular piece in towards the center.

Next you will fold that piece in half.

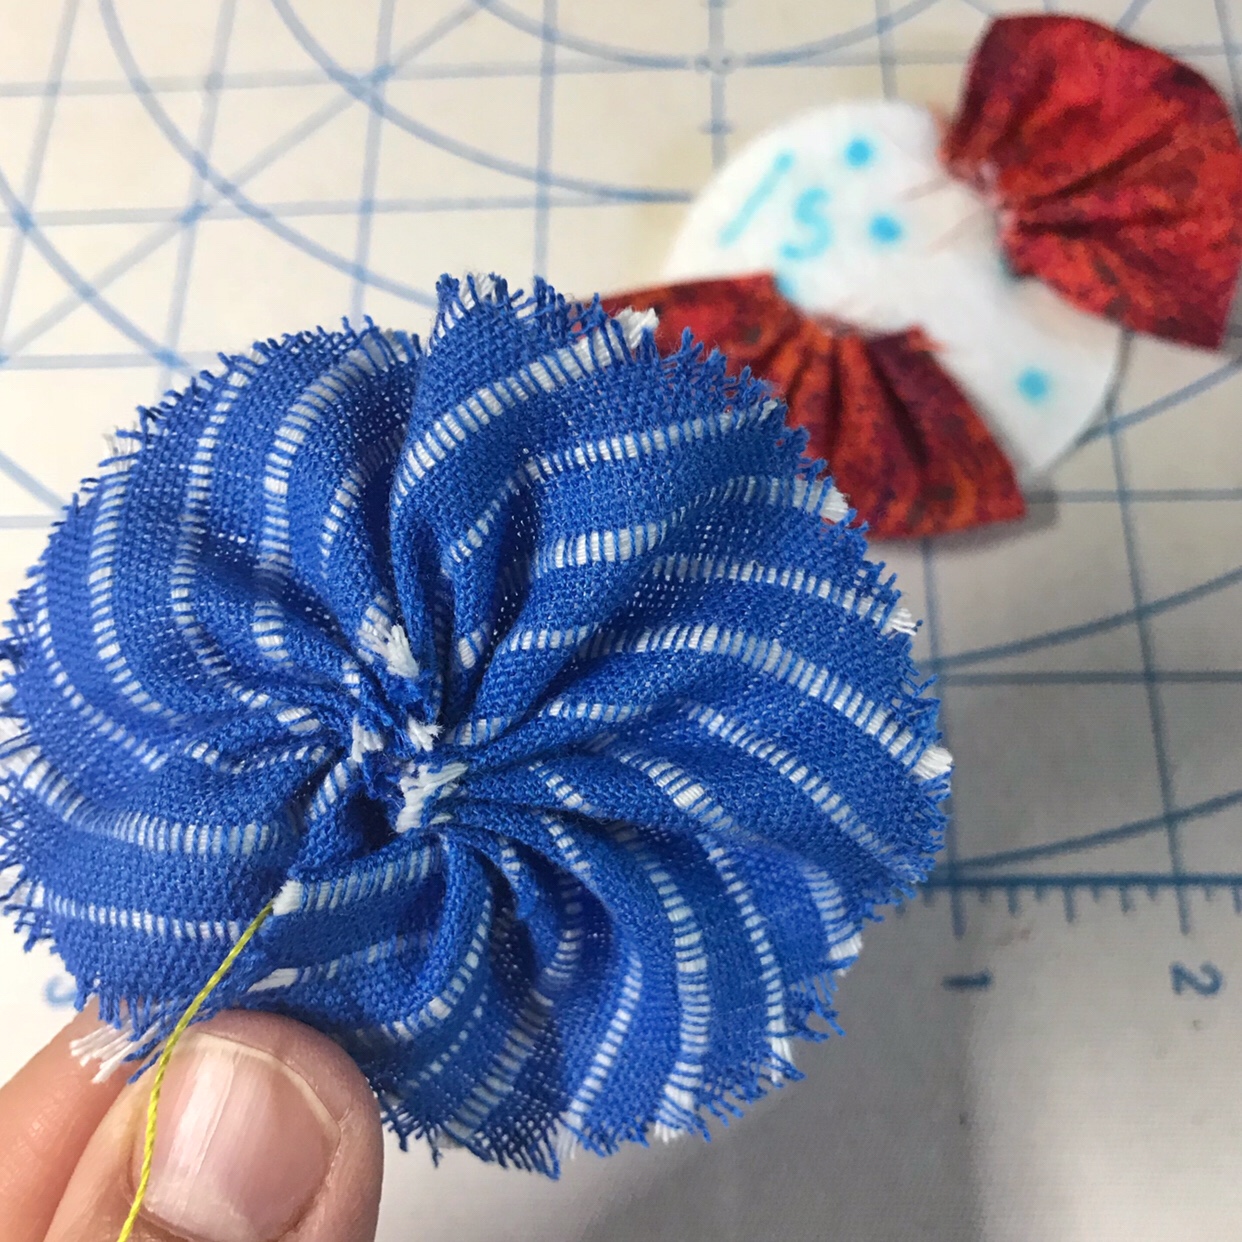
Grab a needle and some thread (I prefer the Sulky 12wt petites for this step) and stitch a running stitch along the bottom.

Tie a knot and then pull your thread right so that the fabric gathers up nice and makes a little ruffle.
The blue marks and the pattern will show you where each piece is to be stitched on to the circle.

Continue with each piece of fabric, following the directions as to where to attach it to the disc.

Because I (unfortunately) only have two hands, I couldn’t take pictures of how I actually wrapped the rose. That step is mostly self-explanatory and if I was able to figure it out, then you will just fine!
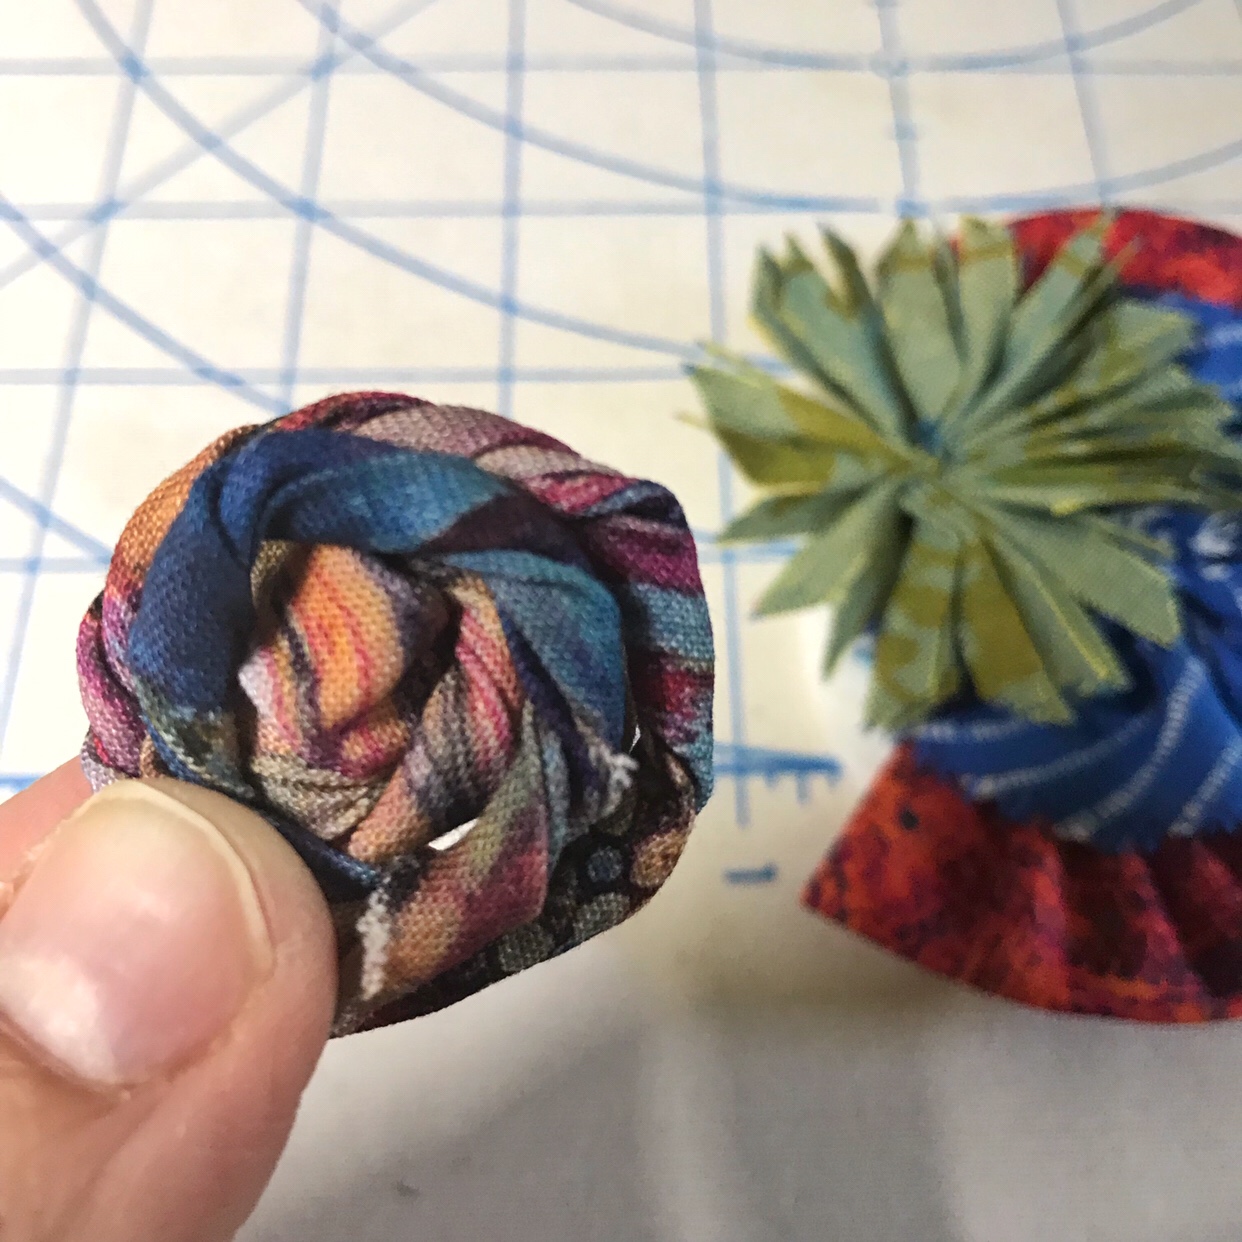
Soon you will have a complete flower!
So, what to do with your flower at this point?
Well, you can leave it completely as is and be done! Stitch a pin back or hair clip onto it and wear it as an accessory!
Or, and you should also know that this is always my go-to option, you can put it in a hoop!
Here is my simple version of the flower and arrangement attached to a fabric that has been stretched in a hoop.
Simple and pretty!

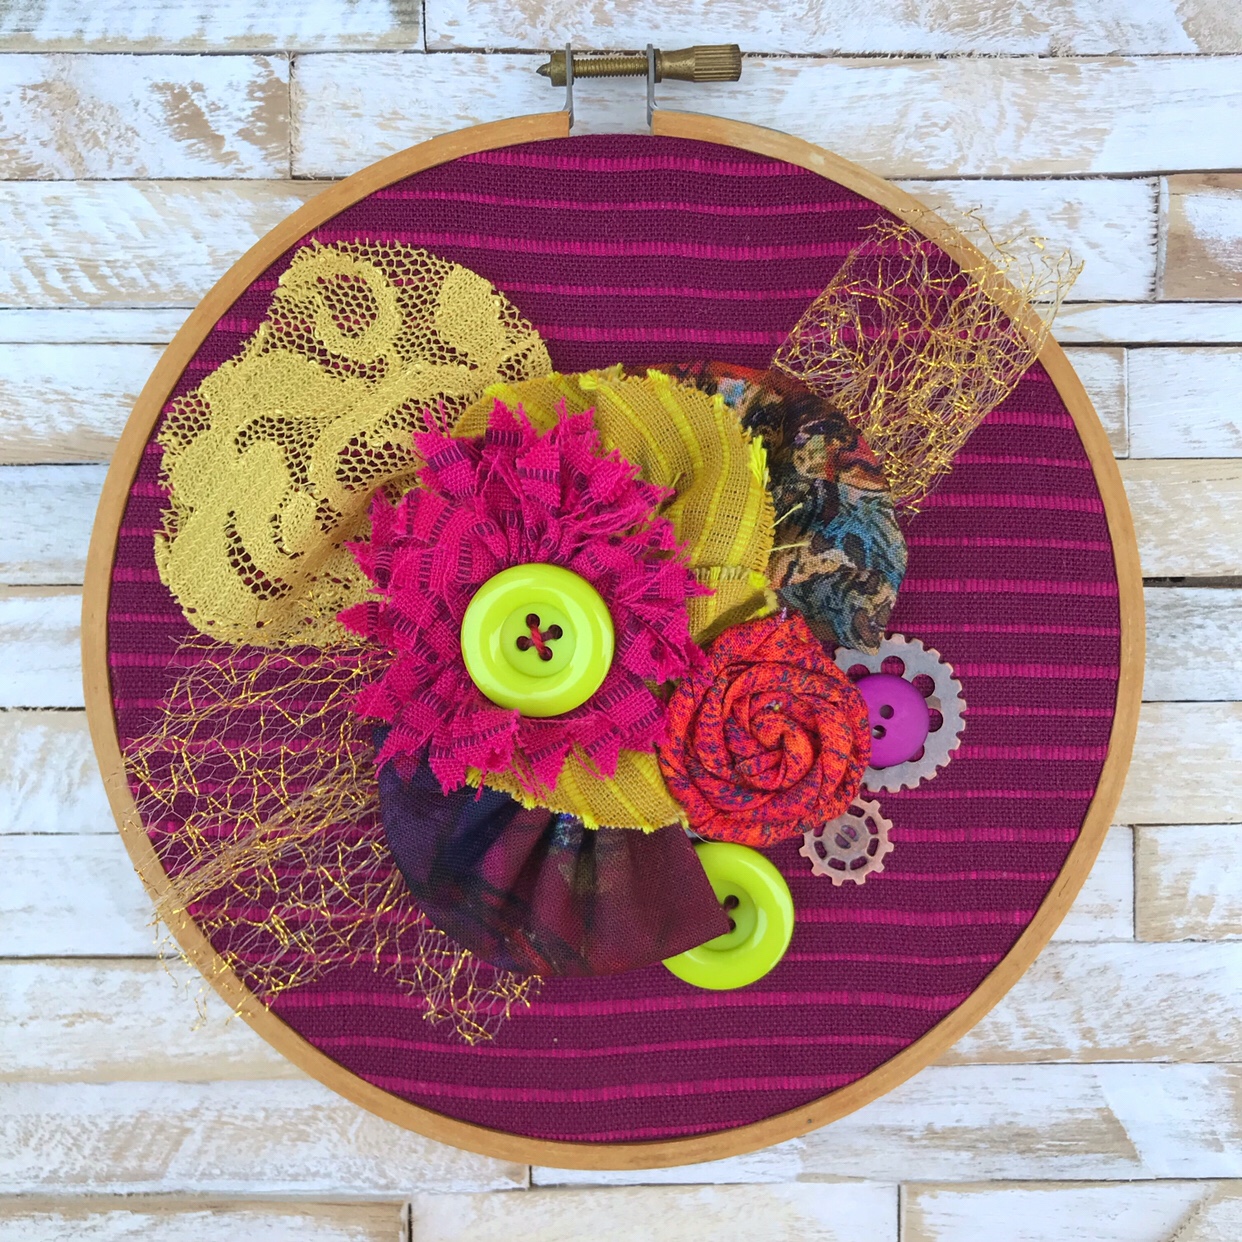
But, why stop there? You could take it one step further and add other embellishments, like the pattern suggests.
Here is my gussied up version! I added wispy bits of lace, gears and buttons.
And because I love to show you options, (and can’t resist Boho-ing up a project!) here is what you can create if you cut a few extra pieces and arrange them to your liking!

Each piece in the above hoop has been cut by my Cricut Maker according to the pattern. I just rearranged pieces and added some embroidery!
And speaking of embroidery, do you see those words?
My absolute favorite feature of using Design Space and my Cricut Maker is that I can create text and have it written directly into fabric with the washable pen!
So many fonts! So much versatility! I cannot gush enough about this function!
Since unboxing my Maker, I have used this function more than anything else. There’s not stopping me…I can add words to anything!
And there you have it..my first Simplicity pattern and I survived and actually went on to make it several times and enjoyed the process!
Now I can breathe a sigh of relief and pass some confidence on to you. Now, go….create something!
Fabrics provided by:
Flaurie and Finch (Blossom Batiks)
Andover Fabrics (Alison Glass Mariner Cloth and Golden Hour)
Threads I used:
Sulky 12 Wt Petites
Sue Spargo Eleganza
This is a sponsored conversation written by me on behalf of Cricut. The opinions and text are all mine.