Cricut Maker

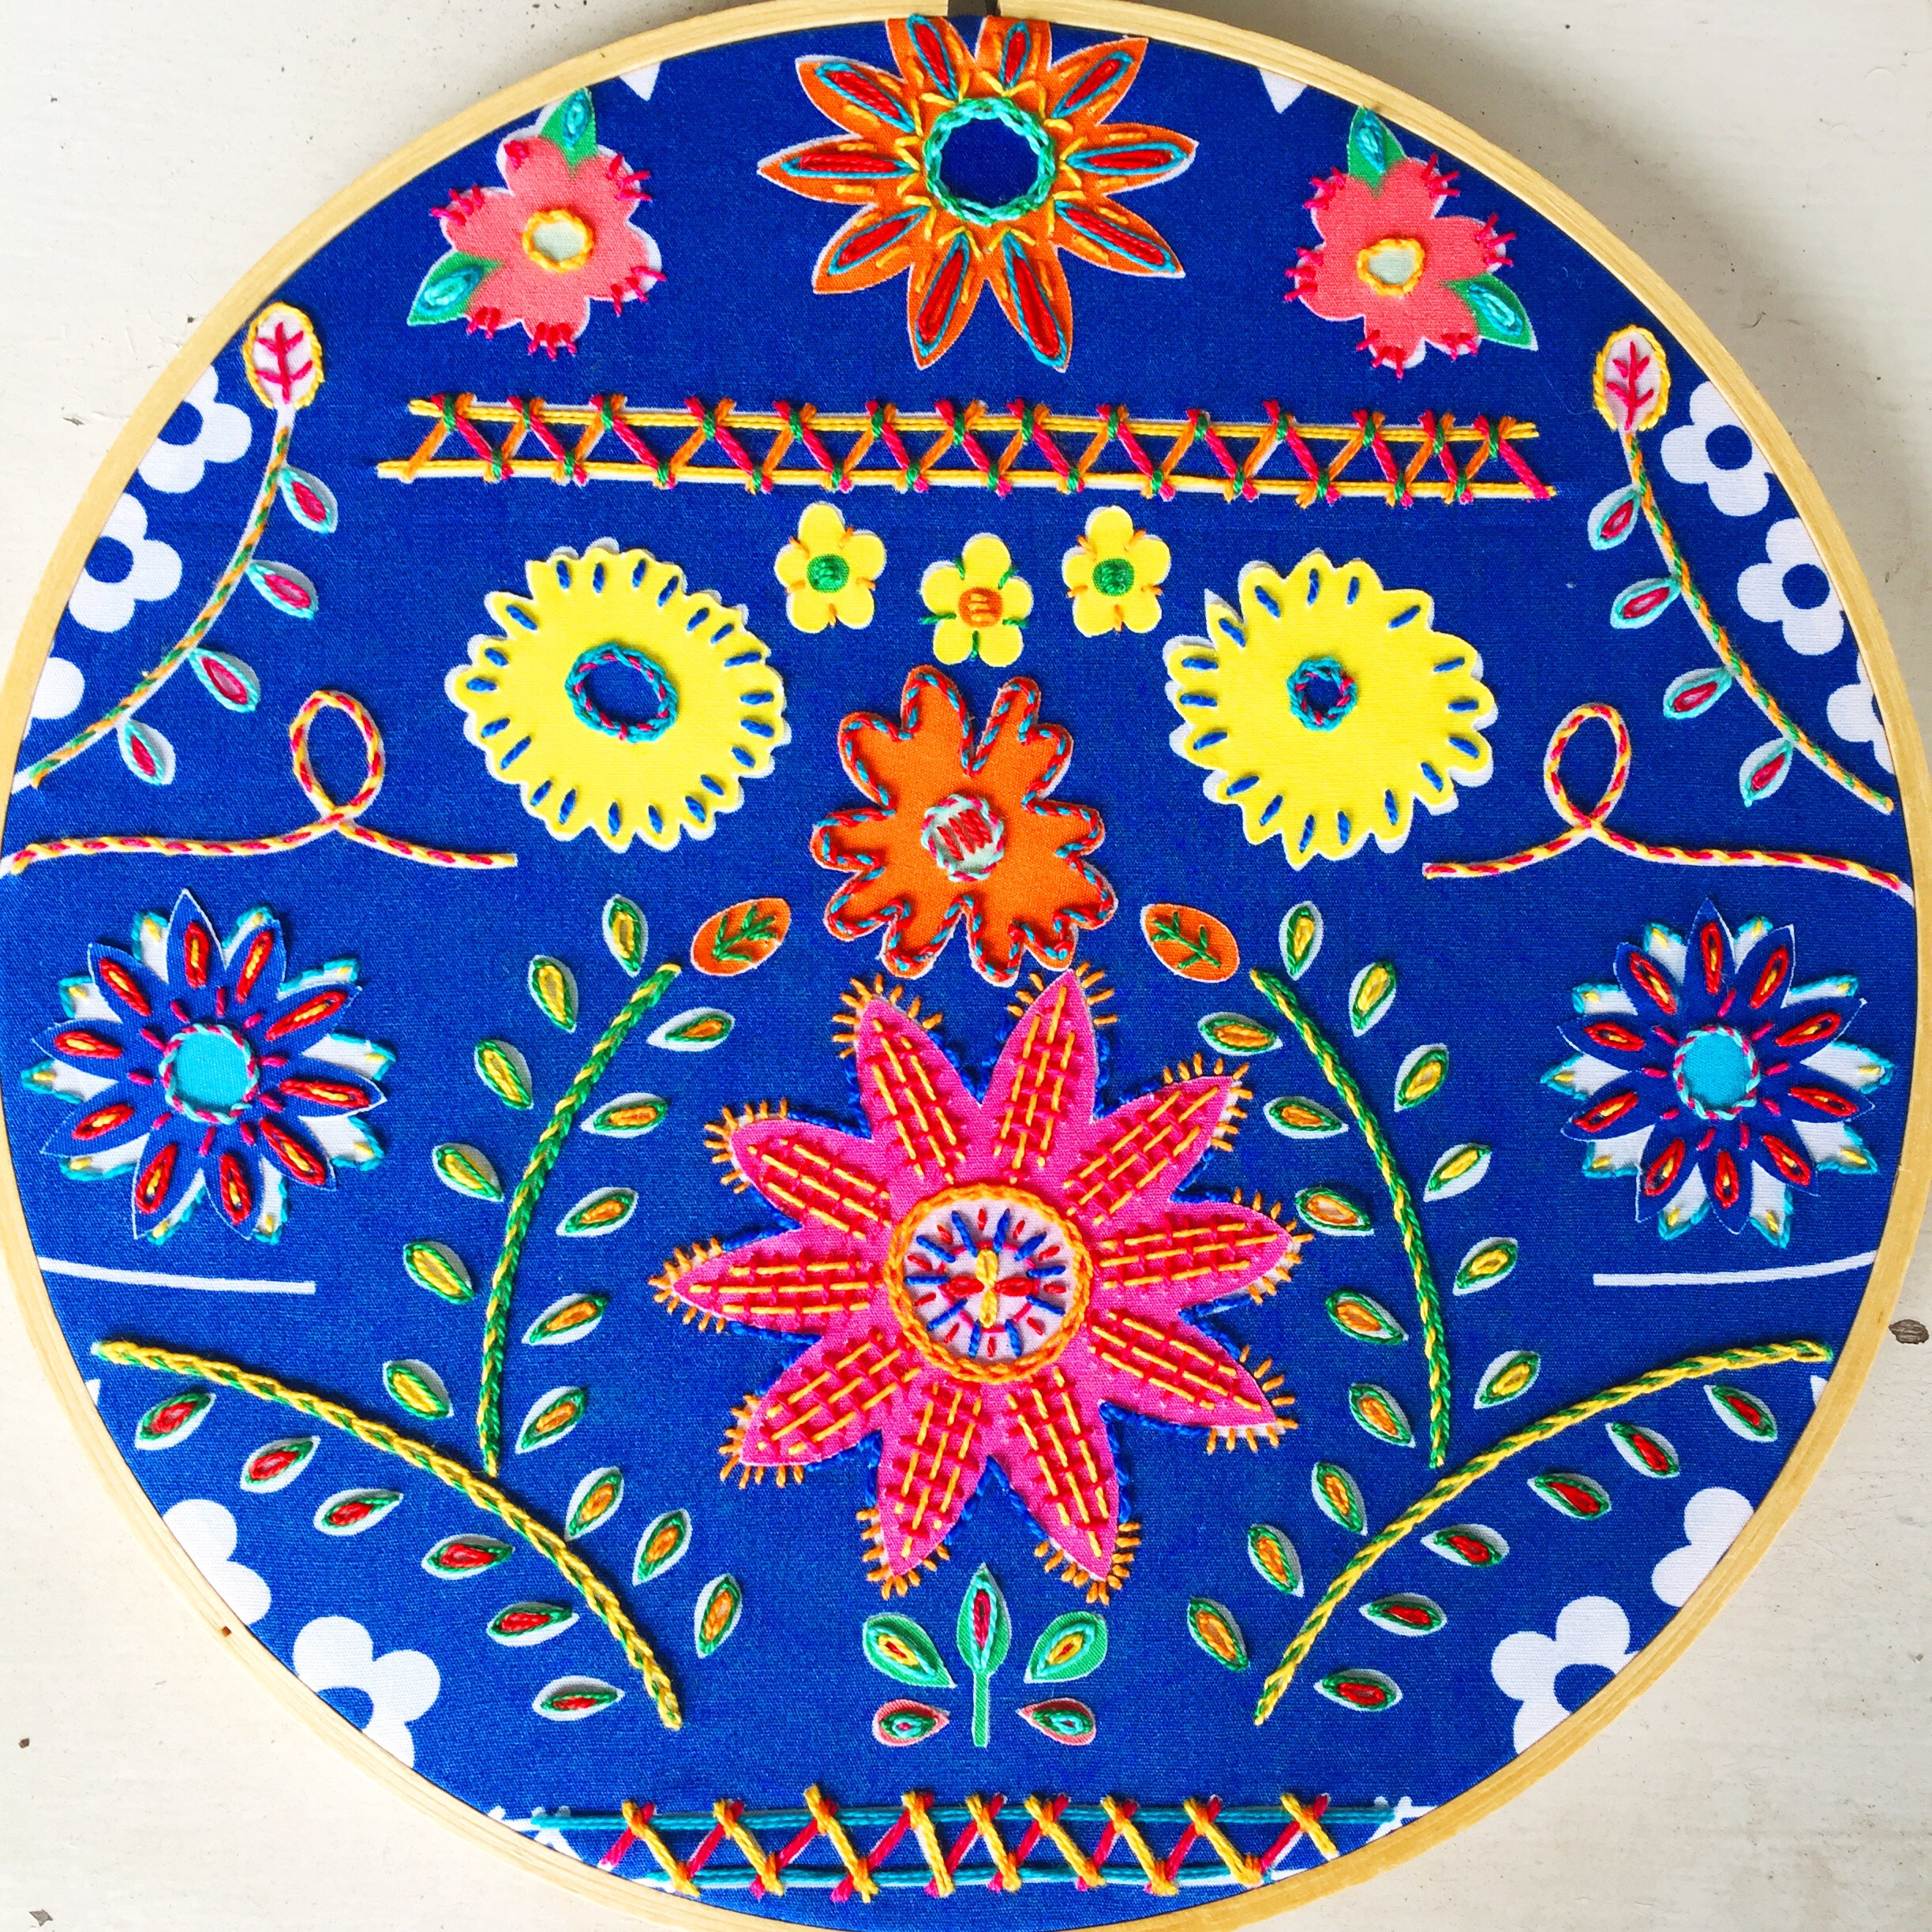
Recently, I discovered the brand new Maker machine from Cricut and I can’t wait to tell you how easy it was to make this hoop with the machine!

If i’m being completely transparent, i’d have to say that I never even looked at Cricut machines for my own use, because my focus is on fabric crafting rather than paper crafting and I thought Cricut machines were just for paper. Well, not so with the Maker machine…yes it can cut paper but also fabric, vinyl and even thin wood!

I was sold!

So, I received and unboxed my machine, set it up and then sat down to learn how to use Cricut’s Design Space app for the iPad (which can also be used on your computer and that’s actually where I set up my first project).

Since this was going to be my very first project ever, I wanted to keep it simple in case I really messed it up!!

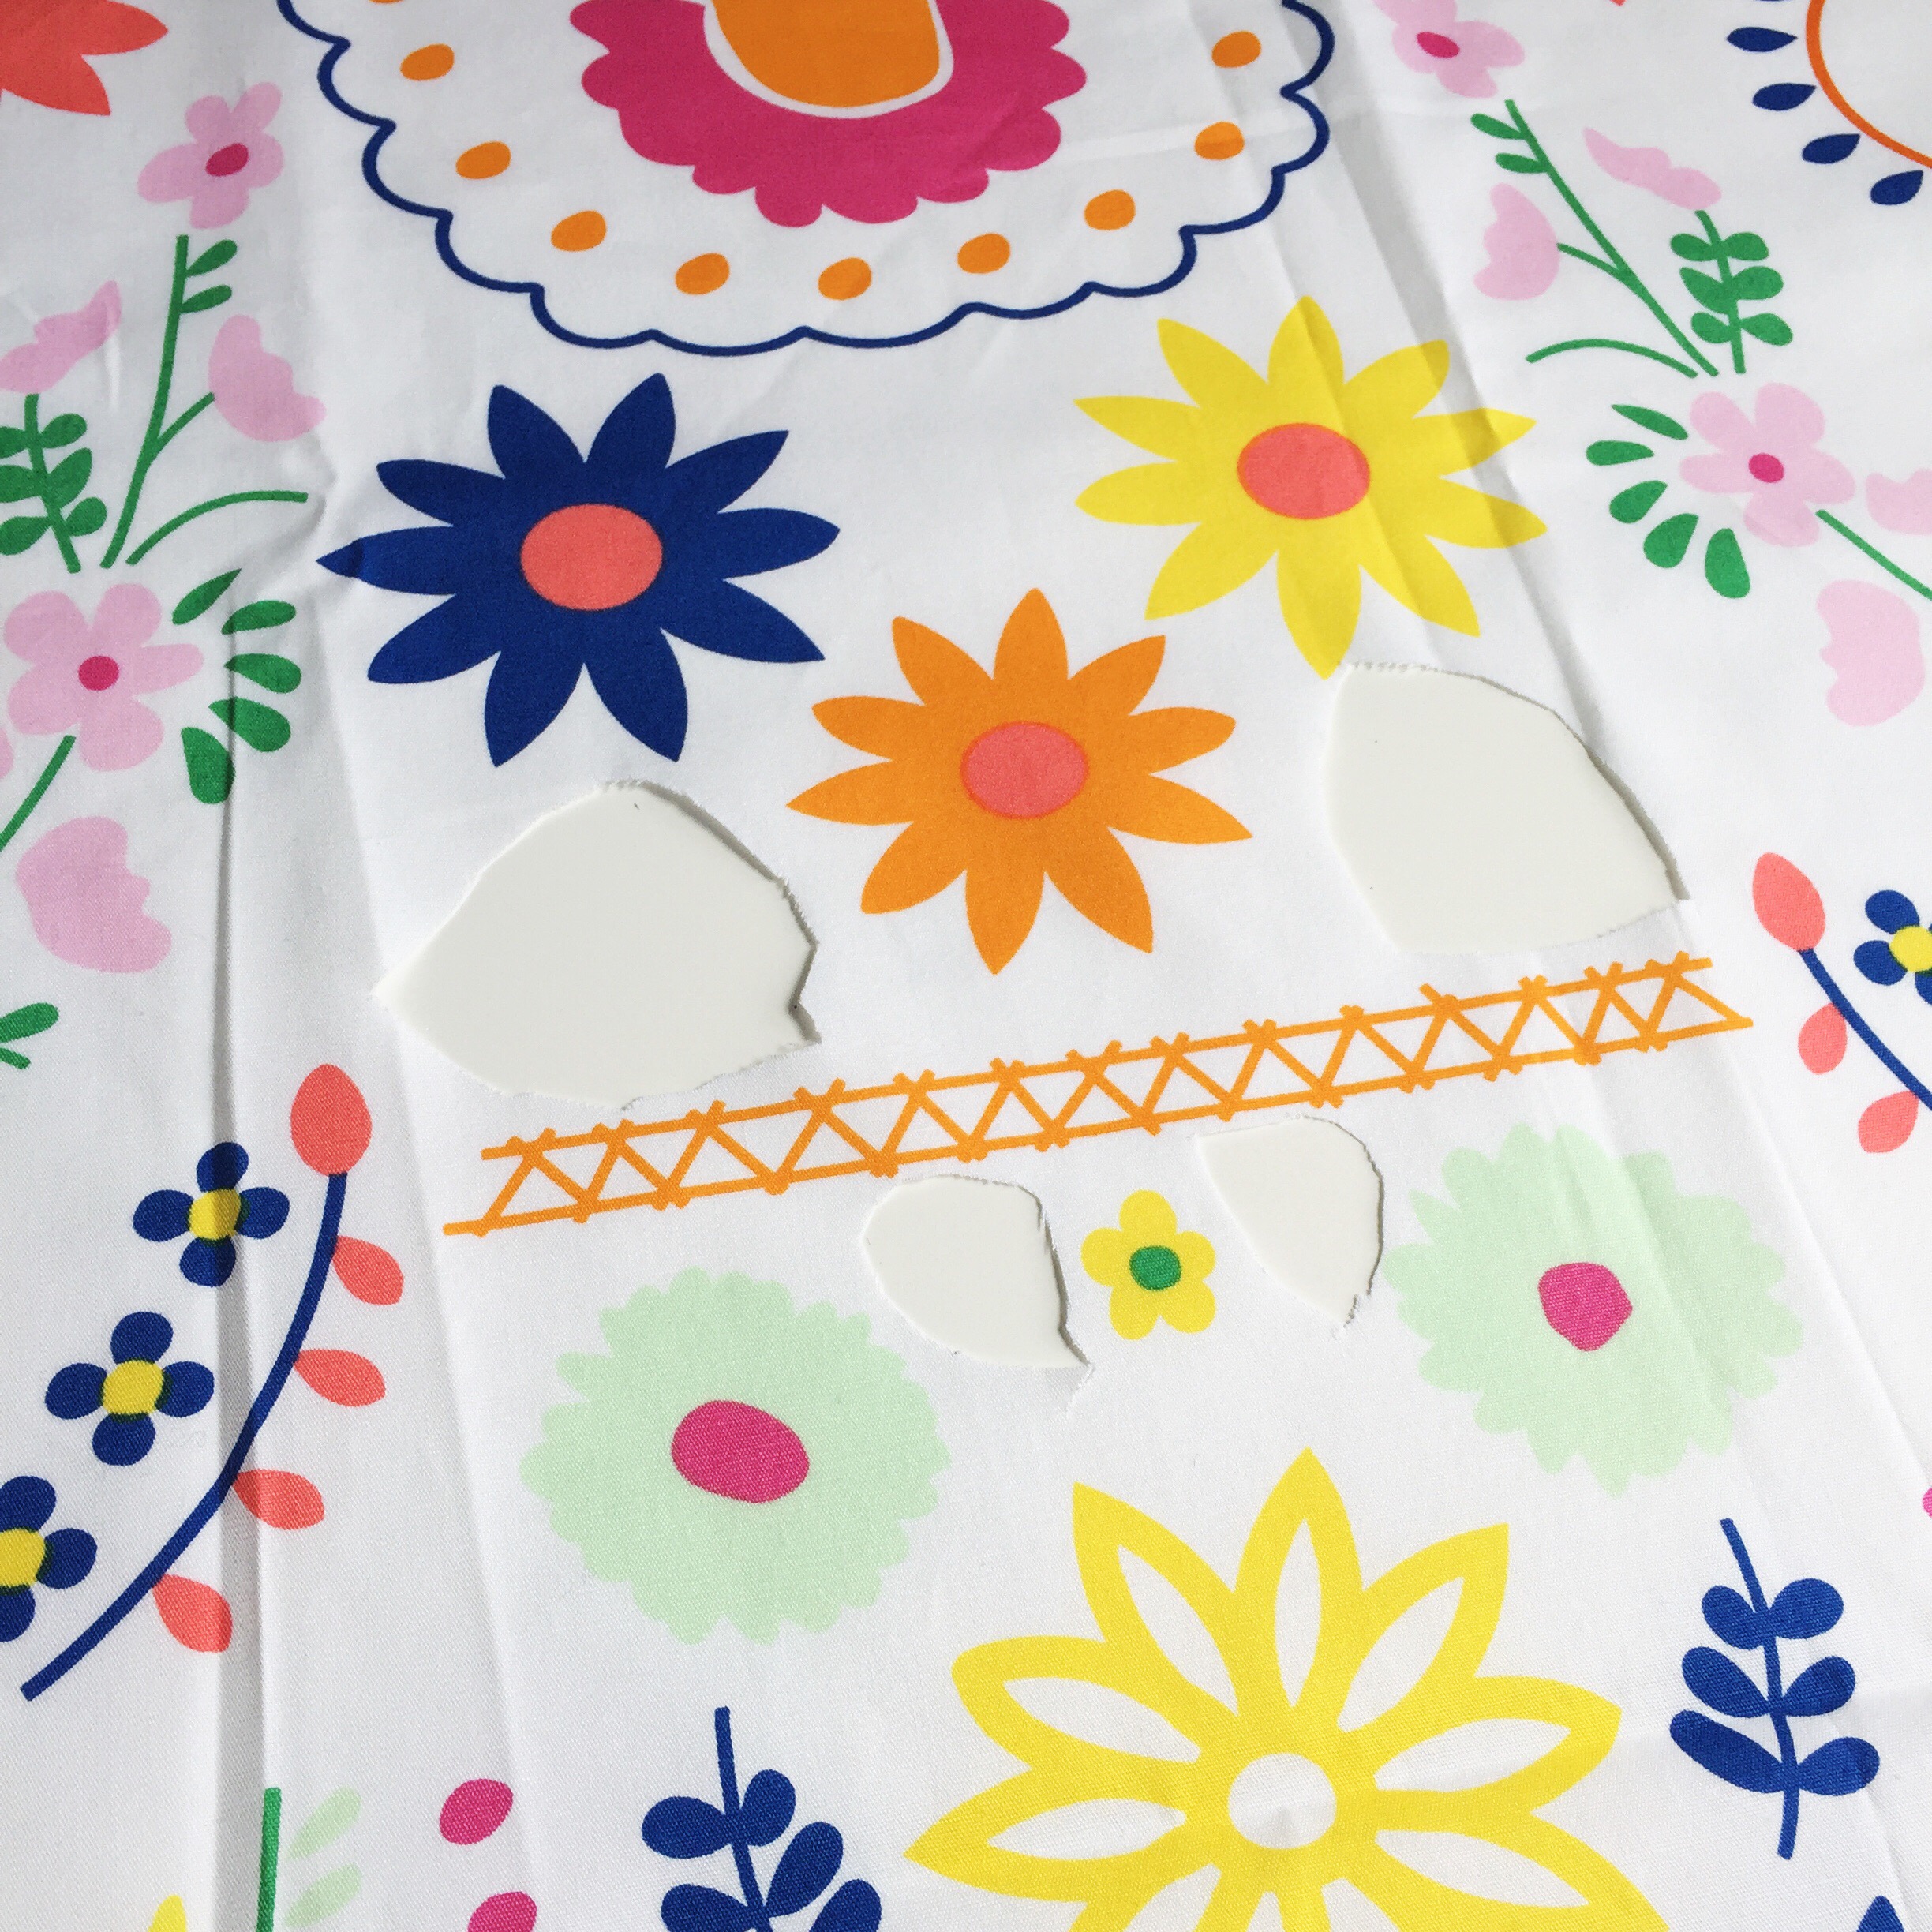
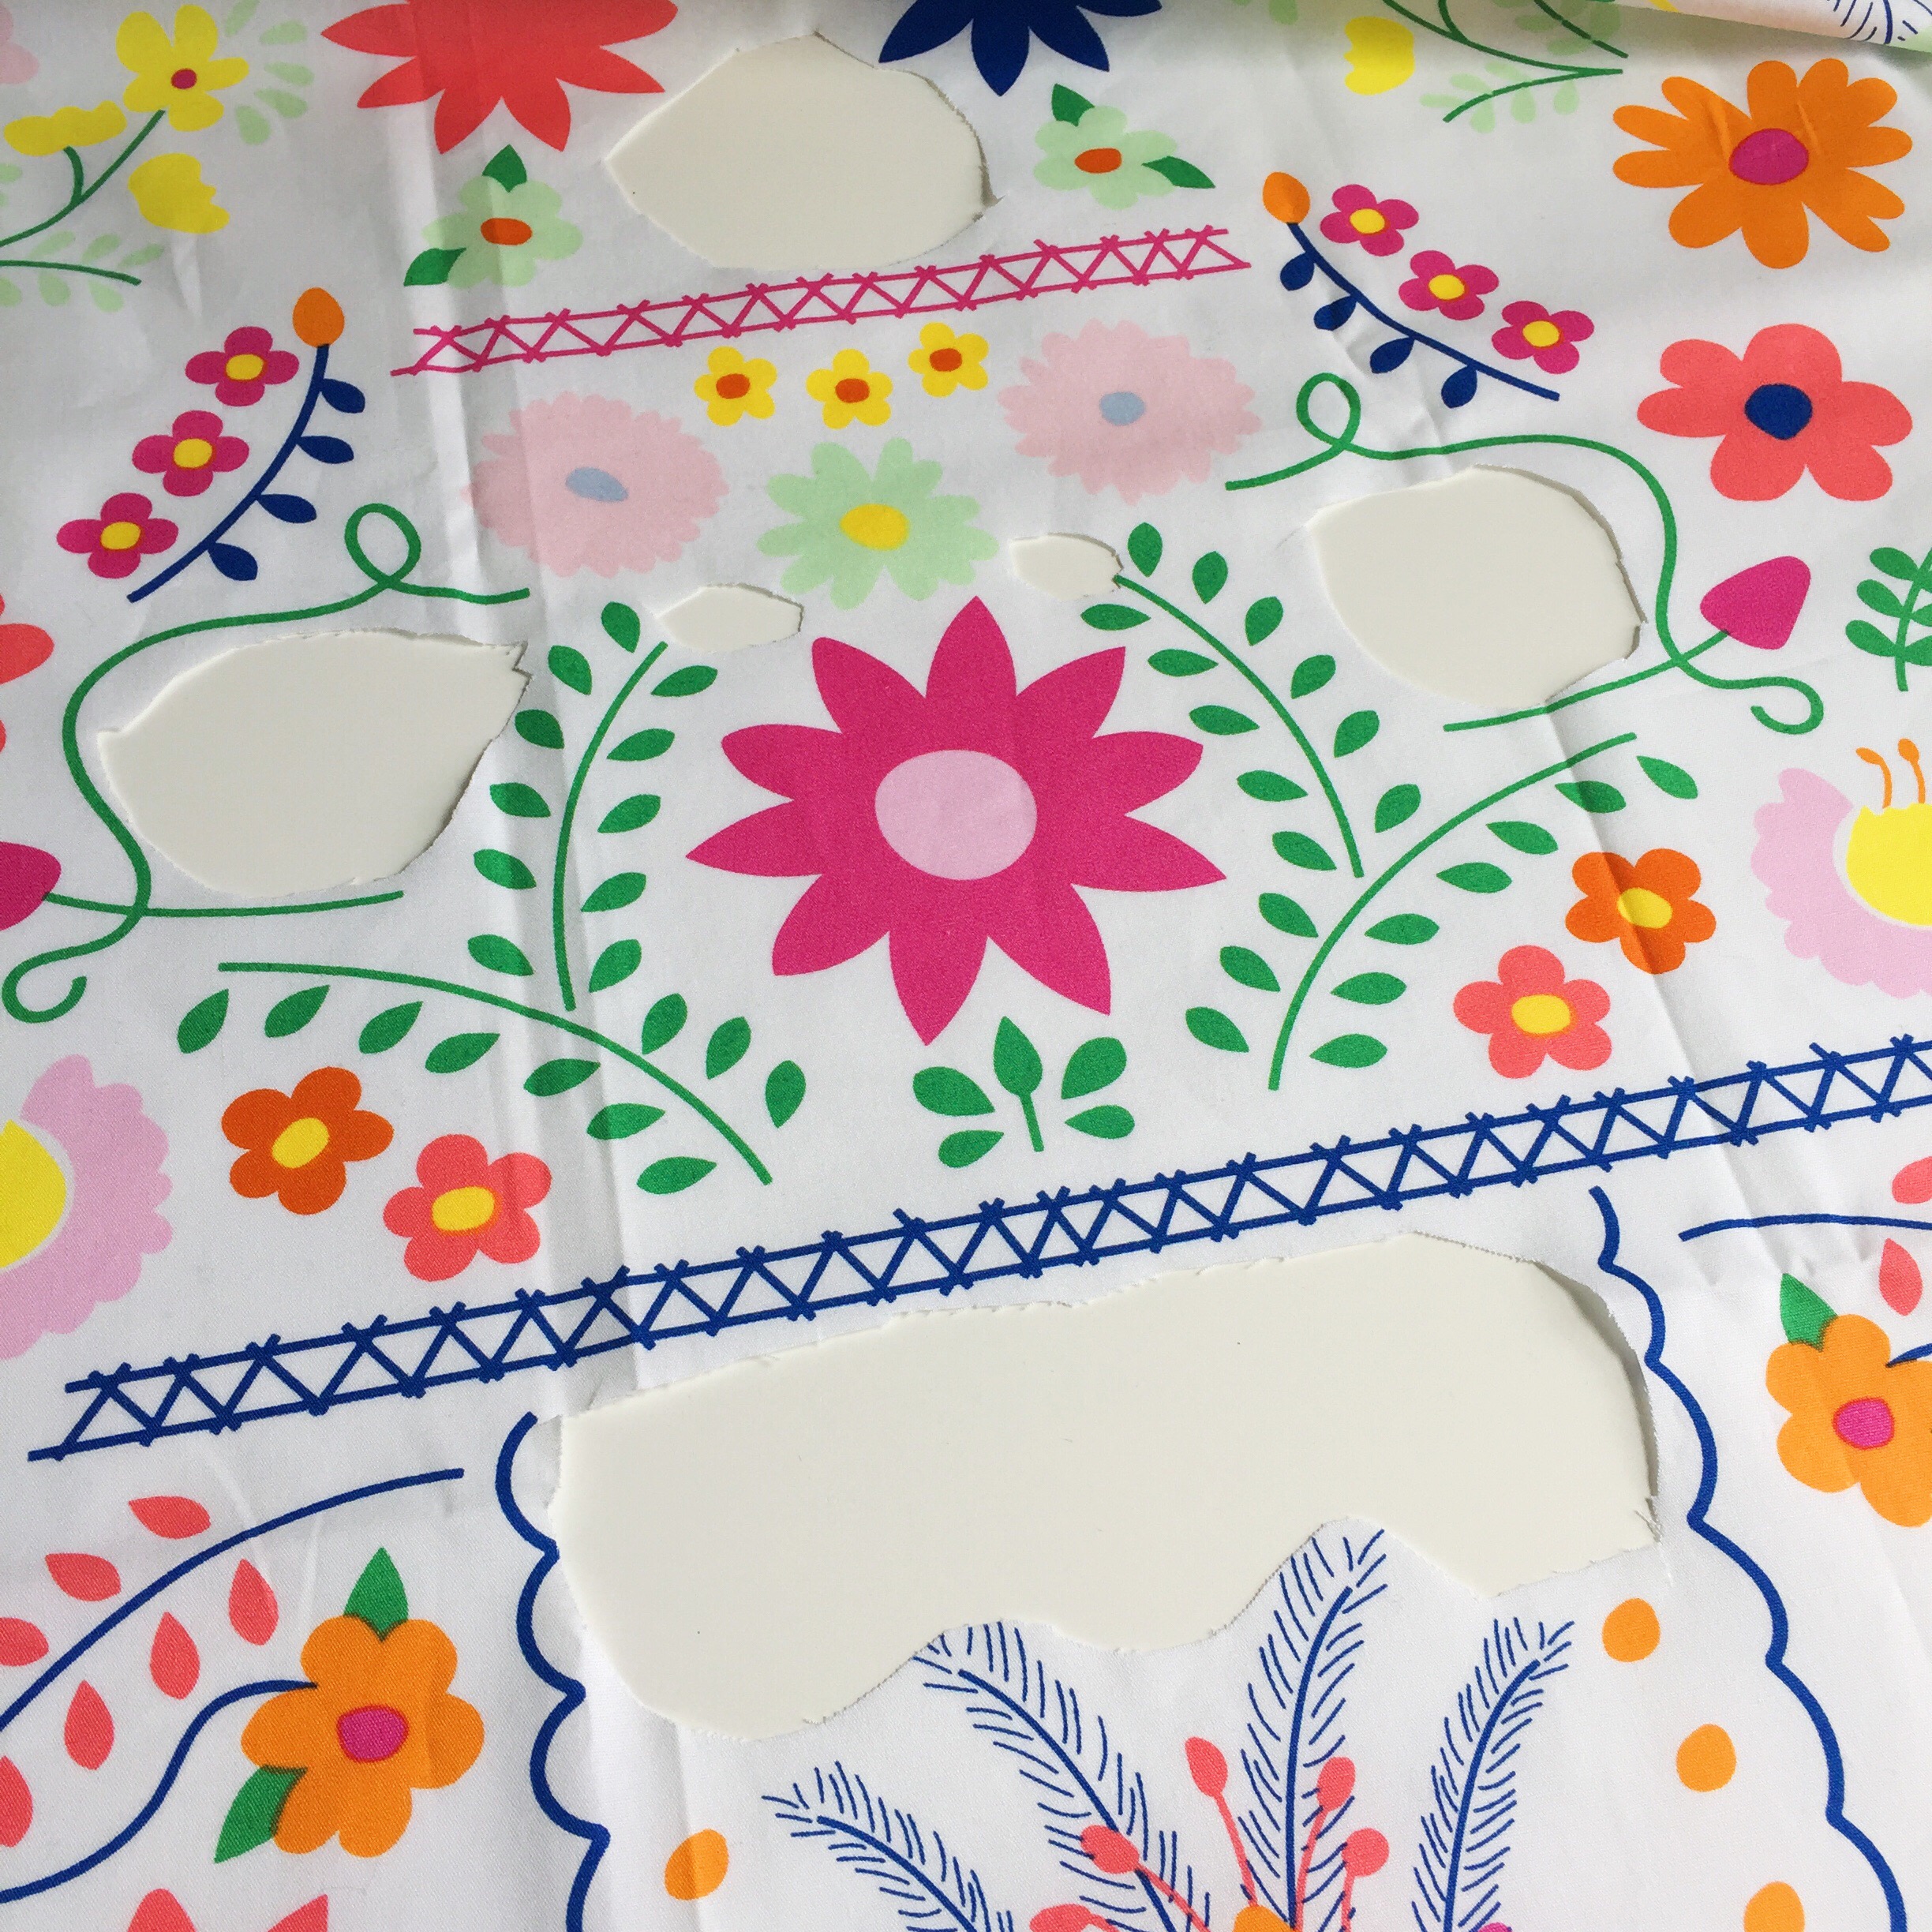
I chose images from the design library: a pair of scissors and a swirly ribbon. This video shows a snippet of what the cutting process looks like:

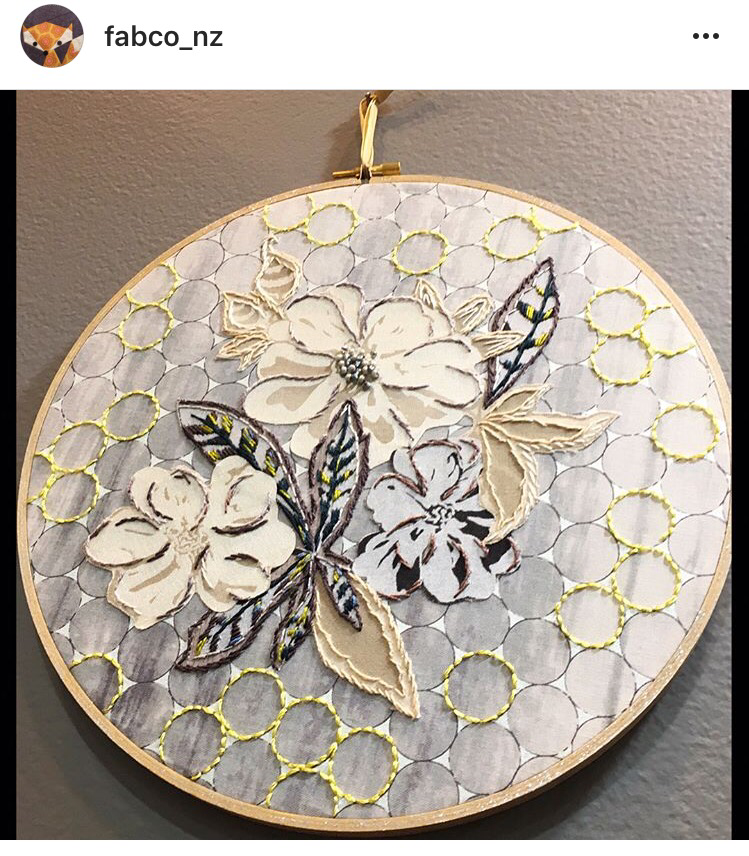
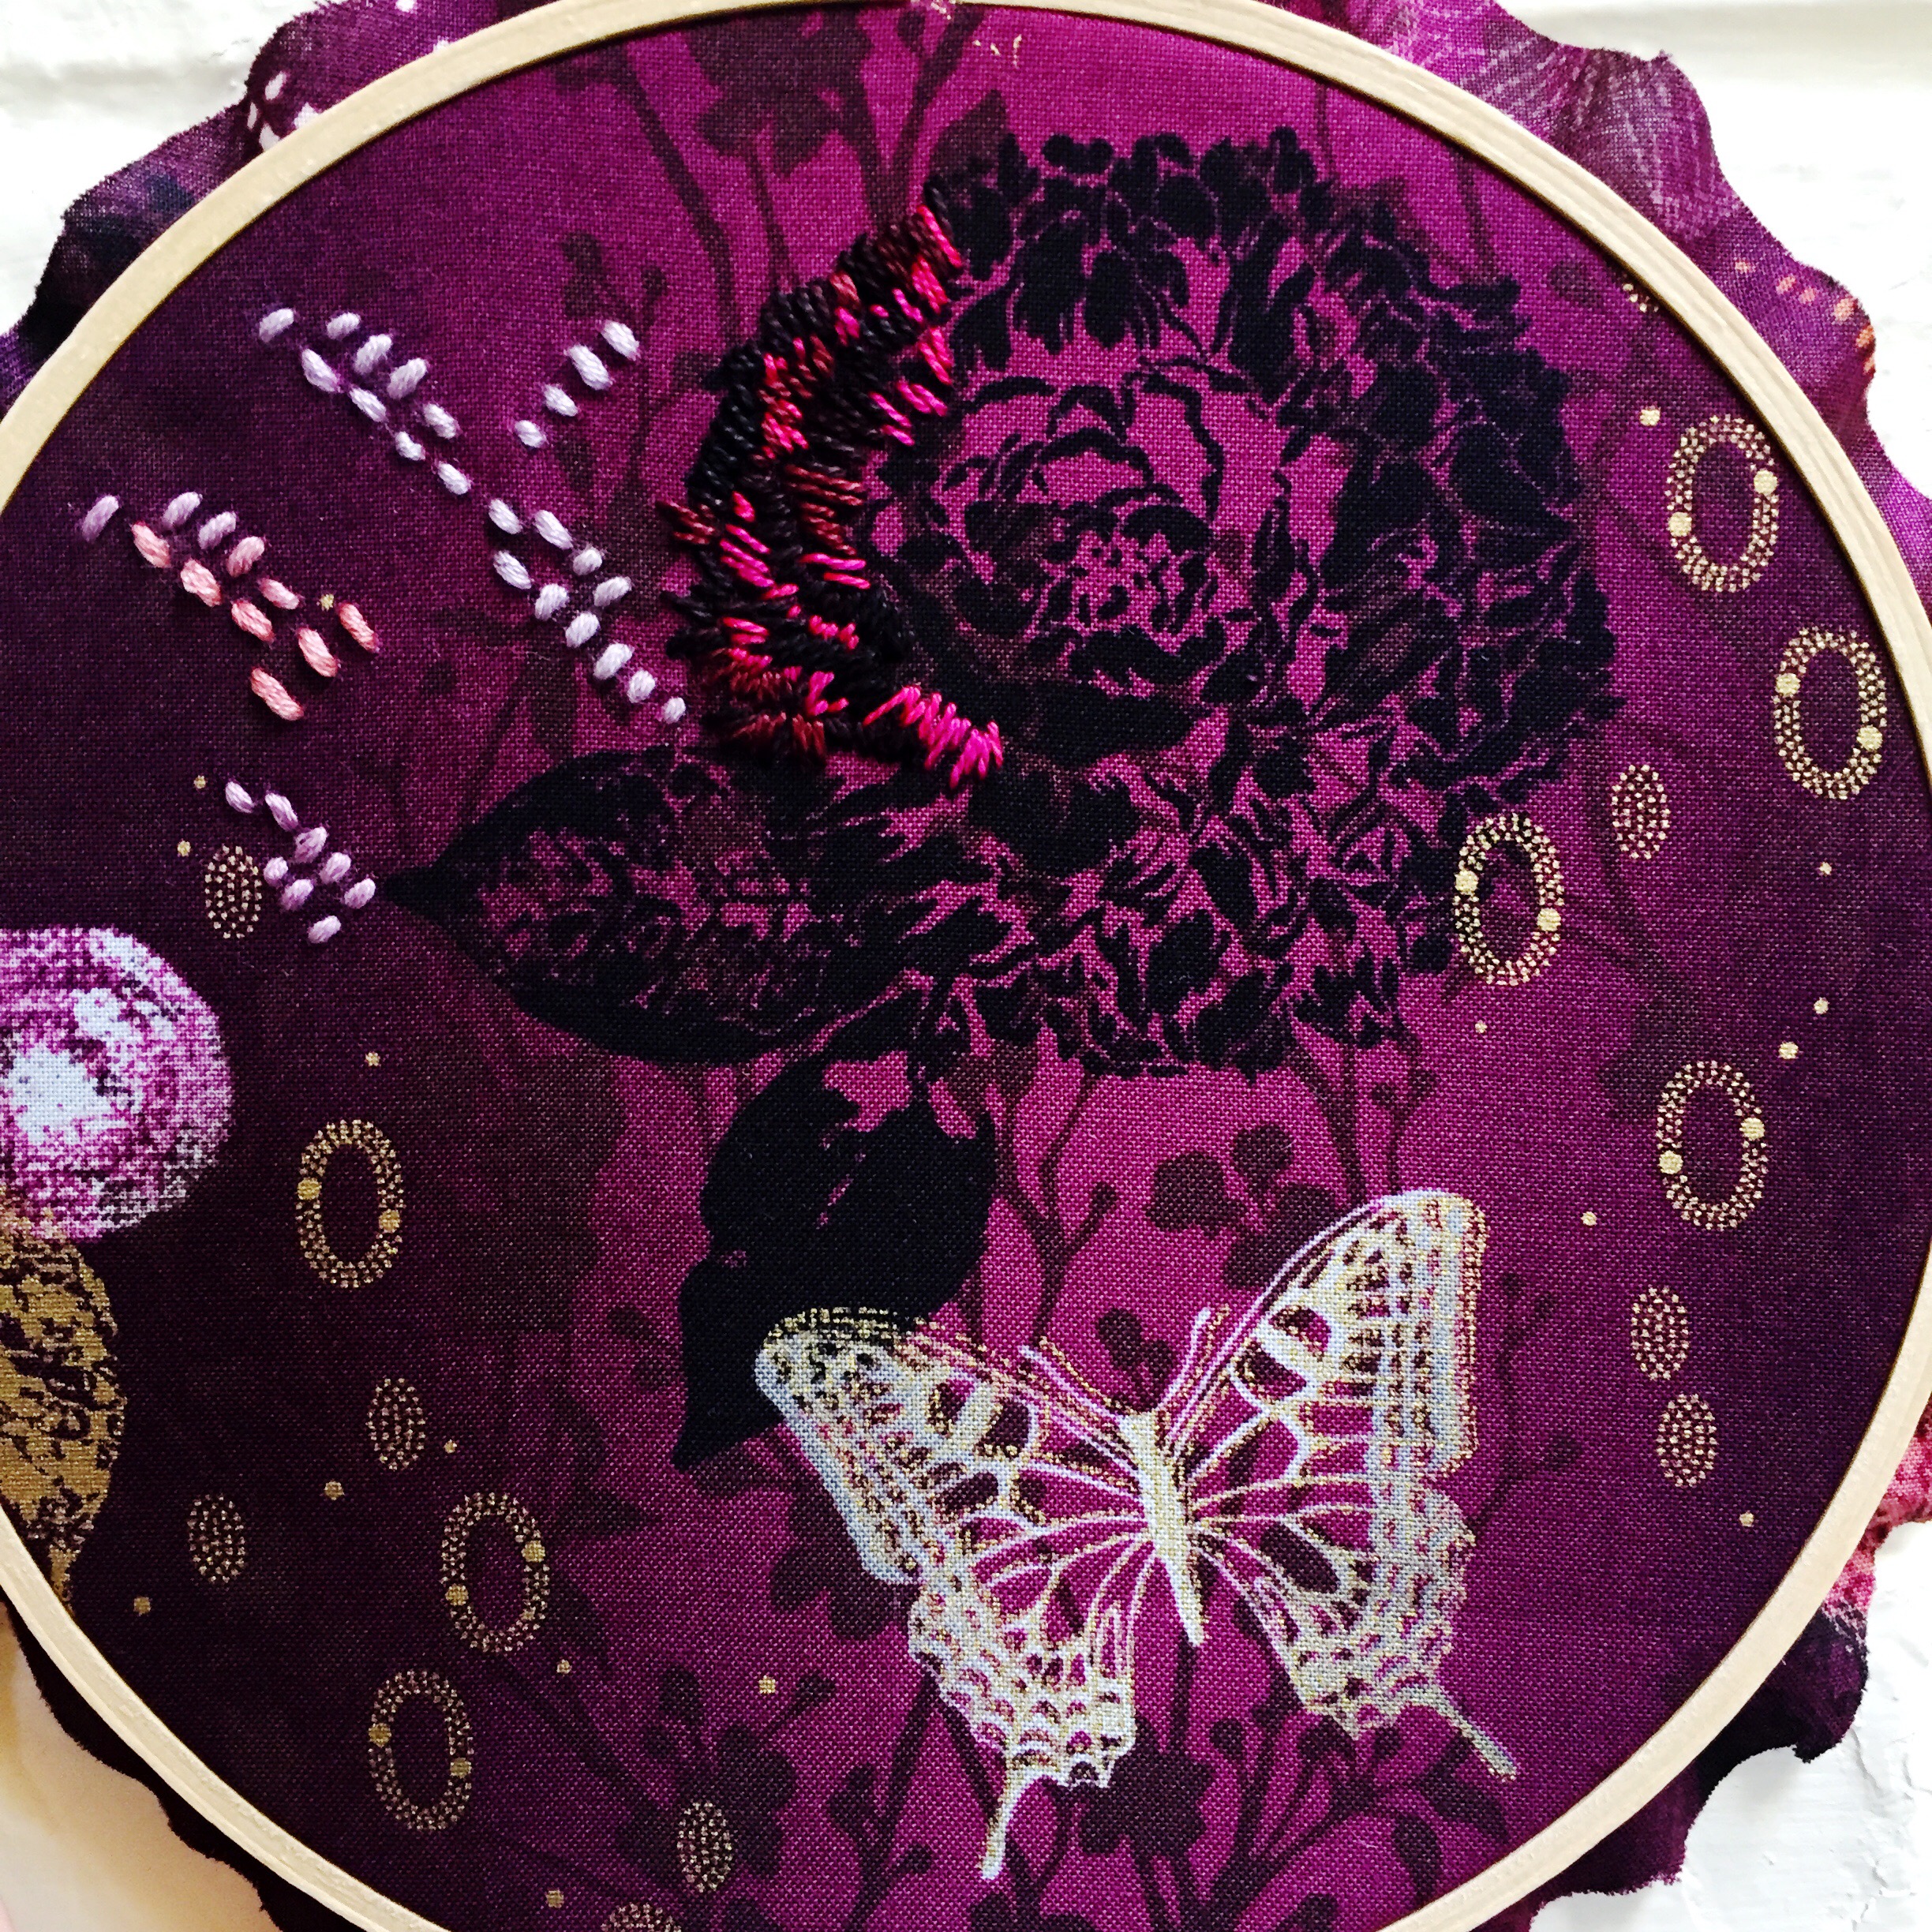
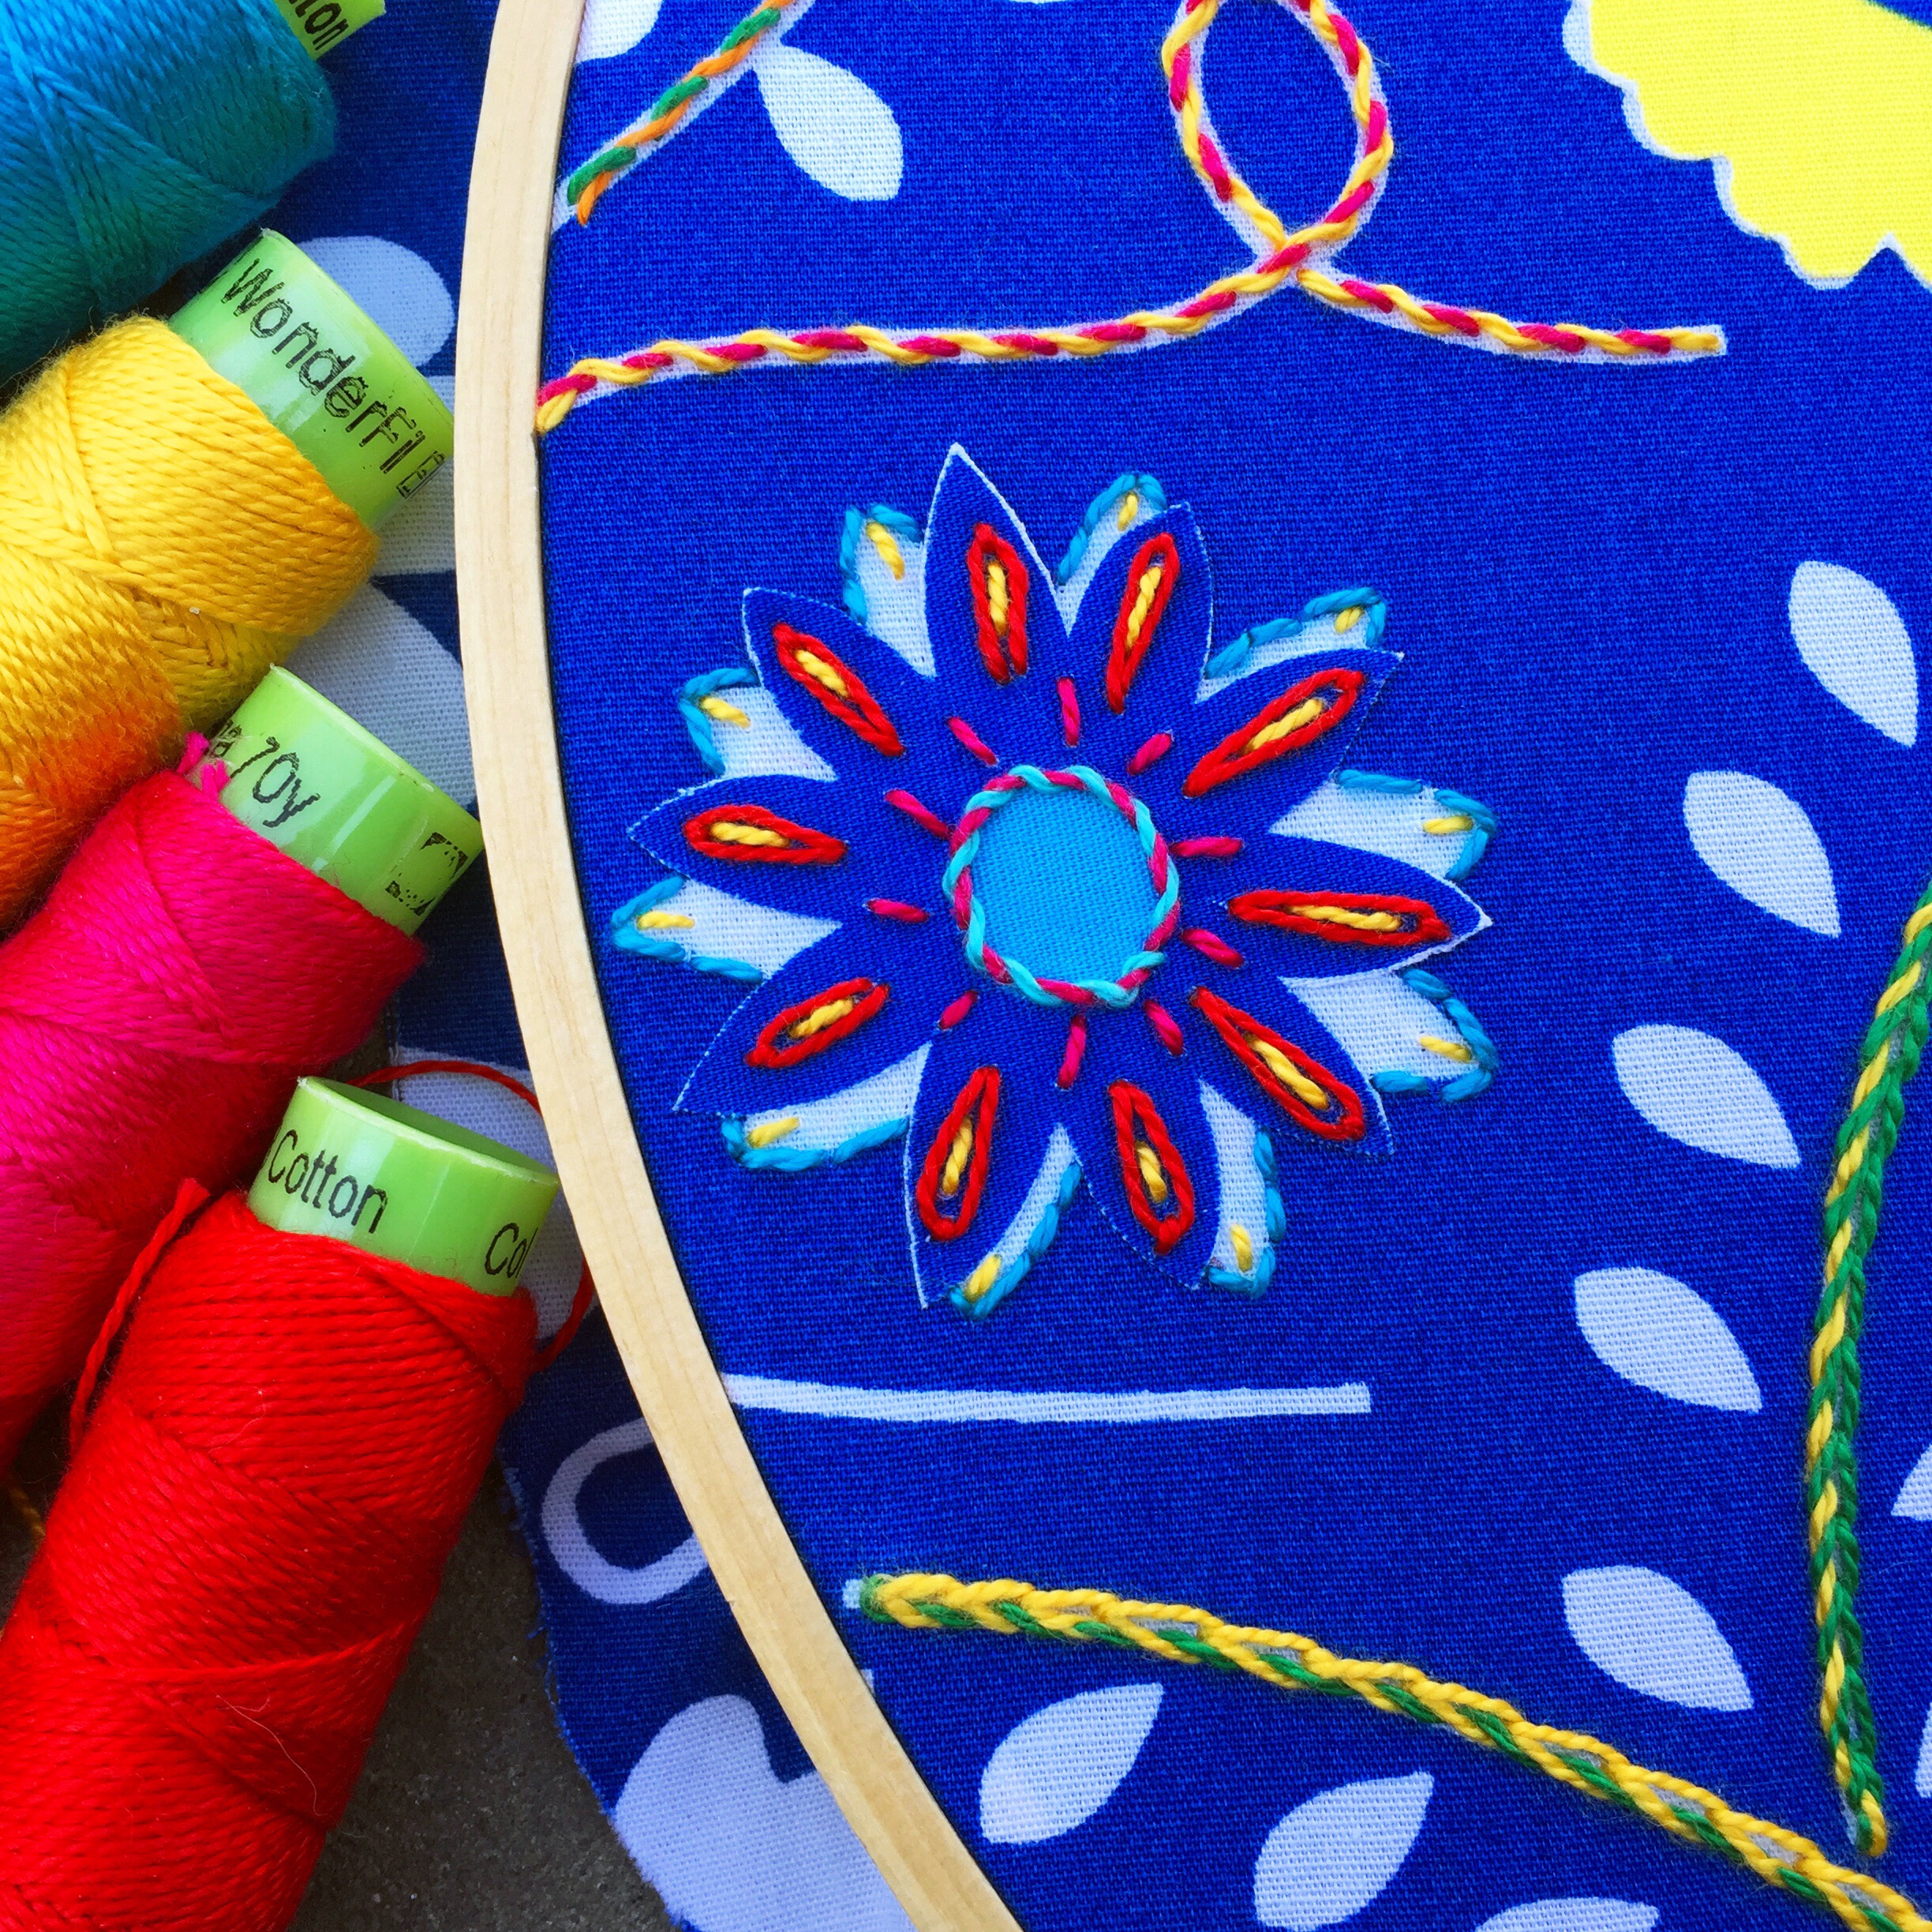
I have the fabric backed with Heat ‘n Bond and that is being held in place on the pink Cricut adhesive fabric mat.

Once the cuts were made, I had three separate pieces that I then assembled onto my background fabric.

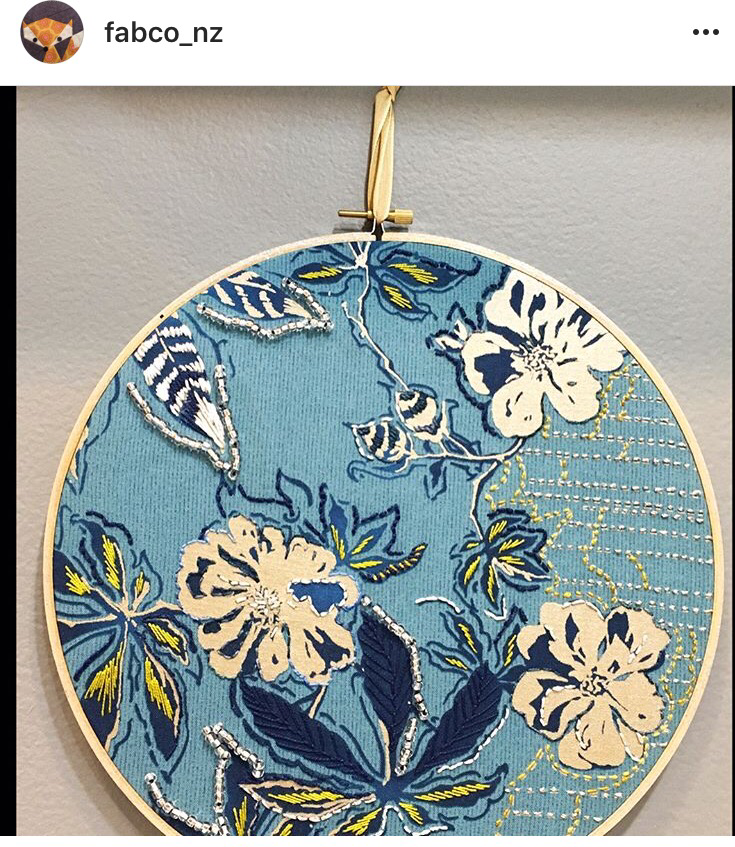
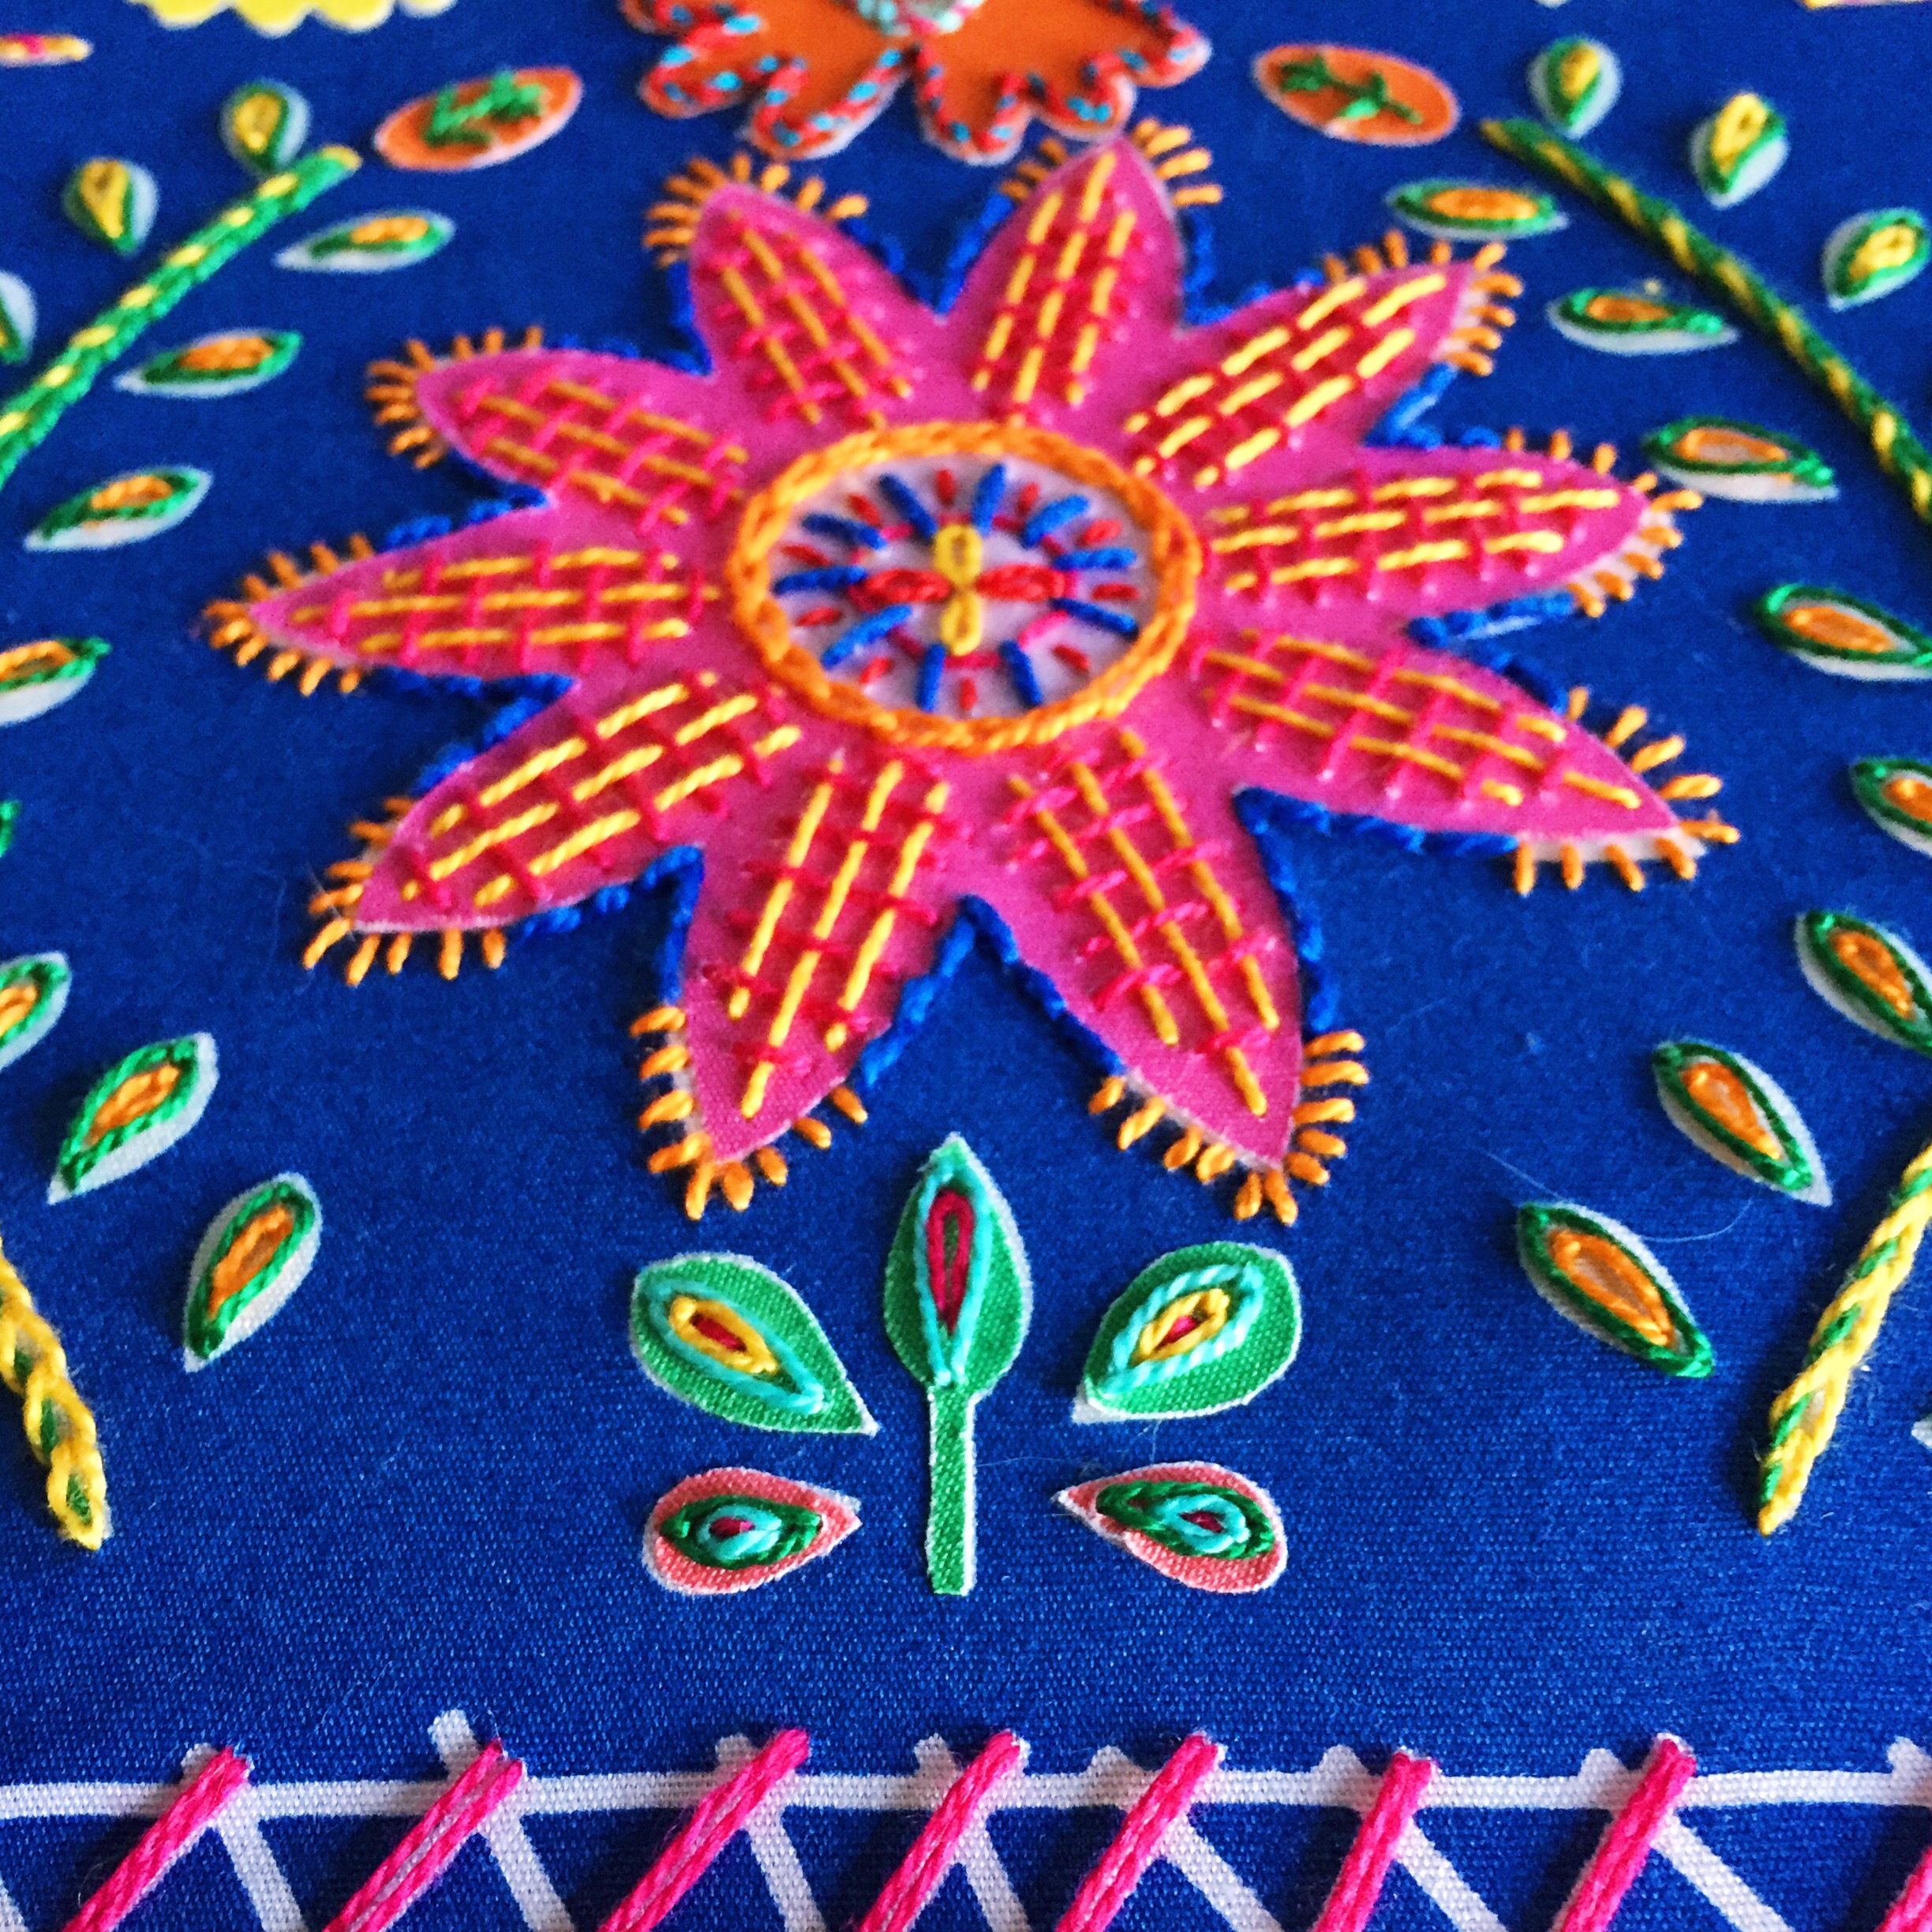
And then my favorite part, of course, the embroidery!

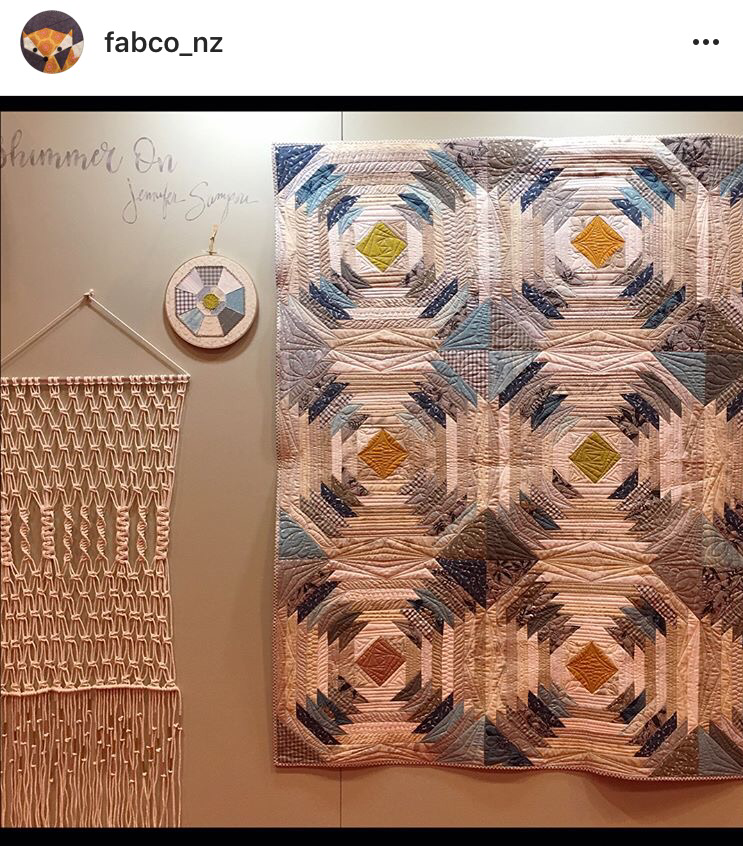
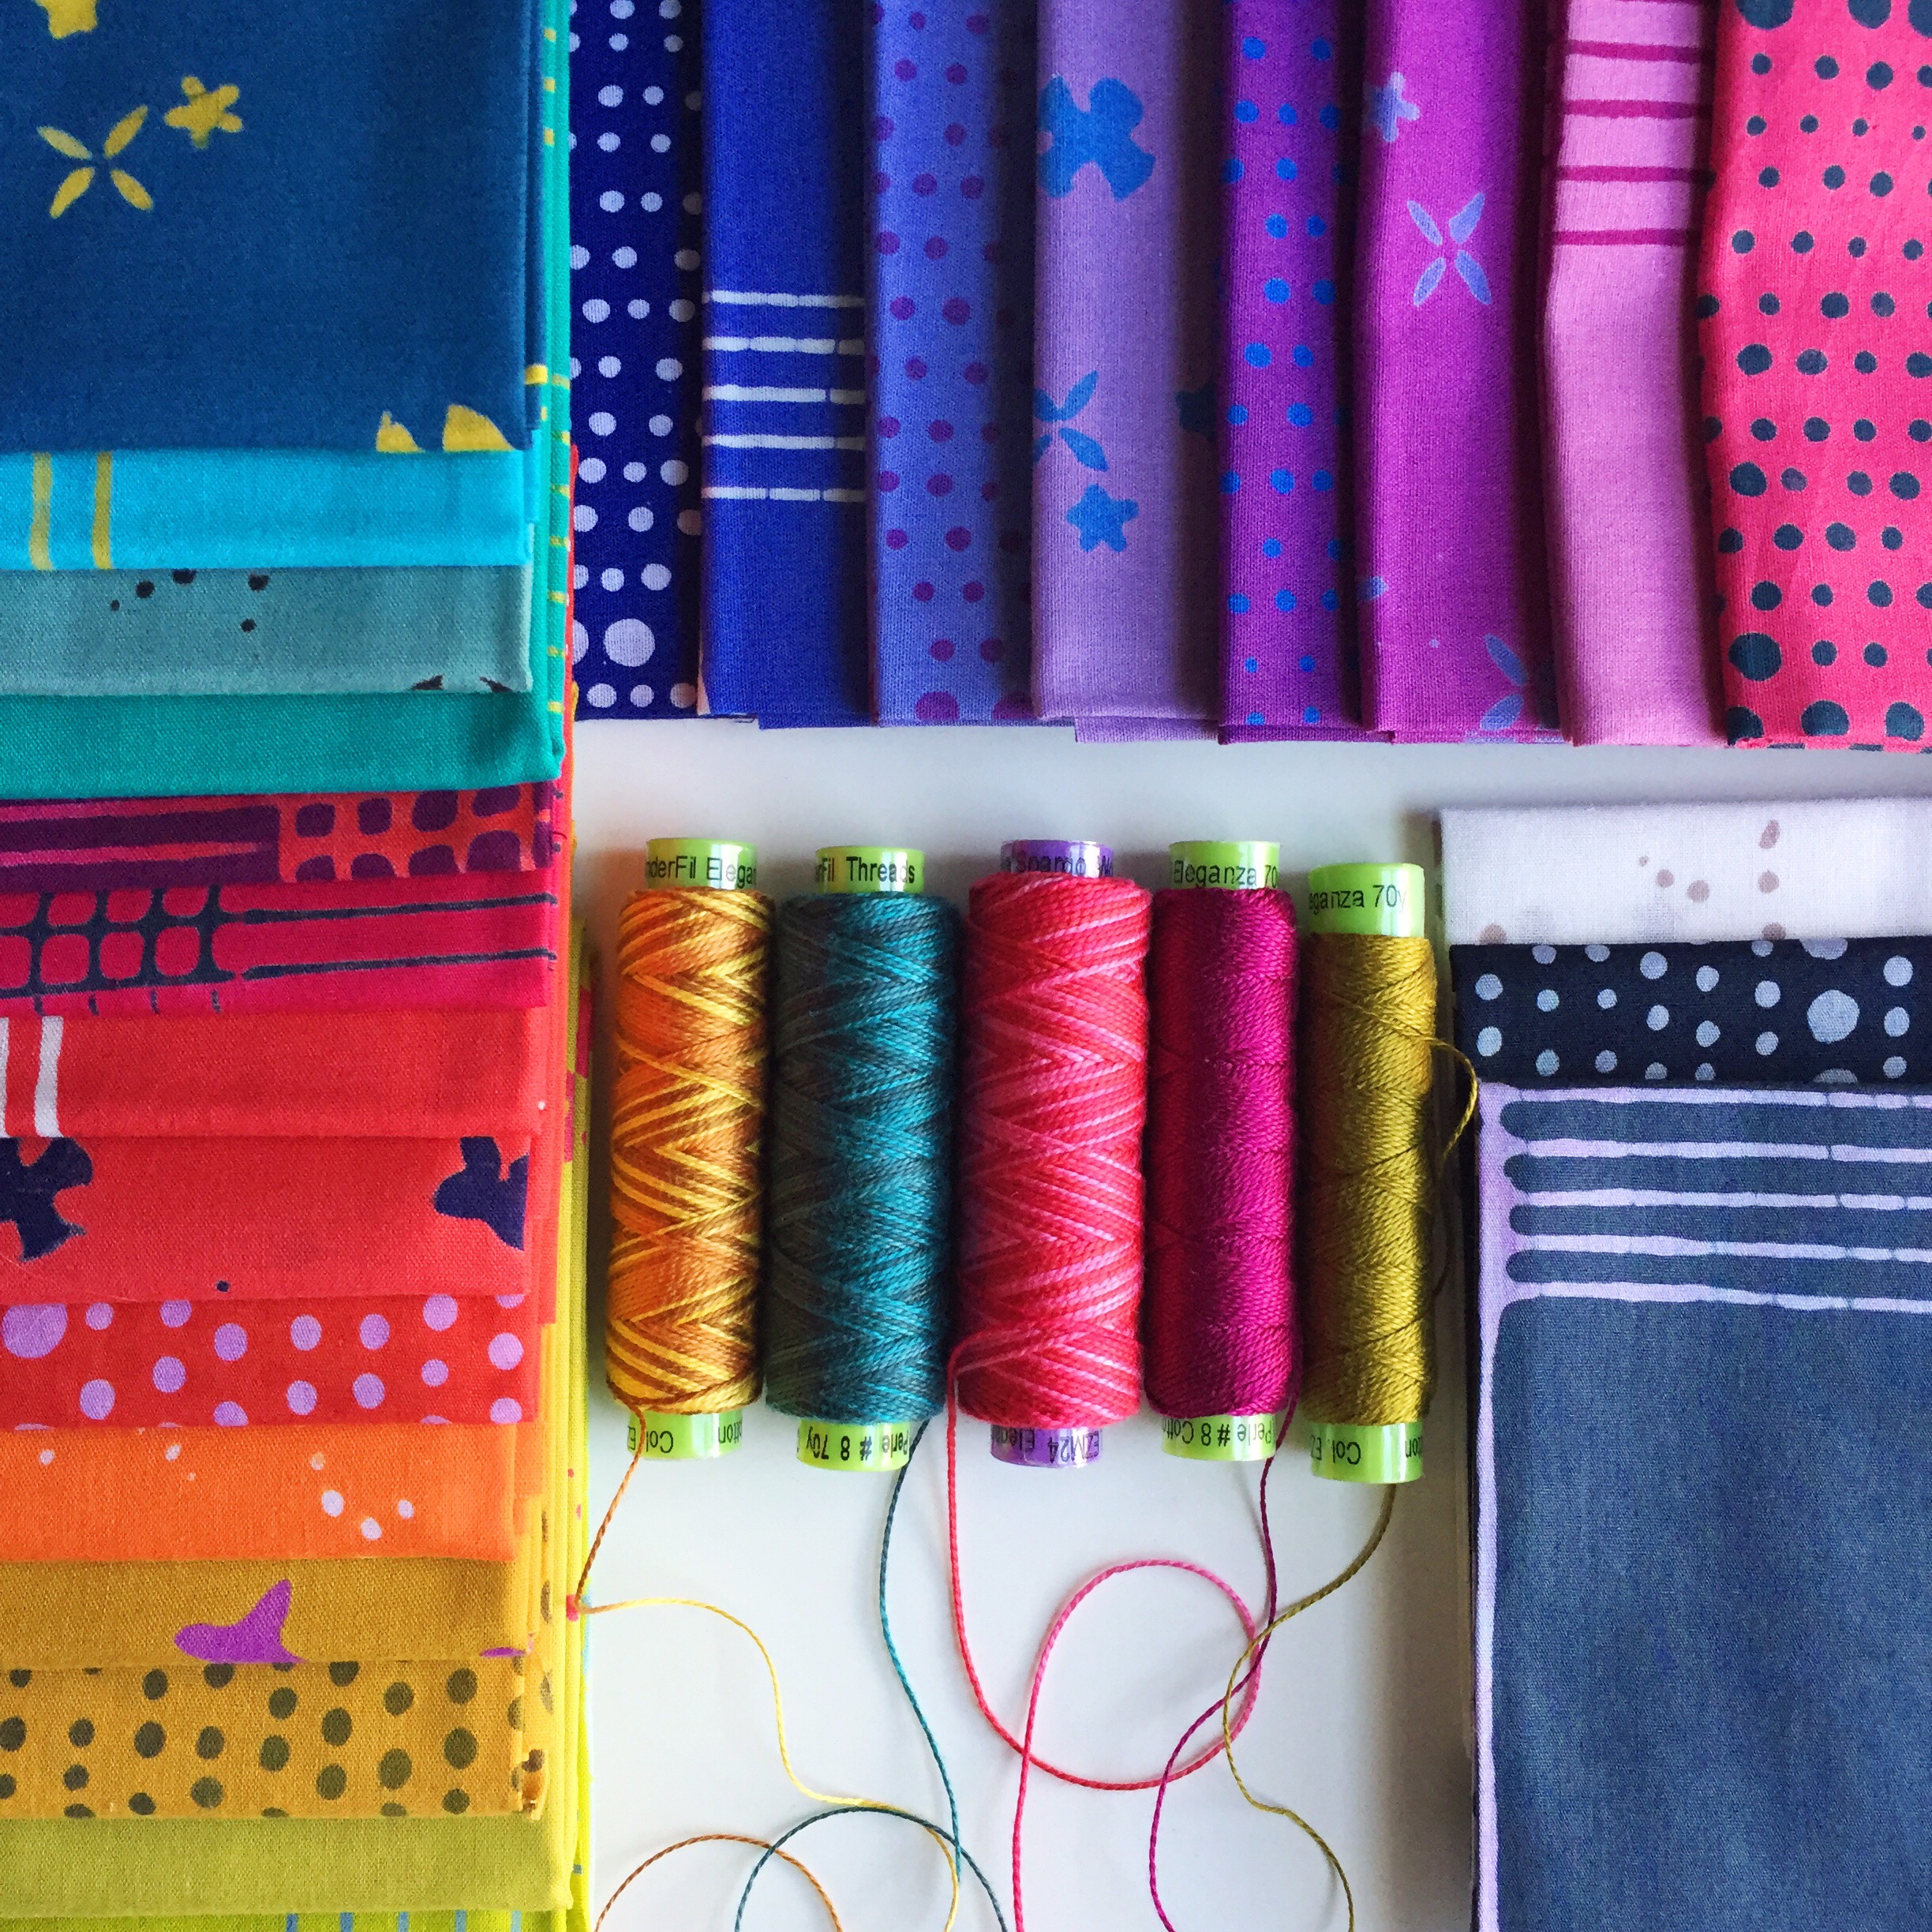
The fabrics that I used are from Alison Glass.

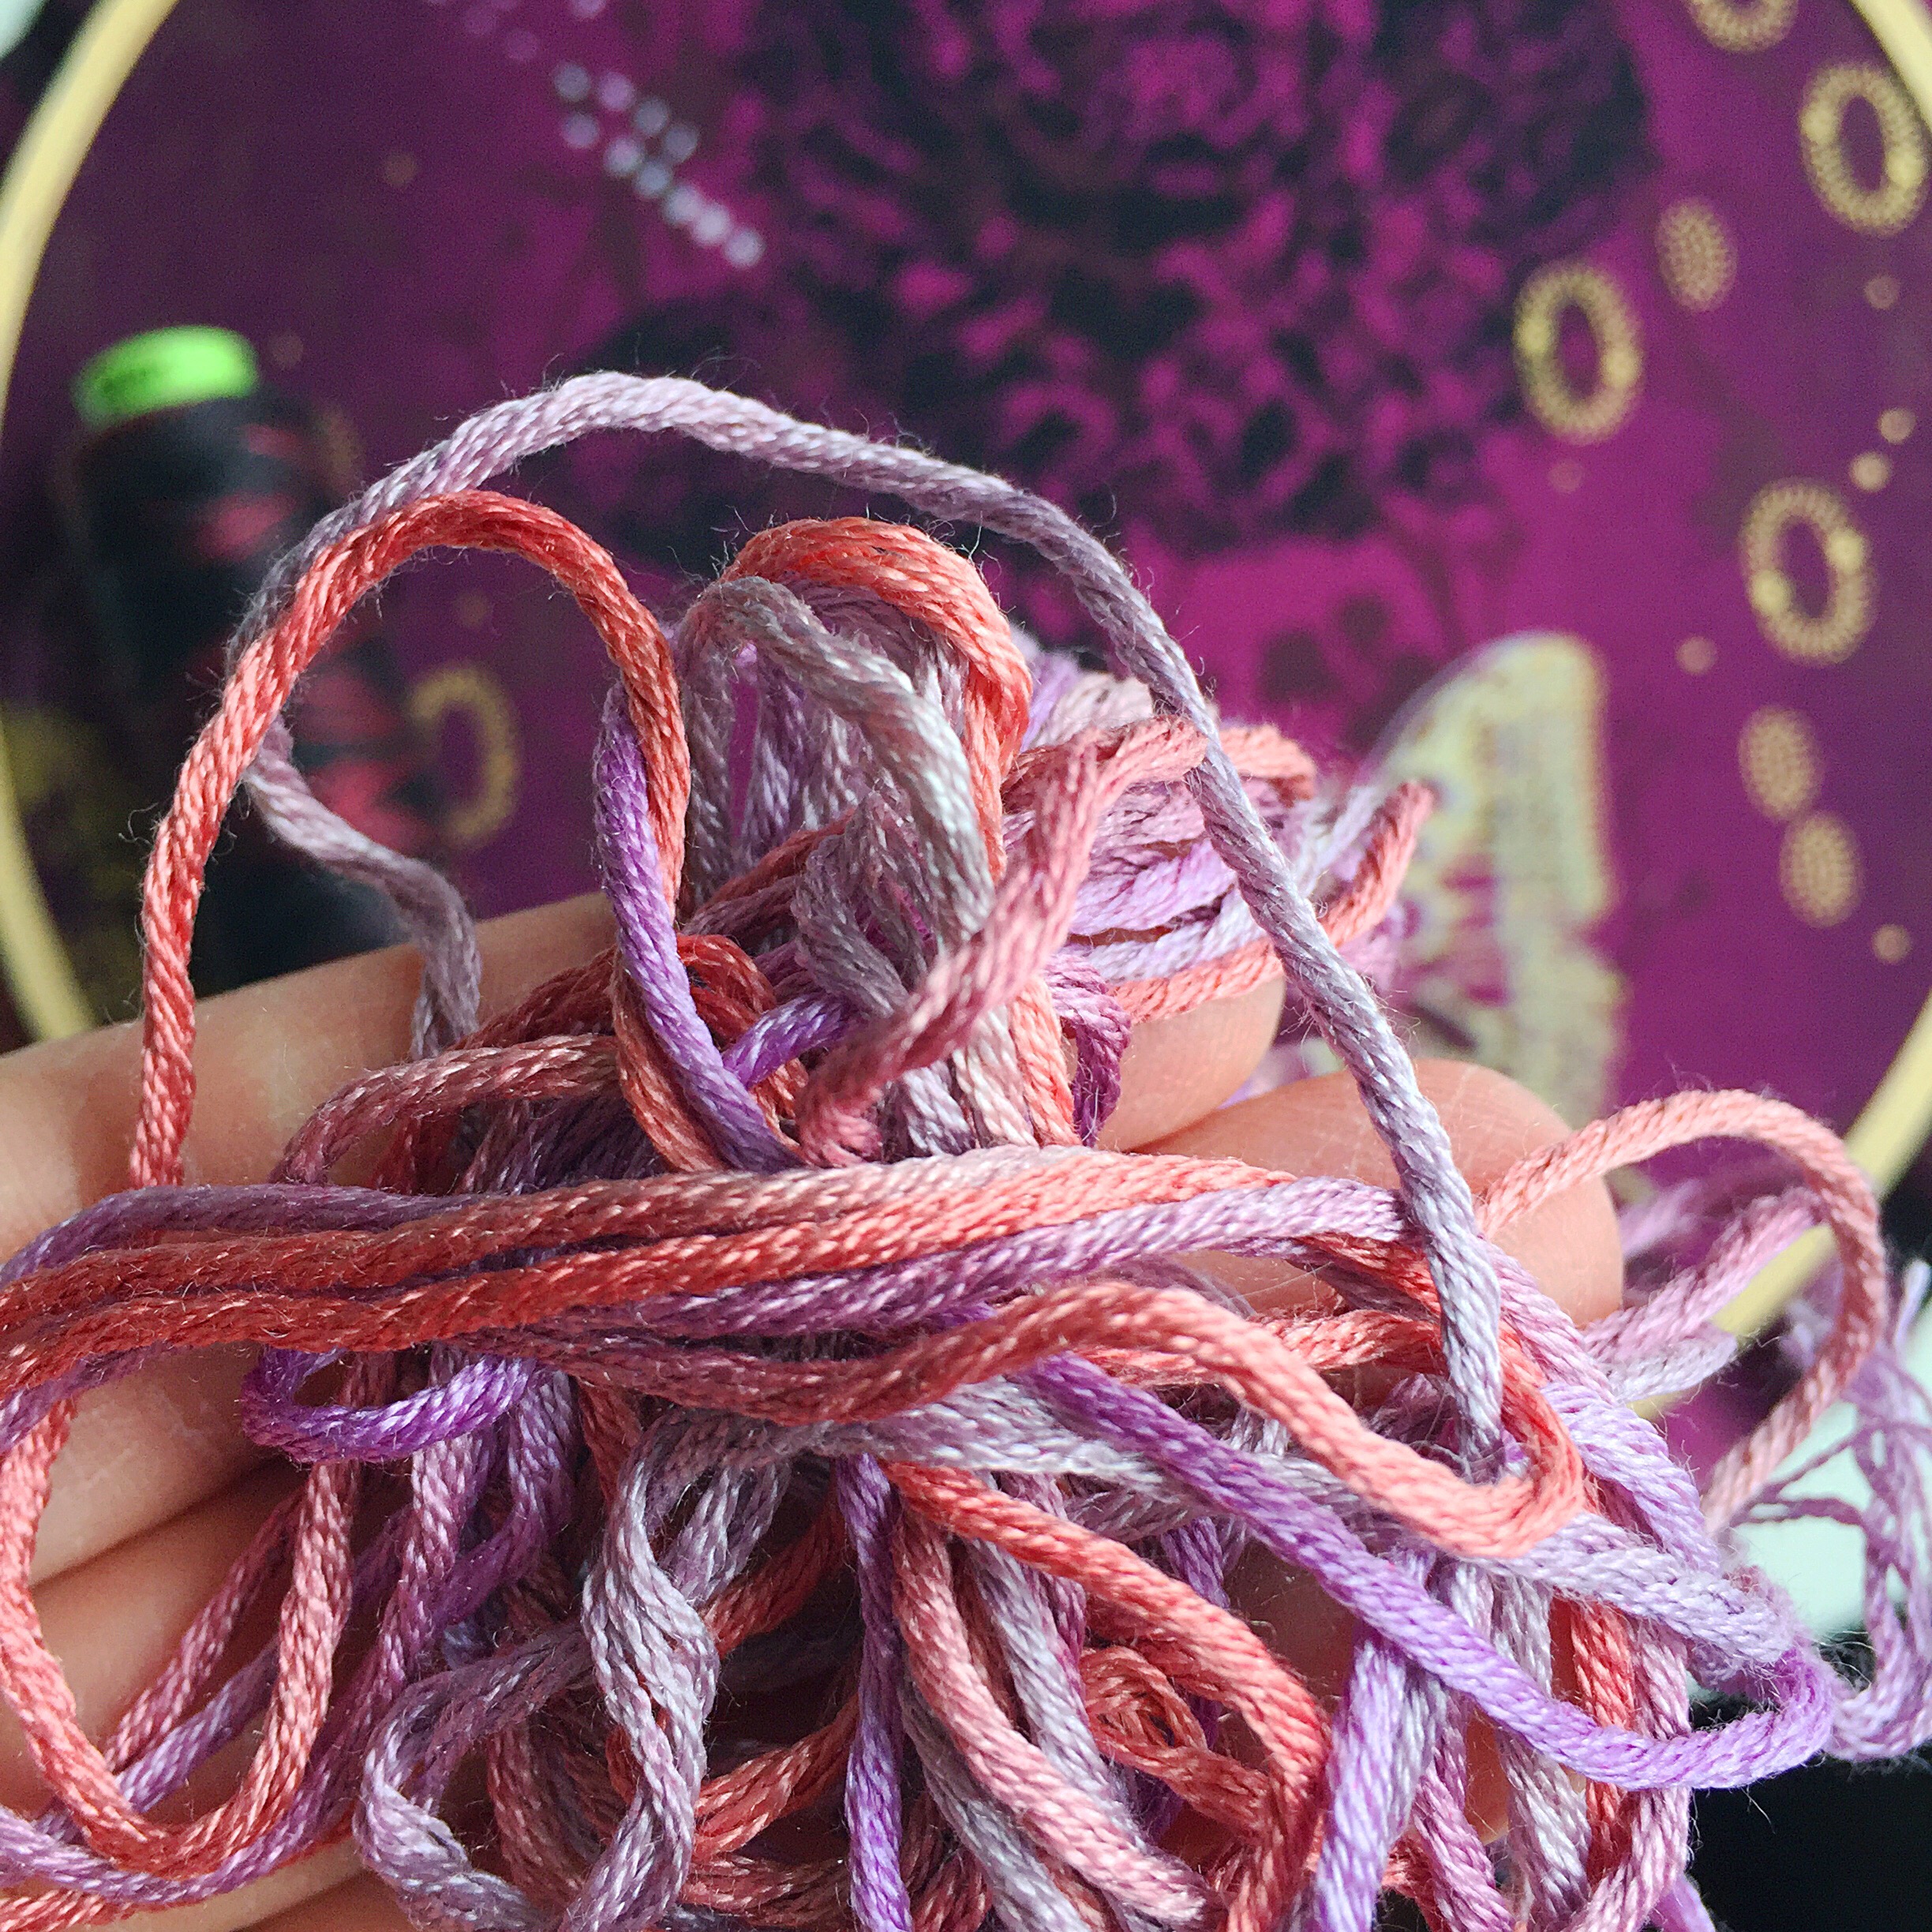
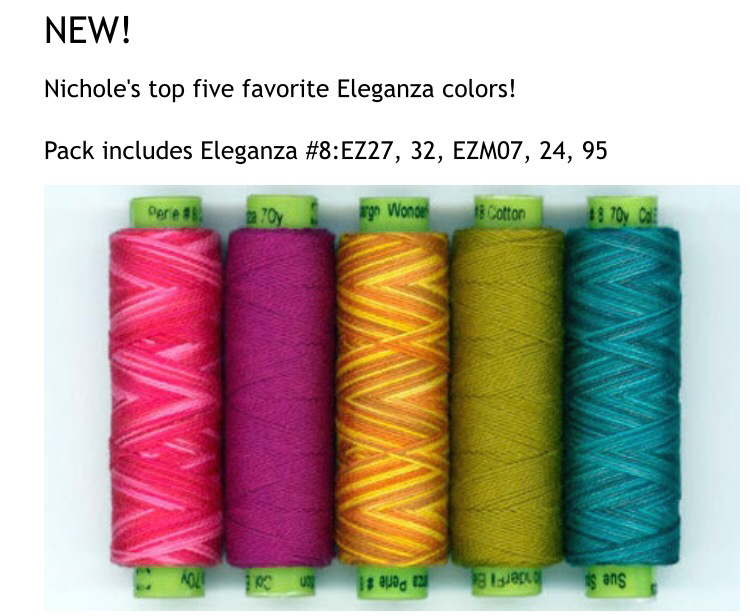
The threads that I used are Eleganza from Sue Spargo. This is the size 8 thread, but I doubled it up for stitching this piece.

And finally, I am asked all the time about the beads that I use…these are size 8 Japanese seed beads from Fusion Beads.

I stitched it up and have the perfect hoop for my stitching studio space! (say that three times fast!)

I’m thrilled with how simple it was to use the Maker machine and how quickly I was able to put together all of the pieces for this project. I’m thinking that for my next project, I might use my own design for a hoop. So, stay tuned, i’ll be sure to share it with you here!

And in the meantime, you can check out how others have been using their machines on Cricut’s Instagram page!


The Maker machine and supplies have been provided to me by Cricut. The opinions, photos and videos above have been provided by me. 

Boho Stitch Along. Week no. 21

Welcome back for Week no. 21! If you are just beginning a piece for the #BohoSAL, check out my previous posts here. And if you are new to embroidery and want to learn the basics, check out my embroidery book, Boho Embroidery for everything you need to get started!


For the moment, I can stitch just to stitch and not to meet a deadline, which is really an enjoyable thing…when it happens!

So this week, working with my Gertrude Made fabrics for my #BohoSAL piece, I began to add beads galore to my Boho Stitch Along piece. With a piece like this, I had no specific plan of what I was going to stitch, what stitches to use, etc. I knew I wanted to add a running stitch along the background, so that’s where I began. While I was working on the running stitch, it gave me time to really look at the fabric and decide what my next move would be! Plus, I have all of these great beads in shades of green and I just knew I had to add them somewhere!!

img_9927


In other news, it’s Spring Quilt Market time! I’m not there, but several of my hoops made the journey to St. Louis

I was really excited to be asked to work with the beautiful Shimmer On fabric by Jennifer Sampou for Robert Kaufman.

Here’s a full view of the booth:

img_9929

And here are a few close ups of the hoops that I made:
img_9880-1

img_9882
img_9883

I was also asked to make a hoop for Sue Spargo’s booth using my favorite Eleganza threads. Here’s a view of her booth in all it’s colorful gorgeousness and also a close up of the hoop that I made using Heather Bailey’s “Hello Love” fabrics:

img_9908

I was also thrilled to create a few projects for Andover Fabrics using the upcoming Chroma Handcrafted fabrics from Alison Glass.

img_9914

img_9930

img_9931
img_9932

And last but not least, here is the Alexander Henry booth and that citron owl hoop is one I was commissioned to make awhile back. I love that hoop! It is complete with a pink tulle skirt and lots of metallic threads throughout!

Well, that’s a wrap!

Don’t forget to check out the tag #Bohosal to see what our other stitch along friends have been up to lately!

Hope you all had a great week and happy stitching!

Boho Stitch Along. Week no. 11

Welcome back for Week no. 11! If you are just beginning a piece for the #BohoSAL, check out my previous posts here. And if you are new to embroidery and want to learn the basics, check out my embroidery book, Boho Embroidery for everything you need to get started!


I think by now you know that I love to switch between projects a lot! I have several #BohoSAL hoops going and I work on them depending on what mood i’m in and what other projects I have going for the week!!

This week, I started on a piece of fabric from Flaurie & Finch. I met the ladies of Flaurie and Finch at Quilt Market in October and, besides being super nice, they haven’t designed a fabric yet that I don’t love!

I also really wanted to try out this stunning Silk ‘n Colors thread from The Thread Gatherer. This is a 12-ply thread which means you can use anywhere from 1-12 strands of it in your project. I chose to use all 12 strands just to see how well I could stitch with it. Let me tell you, this thread is amazing. I had no trouble with tangles, the thread easily went through my fabric and the end result was a noticeable raised stitch.


This particular deep purple fabric is from Flaurie and Finch’s Shiny Objects collection and it is called “Menagerie.” I love a fabric that has a healthy dose of metallic shimmer! Butterflies are always a bonus!


So there’s my #BohoSAL for the week. Here’s what else i’ve been up to…


I was excited to be featured on Sue Spargo’s site last week…you can check out the feature here as well as check out the thread pack that I curated in my favorite colors! P.S. You can also find my book on her site now too!


If you’ve been wanting to try Eleganza thread but aren’t sure where to start, the colors that I picked for the Wildboho Eleganza thread pack are a great mix of saturated colors that I use for just about everything!


It goes especially well with the brand new upcoming Alison Glass line, Chroma Handcrafted. Seriously, these colors!!!


Speaking of colors, I’ve had the chance to work with another gorgeous fabric line from Dana Willard (on instagram at @made_everyday) for Angles which is a new-ish division of Art Gallery Fabrics. Dana’s fabrics are just beautiful and colorful and everything you want as a base for embroidery! (P.S. you Boho Stitch Along-ers…any of these fabrics would be really fun if you are looking for a new #BohoSAL piece!)

Her line is called Fiesta Fun and you’ve seen peeks of the hoop I’ve been creating this past week on Instagram.

First off, check out some of these colorful prints! (These are just a few of the prints from this line. For more fabrics and some gorgeous inspiration, check out Dana’s page describing this new line here.)


These bright colors are just what I wanted to be stitching as winter winds down!


For this hoop, I began with the blue and white fabric and then added the first bit of color from flowers that I cut from the colorful version of the same fabric.

Now, I know some of you are all about fussy cutting and will see nothing wrong with what I’ve done here, but others will look at this cut fabric and see nothing but waste!!! It had to be done, though!!!

Once I cut out the flowers that I needed and attached them to the fabric, I could begin adding even more texture and color with my embroidery.

And here’s the finished hoop…I just love how this turned out!!!

I’ll leave you with all that color inspiration for today!

Have a great week of stitching!

-nichole

Slow Stitching

I have a couch pillow with a tear and rather than mend it with my sewing machine, I’m taking the slooooow route and making a new pillow cover. A long drive on vacation and several day trips in the car and I’m barely closer to having a new pillow cover. In fact, the rip in my current pillow case has gotten bigger. Now it’s a challenge…either finish the Hexie pillow project or watch the hole in the pillow cover continue to unravel and grow larger. Because I’m not fixing it. I will replace it with a Hexie cover that I stitched by hand. I will finish this. Hopefully before next summer takes us out on the road again!