Boho Embroidery Stitch Along Tour

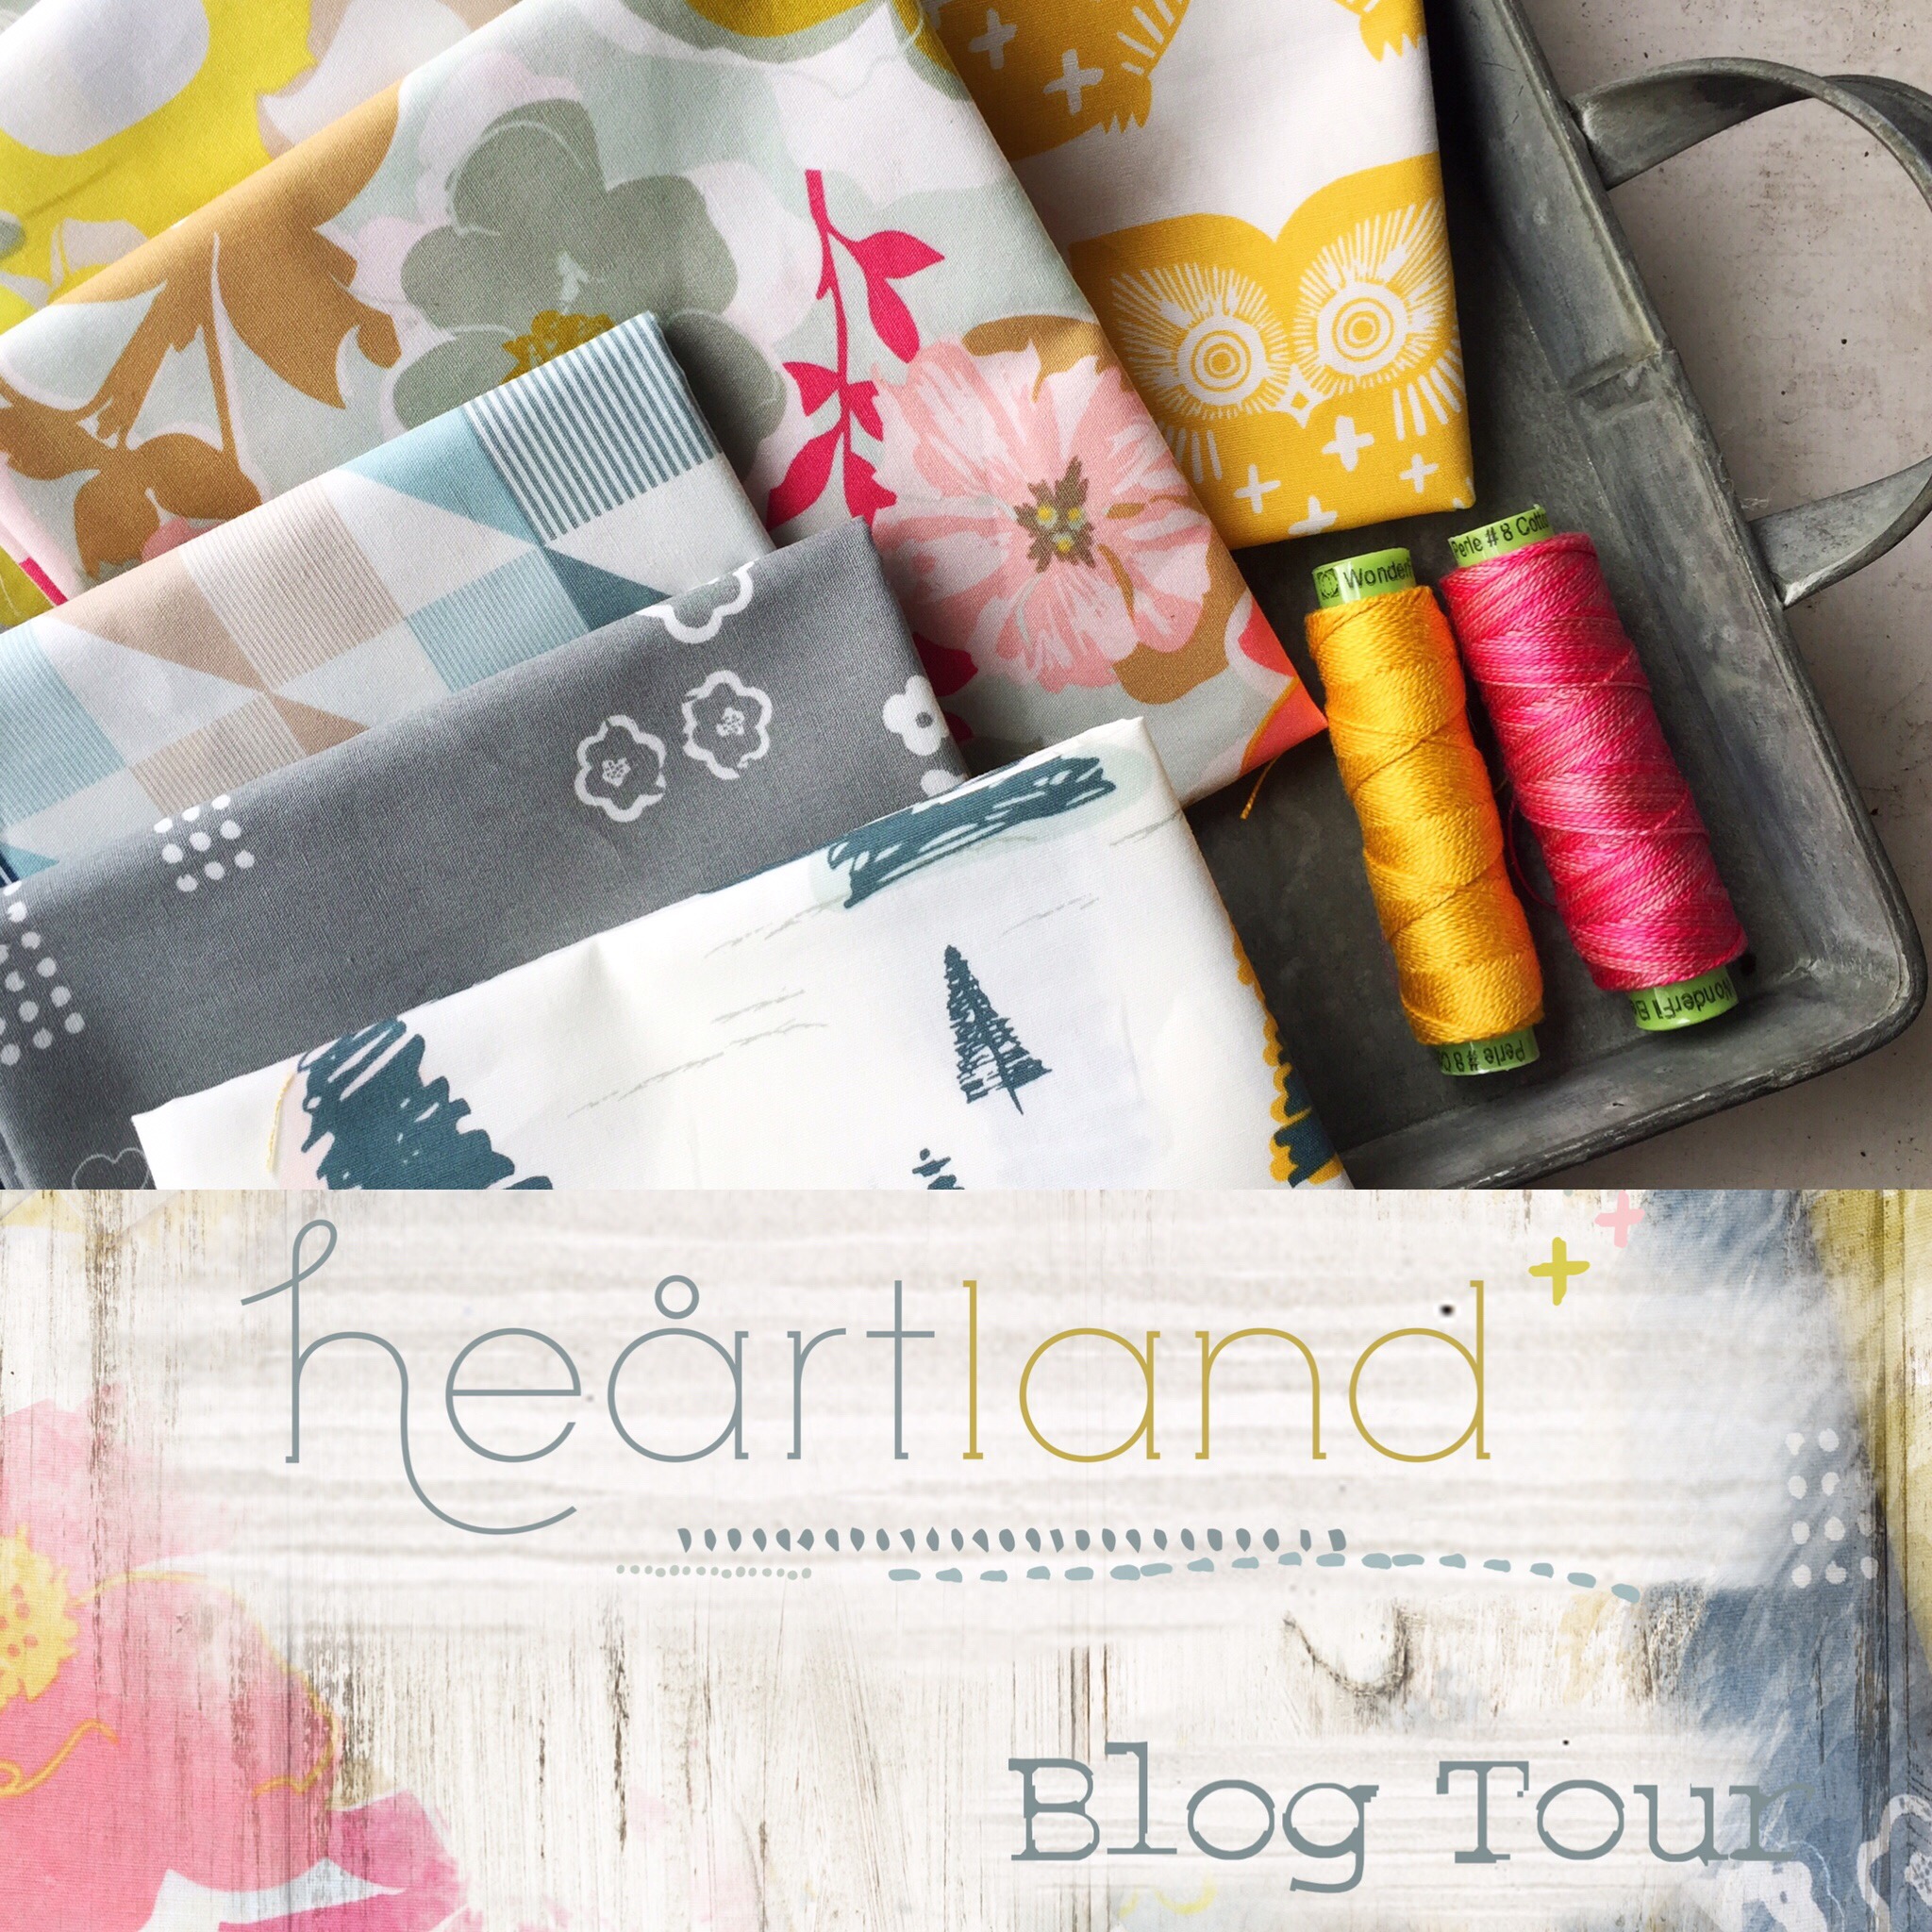
Today I am (excitedly!) kicking off 10 weeks of the Boho Embroidery Stitch Along tour with some of my favorite makers!

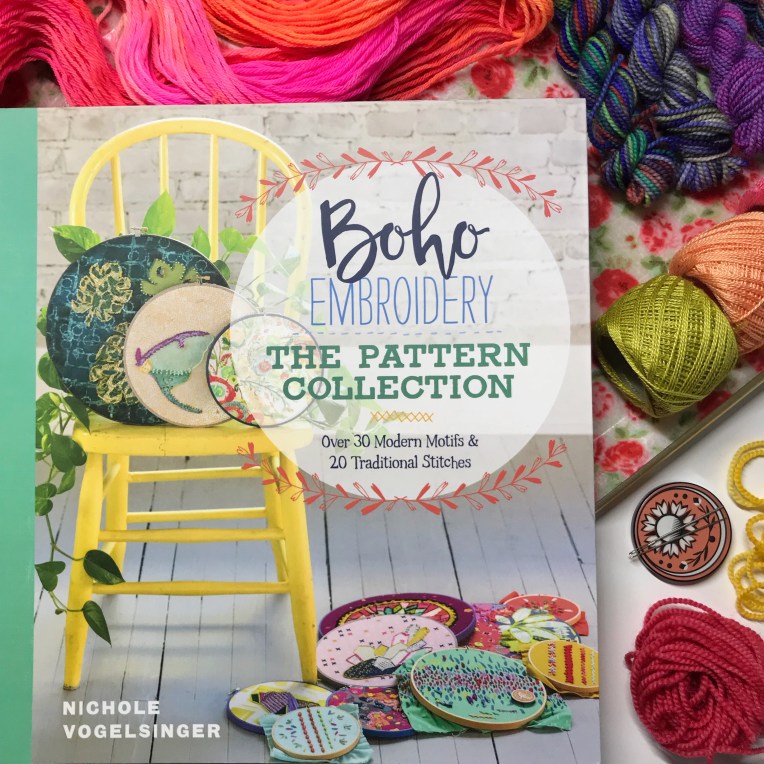
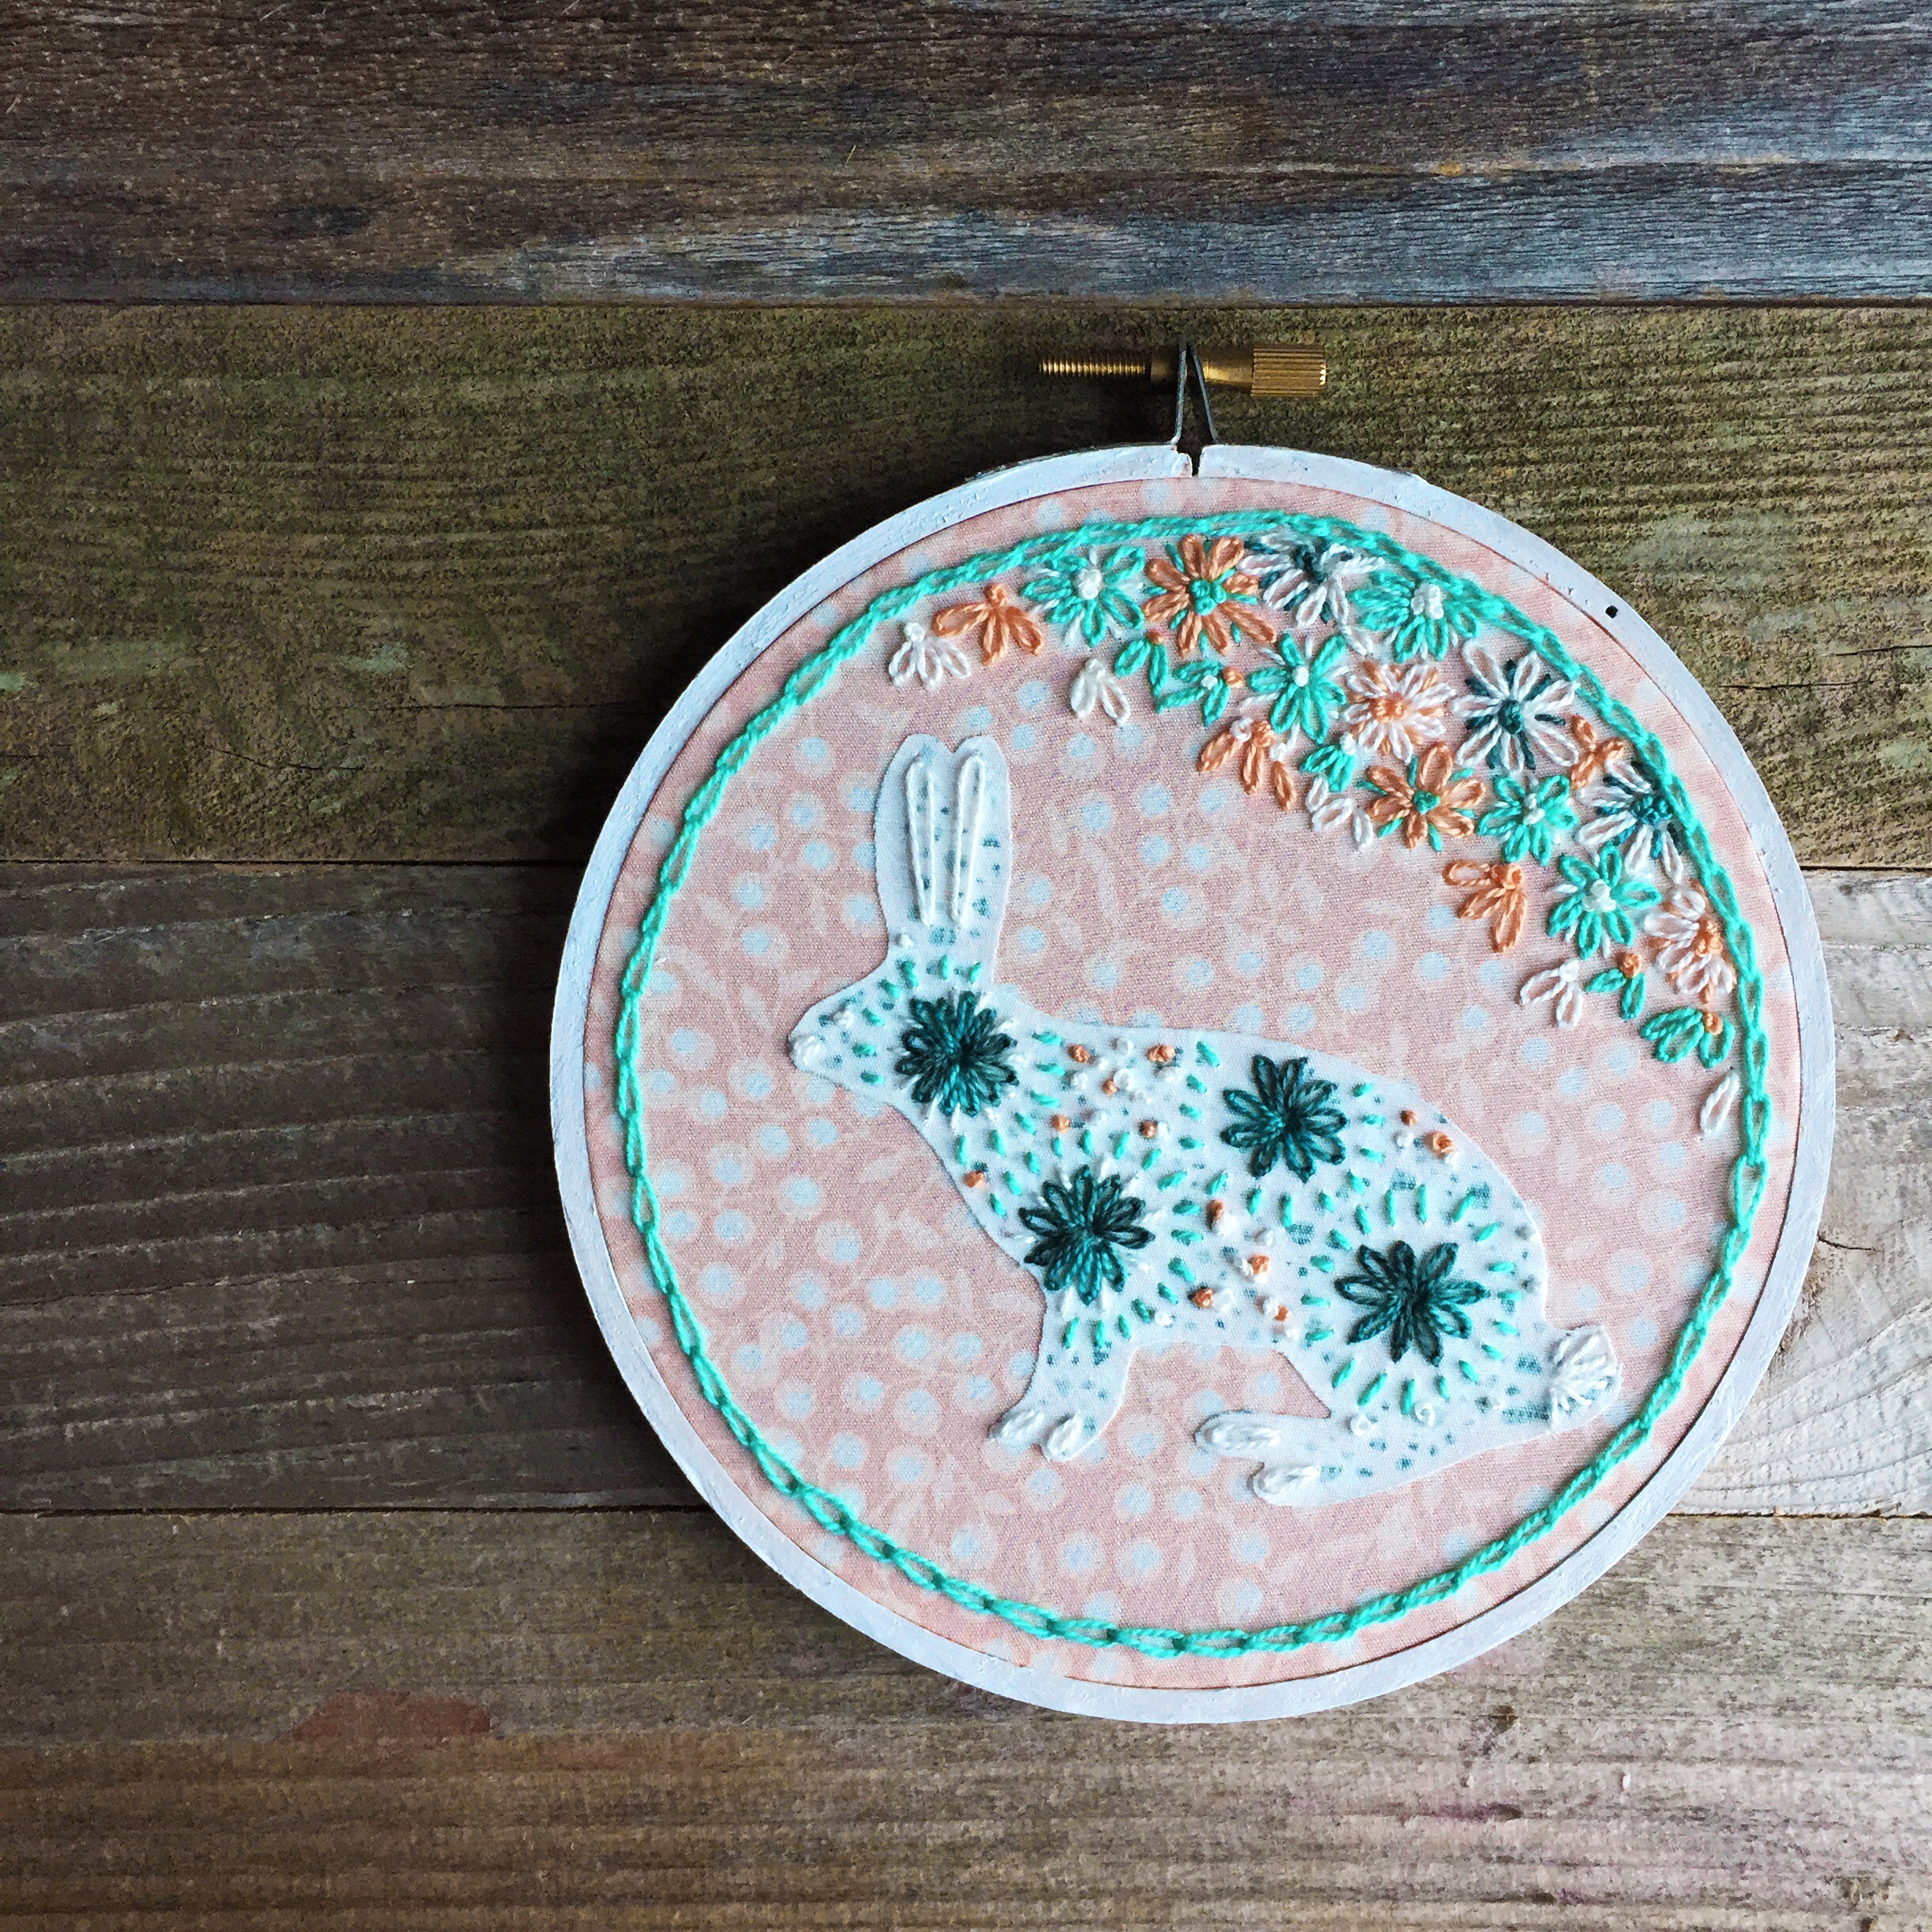
Each week of the Stitch Along Tour, I will feature a maker who has stitched up a project from my newest book: Boho Embroidery: The Pattern Collection. I’m most excited to share with you the variety of ways that the patterns from my book can be used. Each pattern in the book can be used in one of two ways: either as a fabric collage design or as a straightforward embroidery pattern. My goal in writing this book, was to create a patterns that could be as unique as each person who picked up a copy of the book and felt the urge to create!


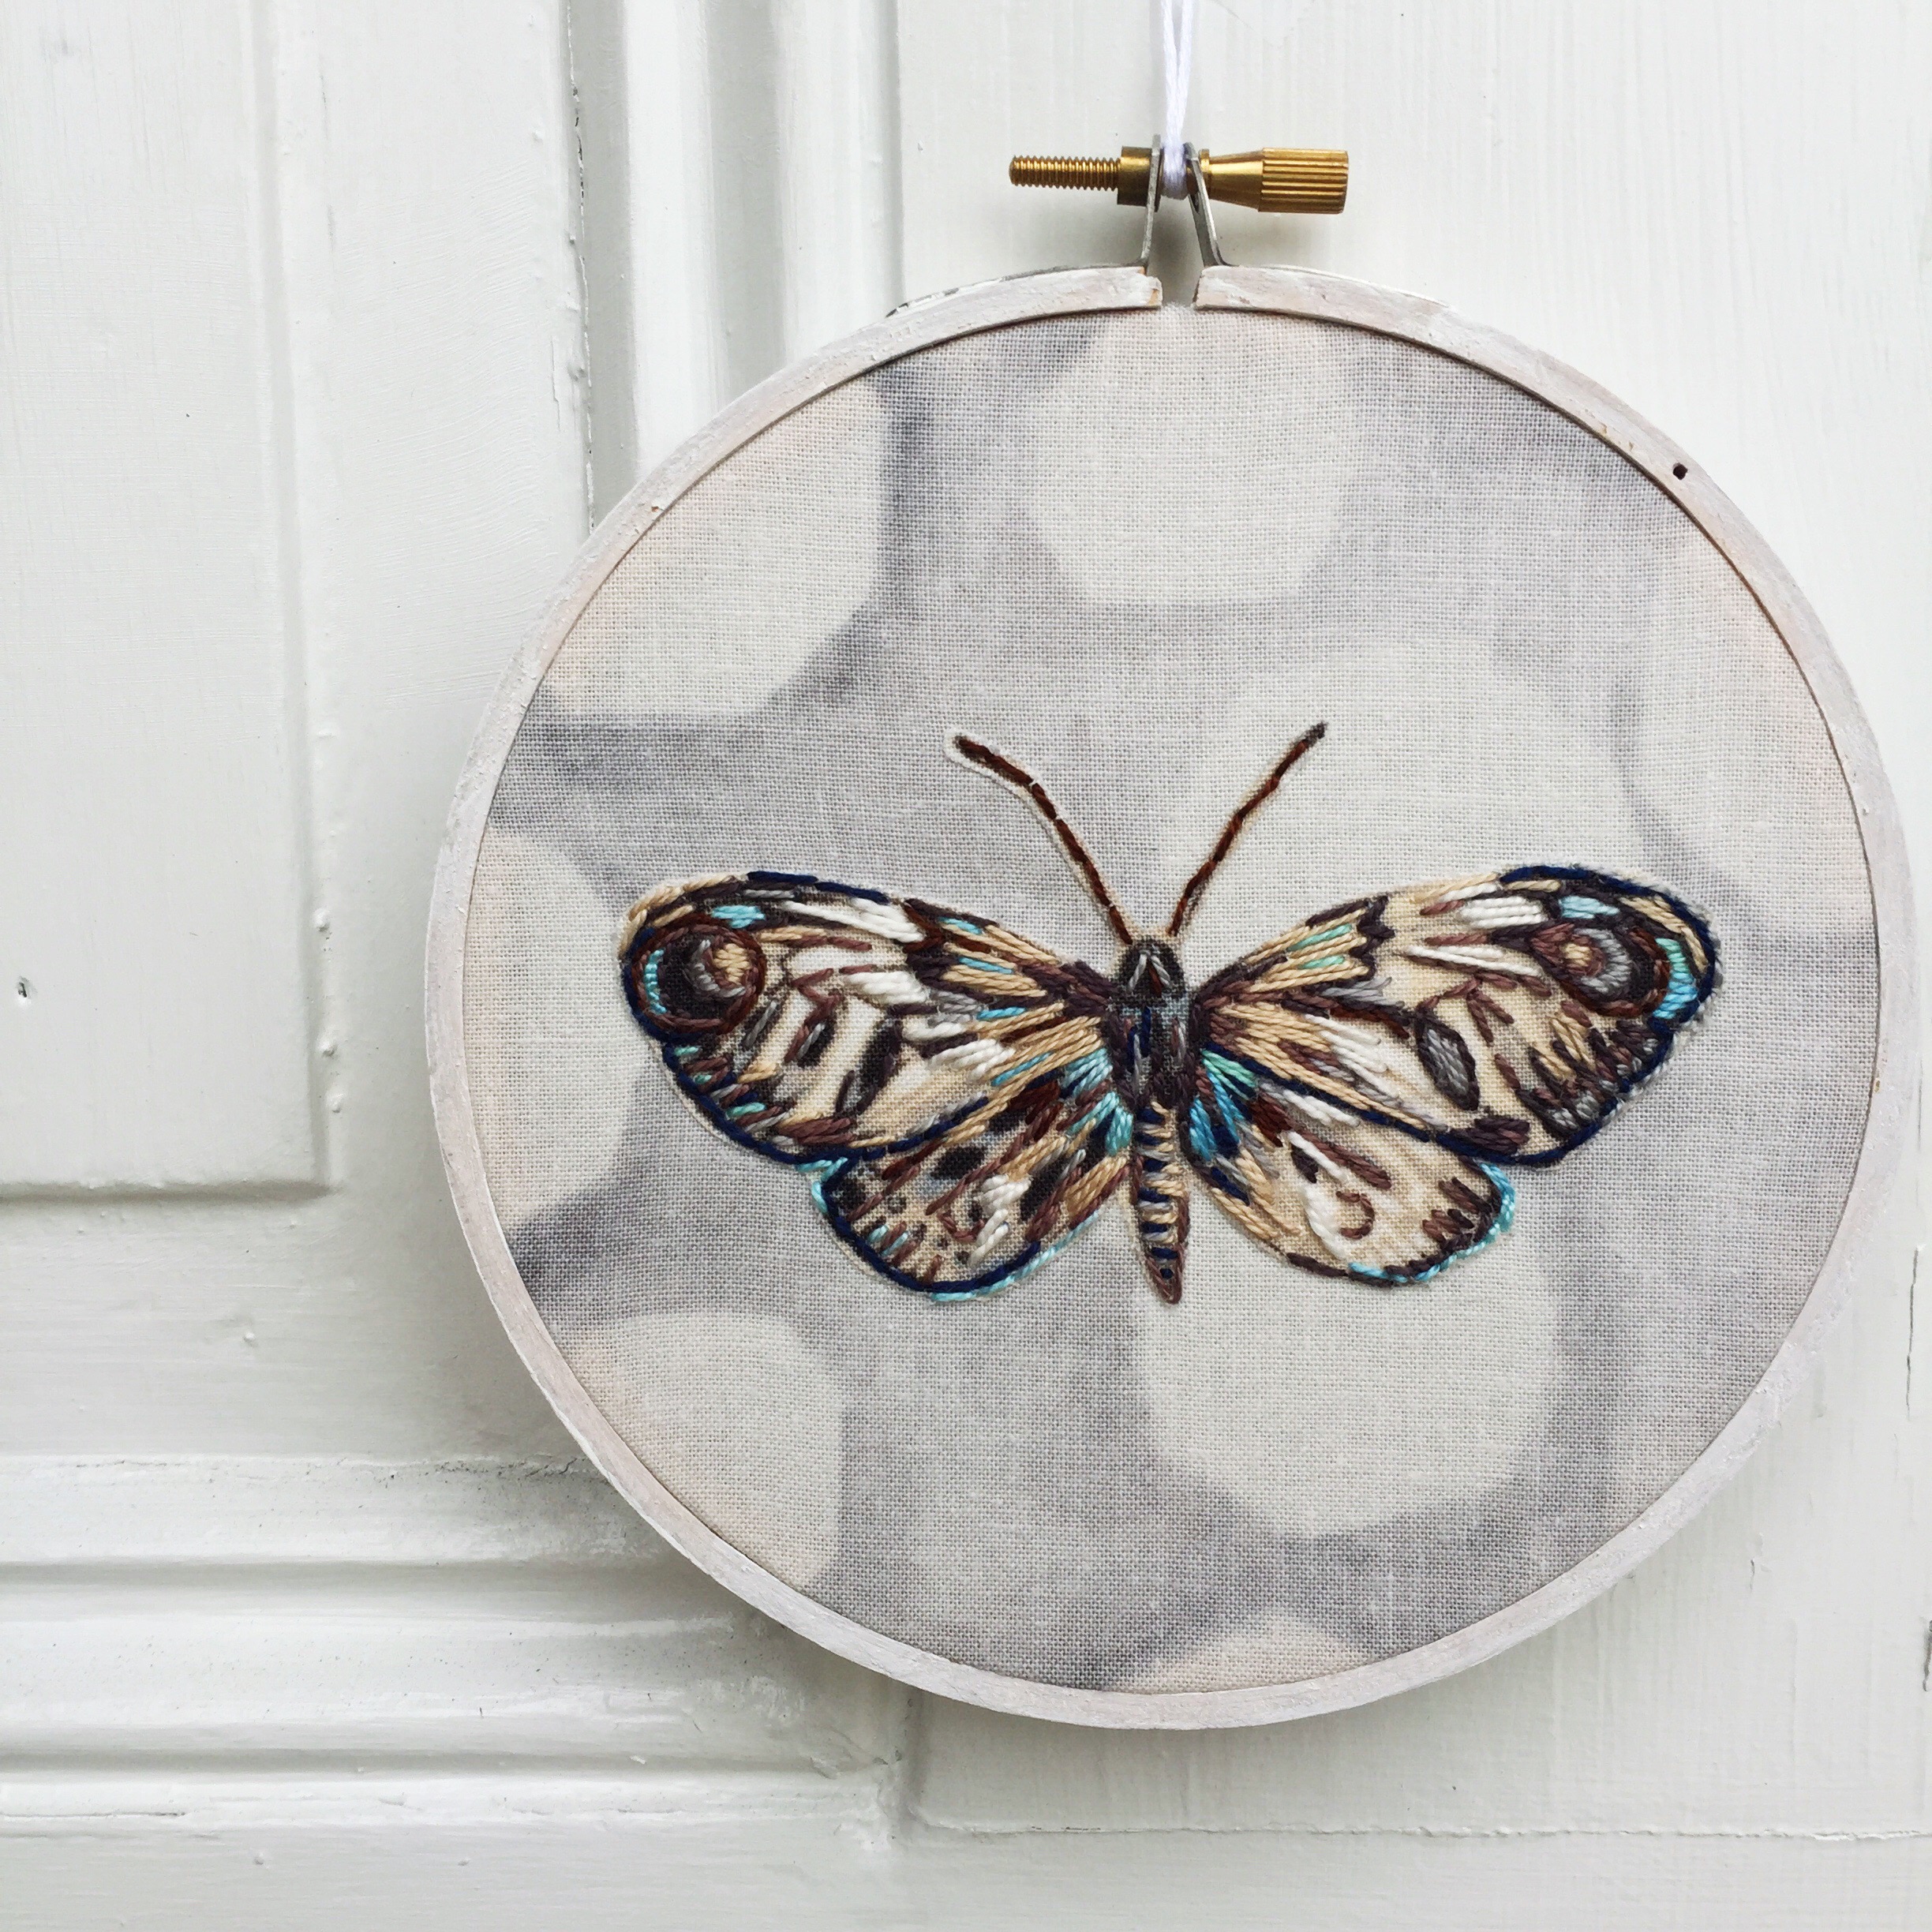
To kick off…or rather, stitch off, the Stitch Along (!), I wanted to share with you one of my favorite patterns from the book: the Steampunk Bee.

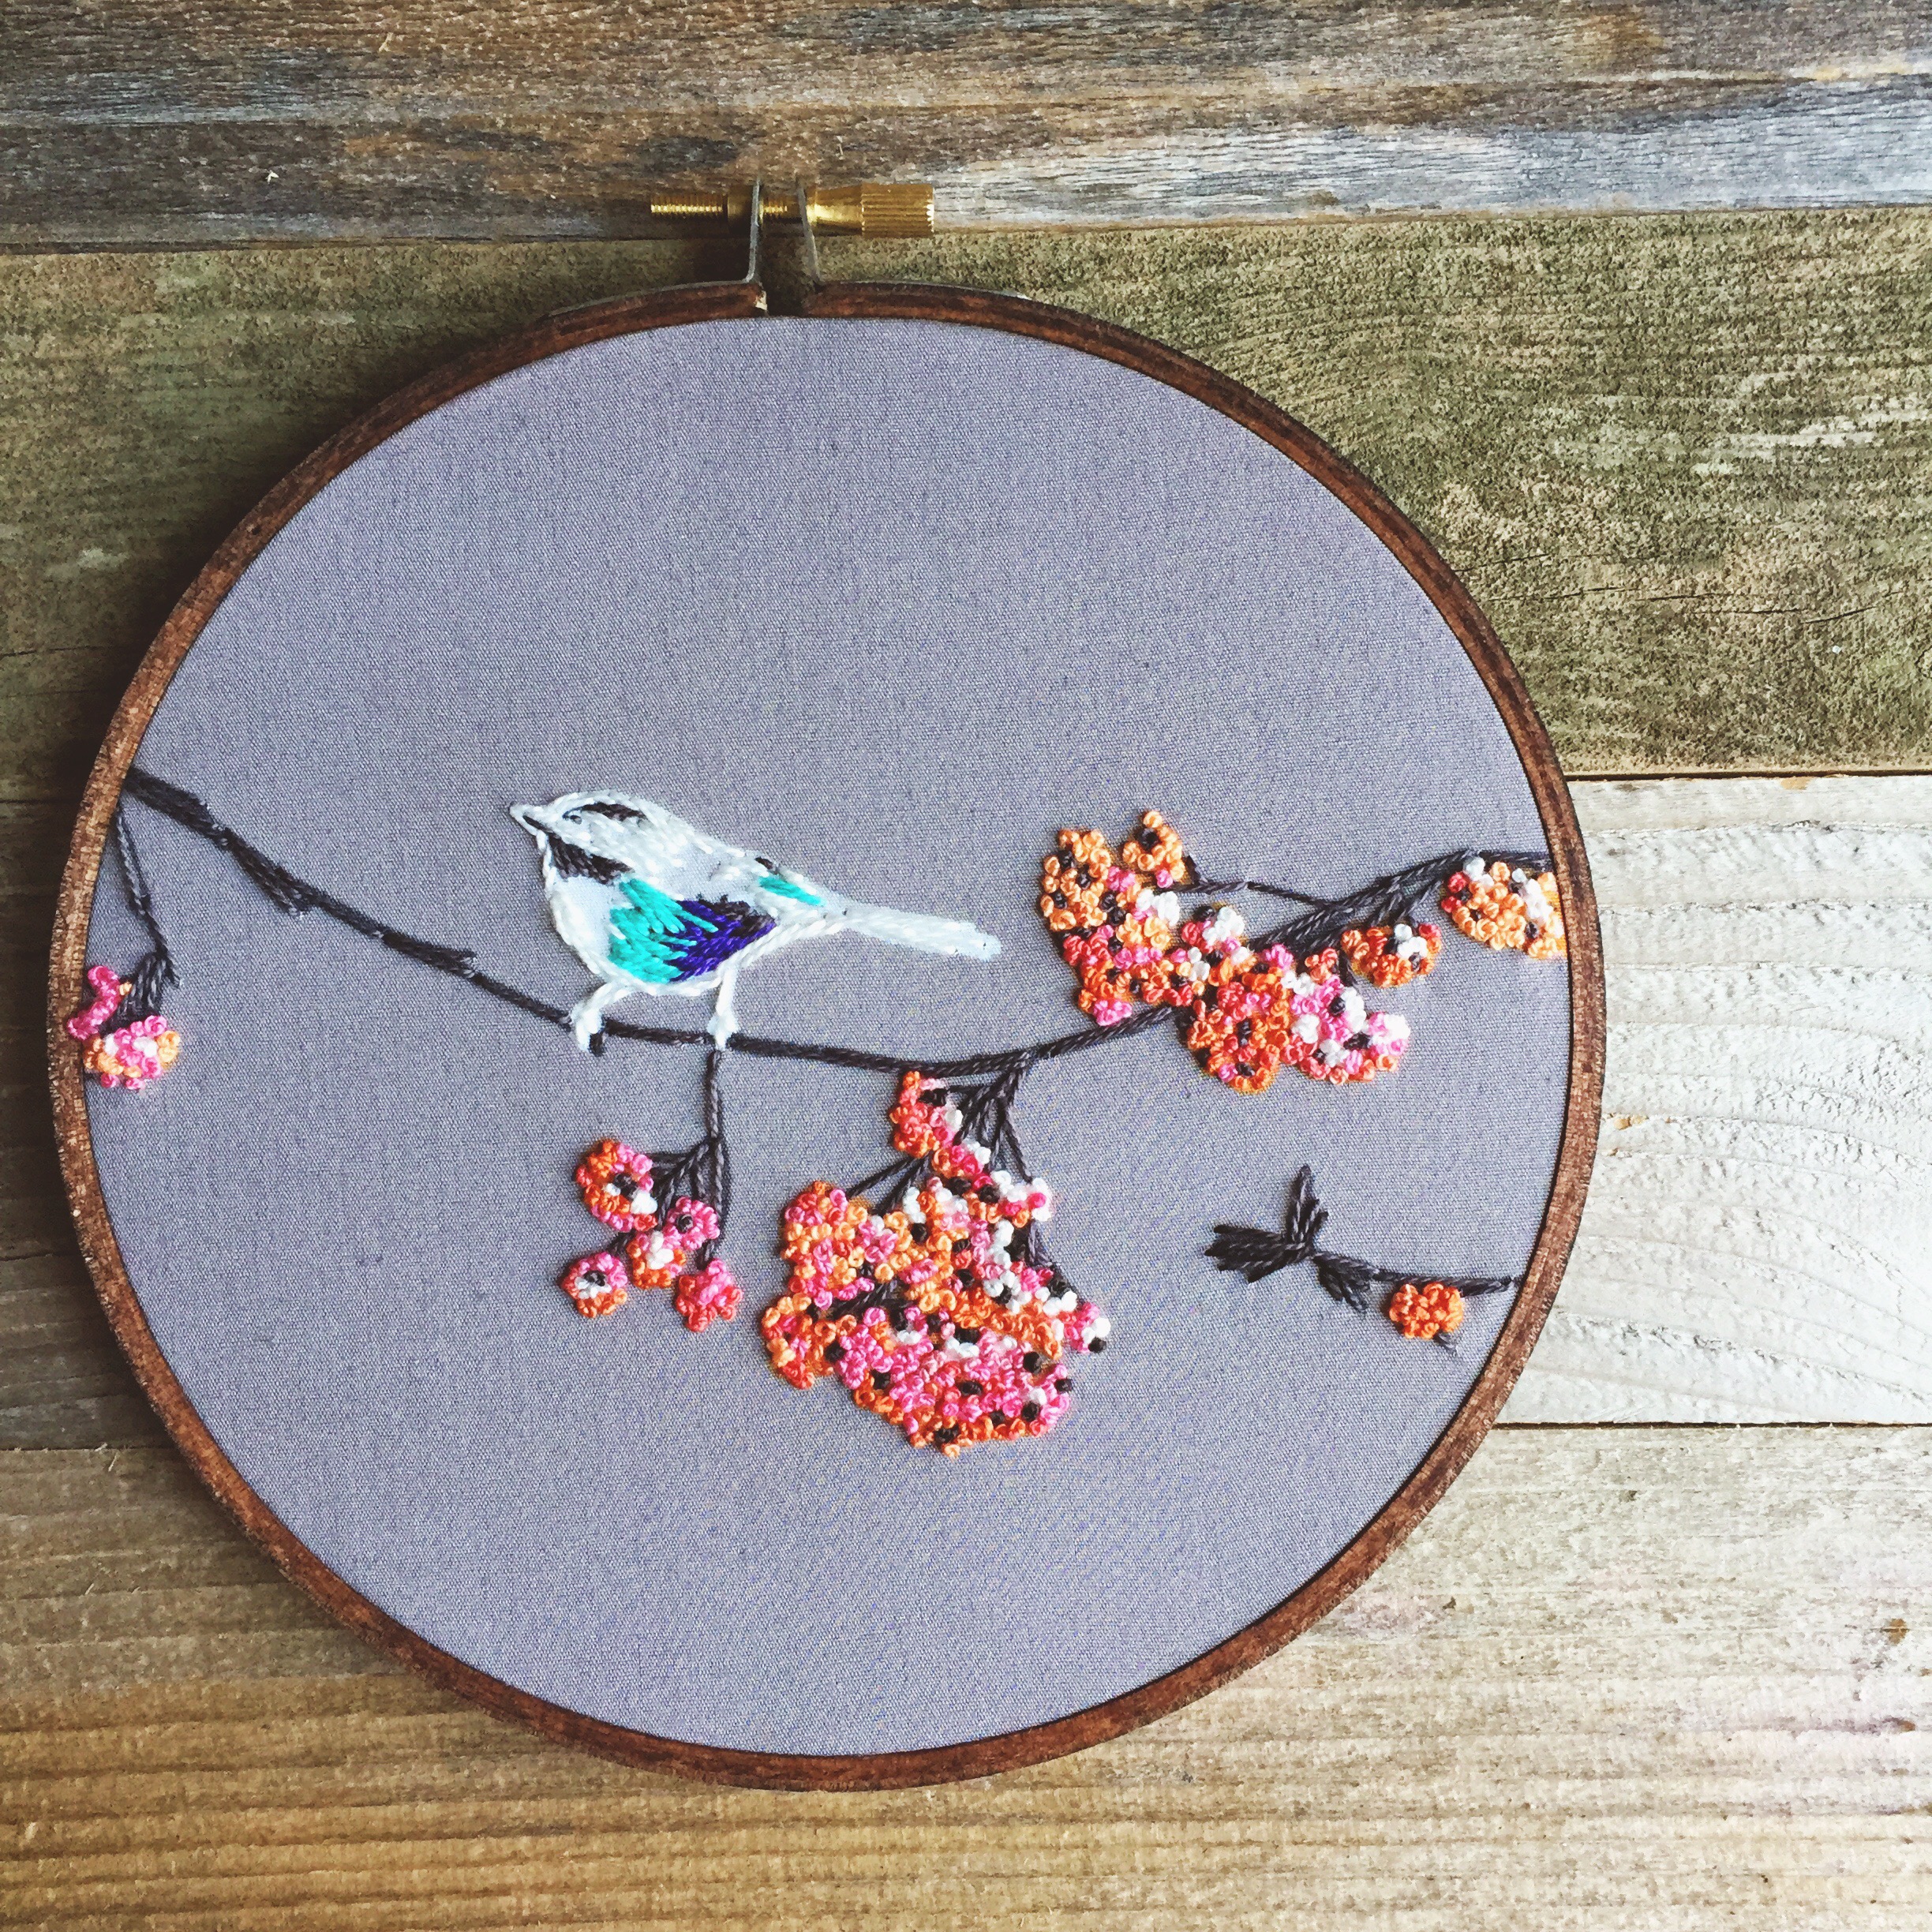
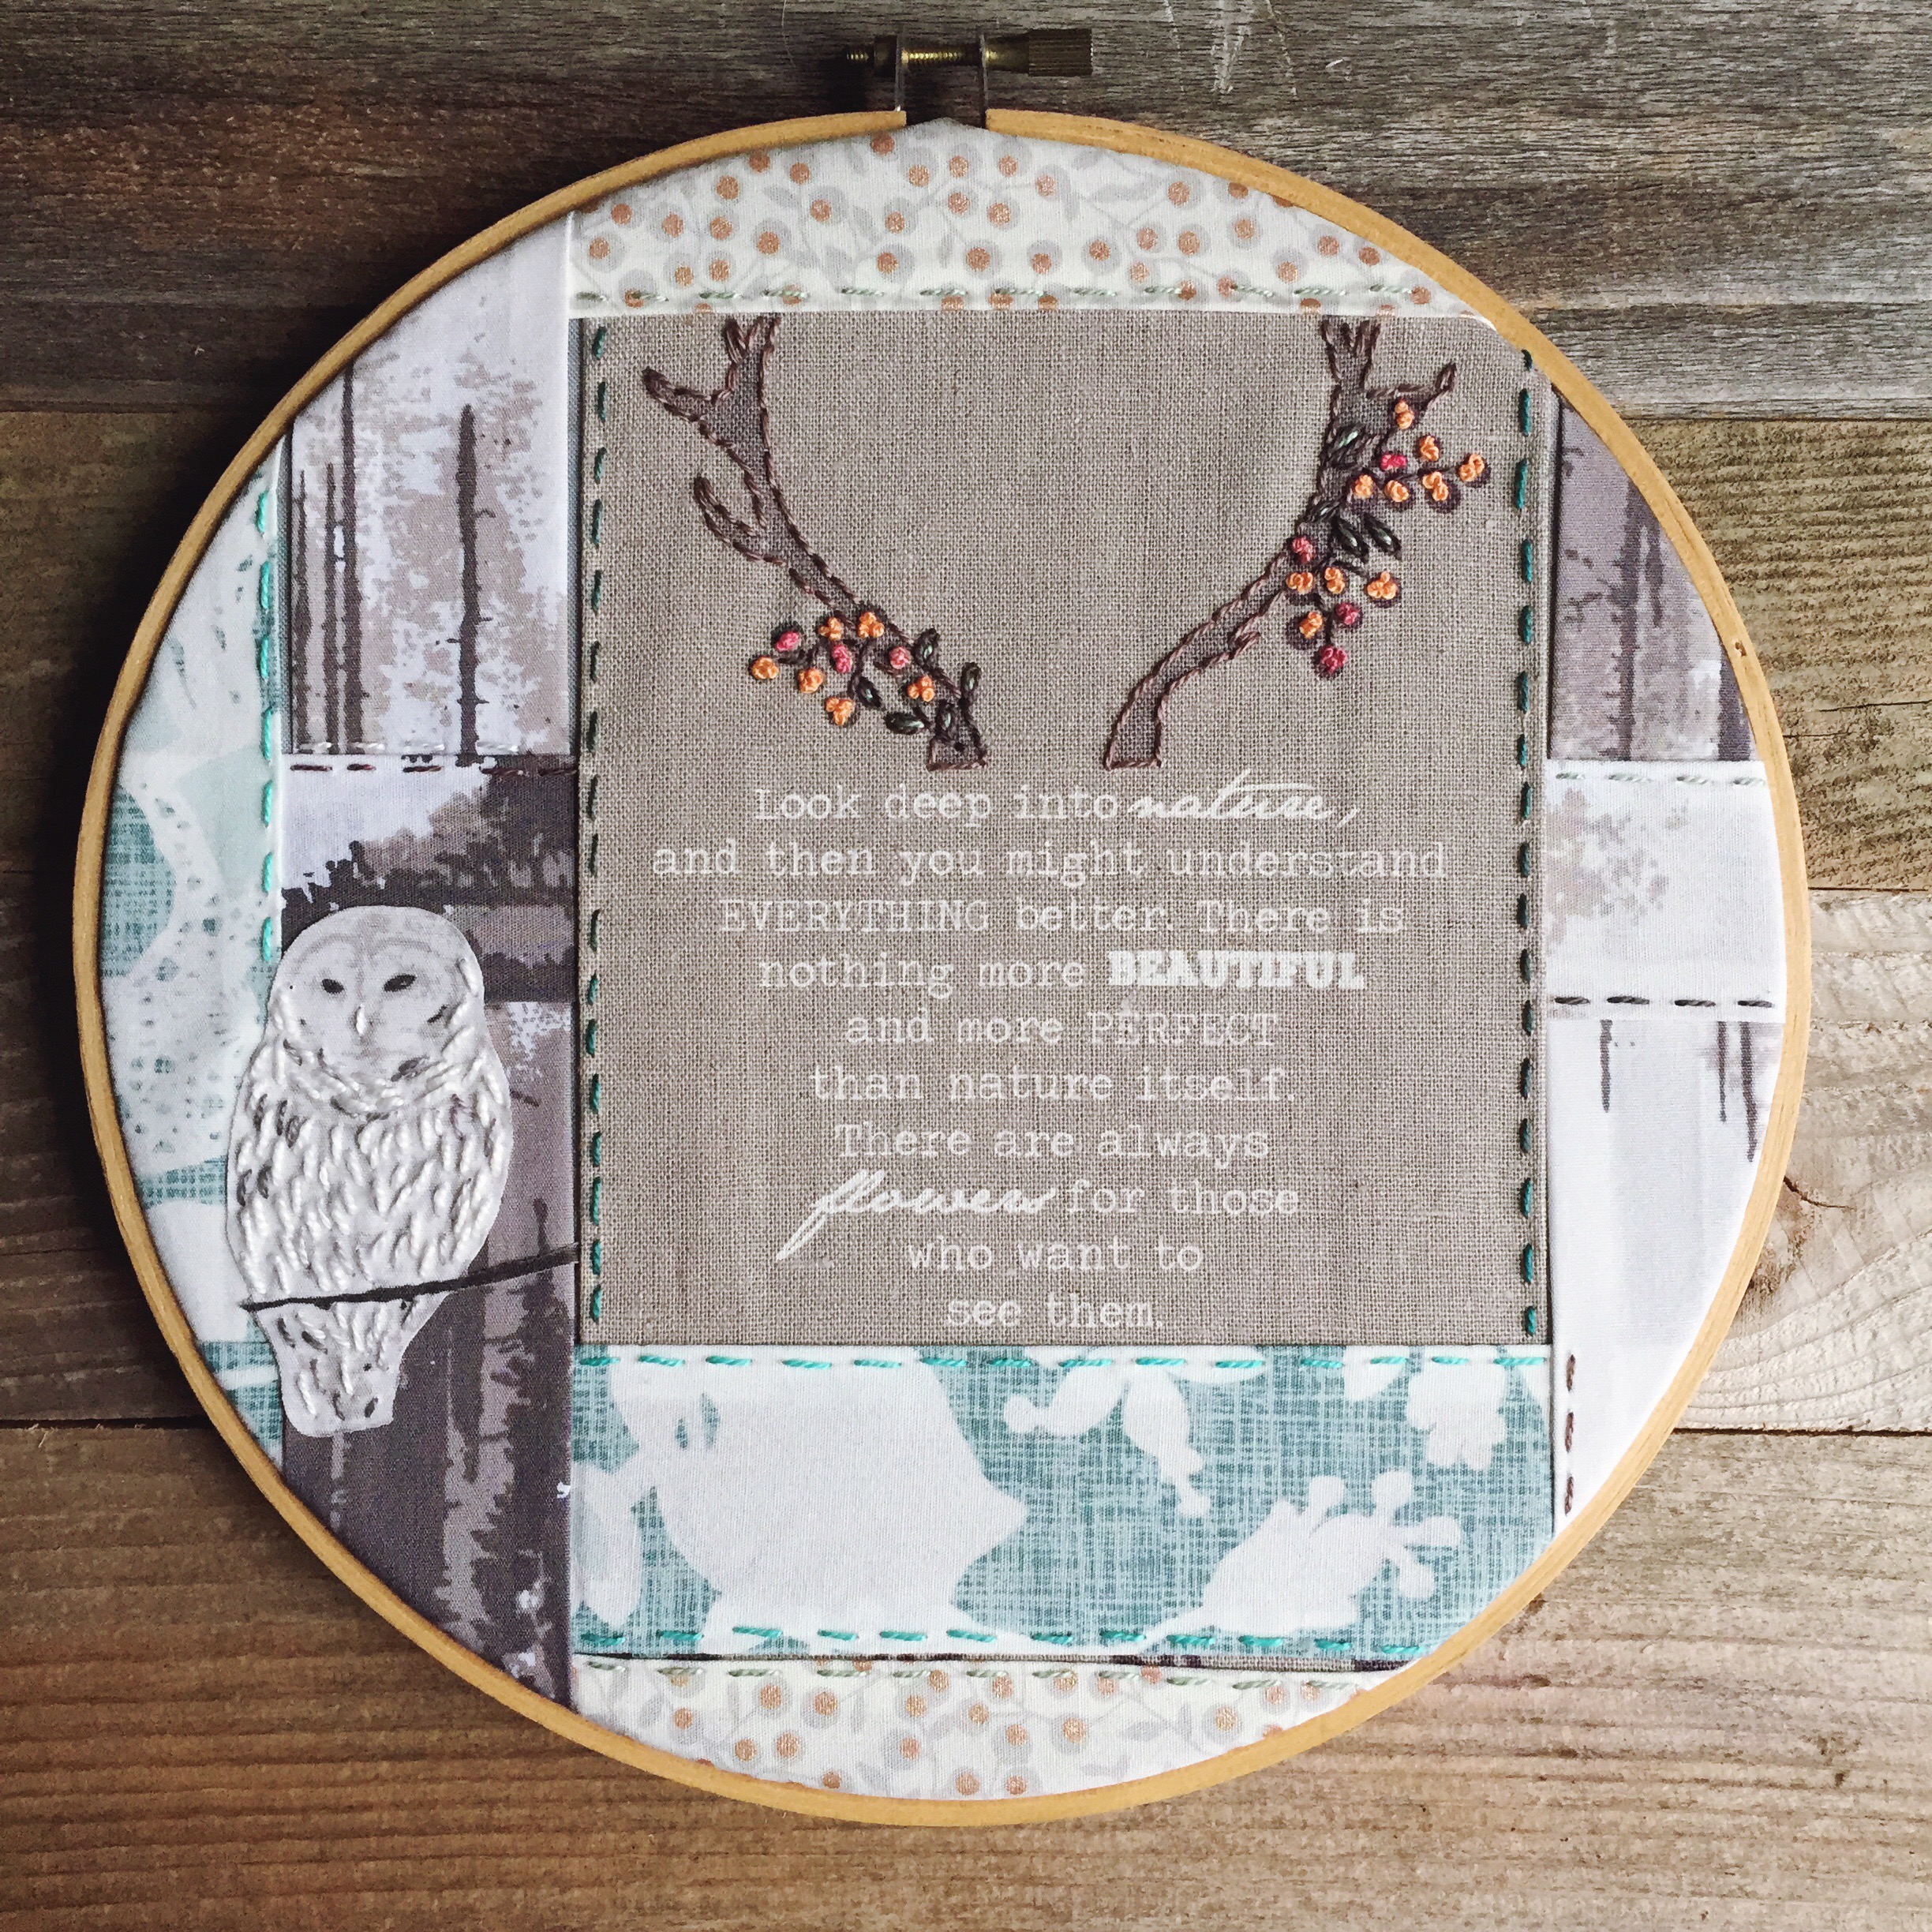
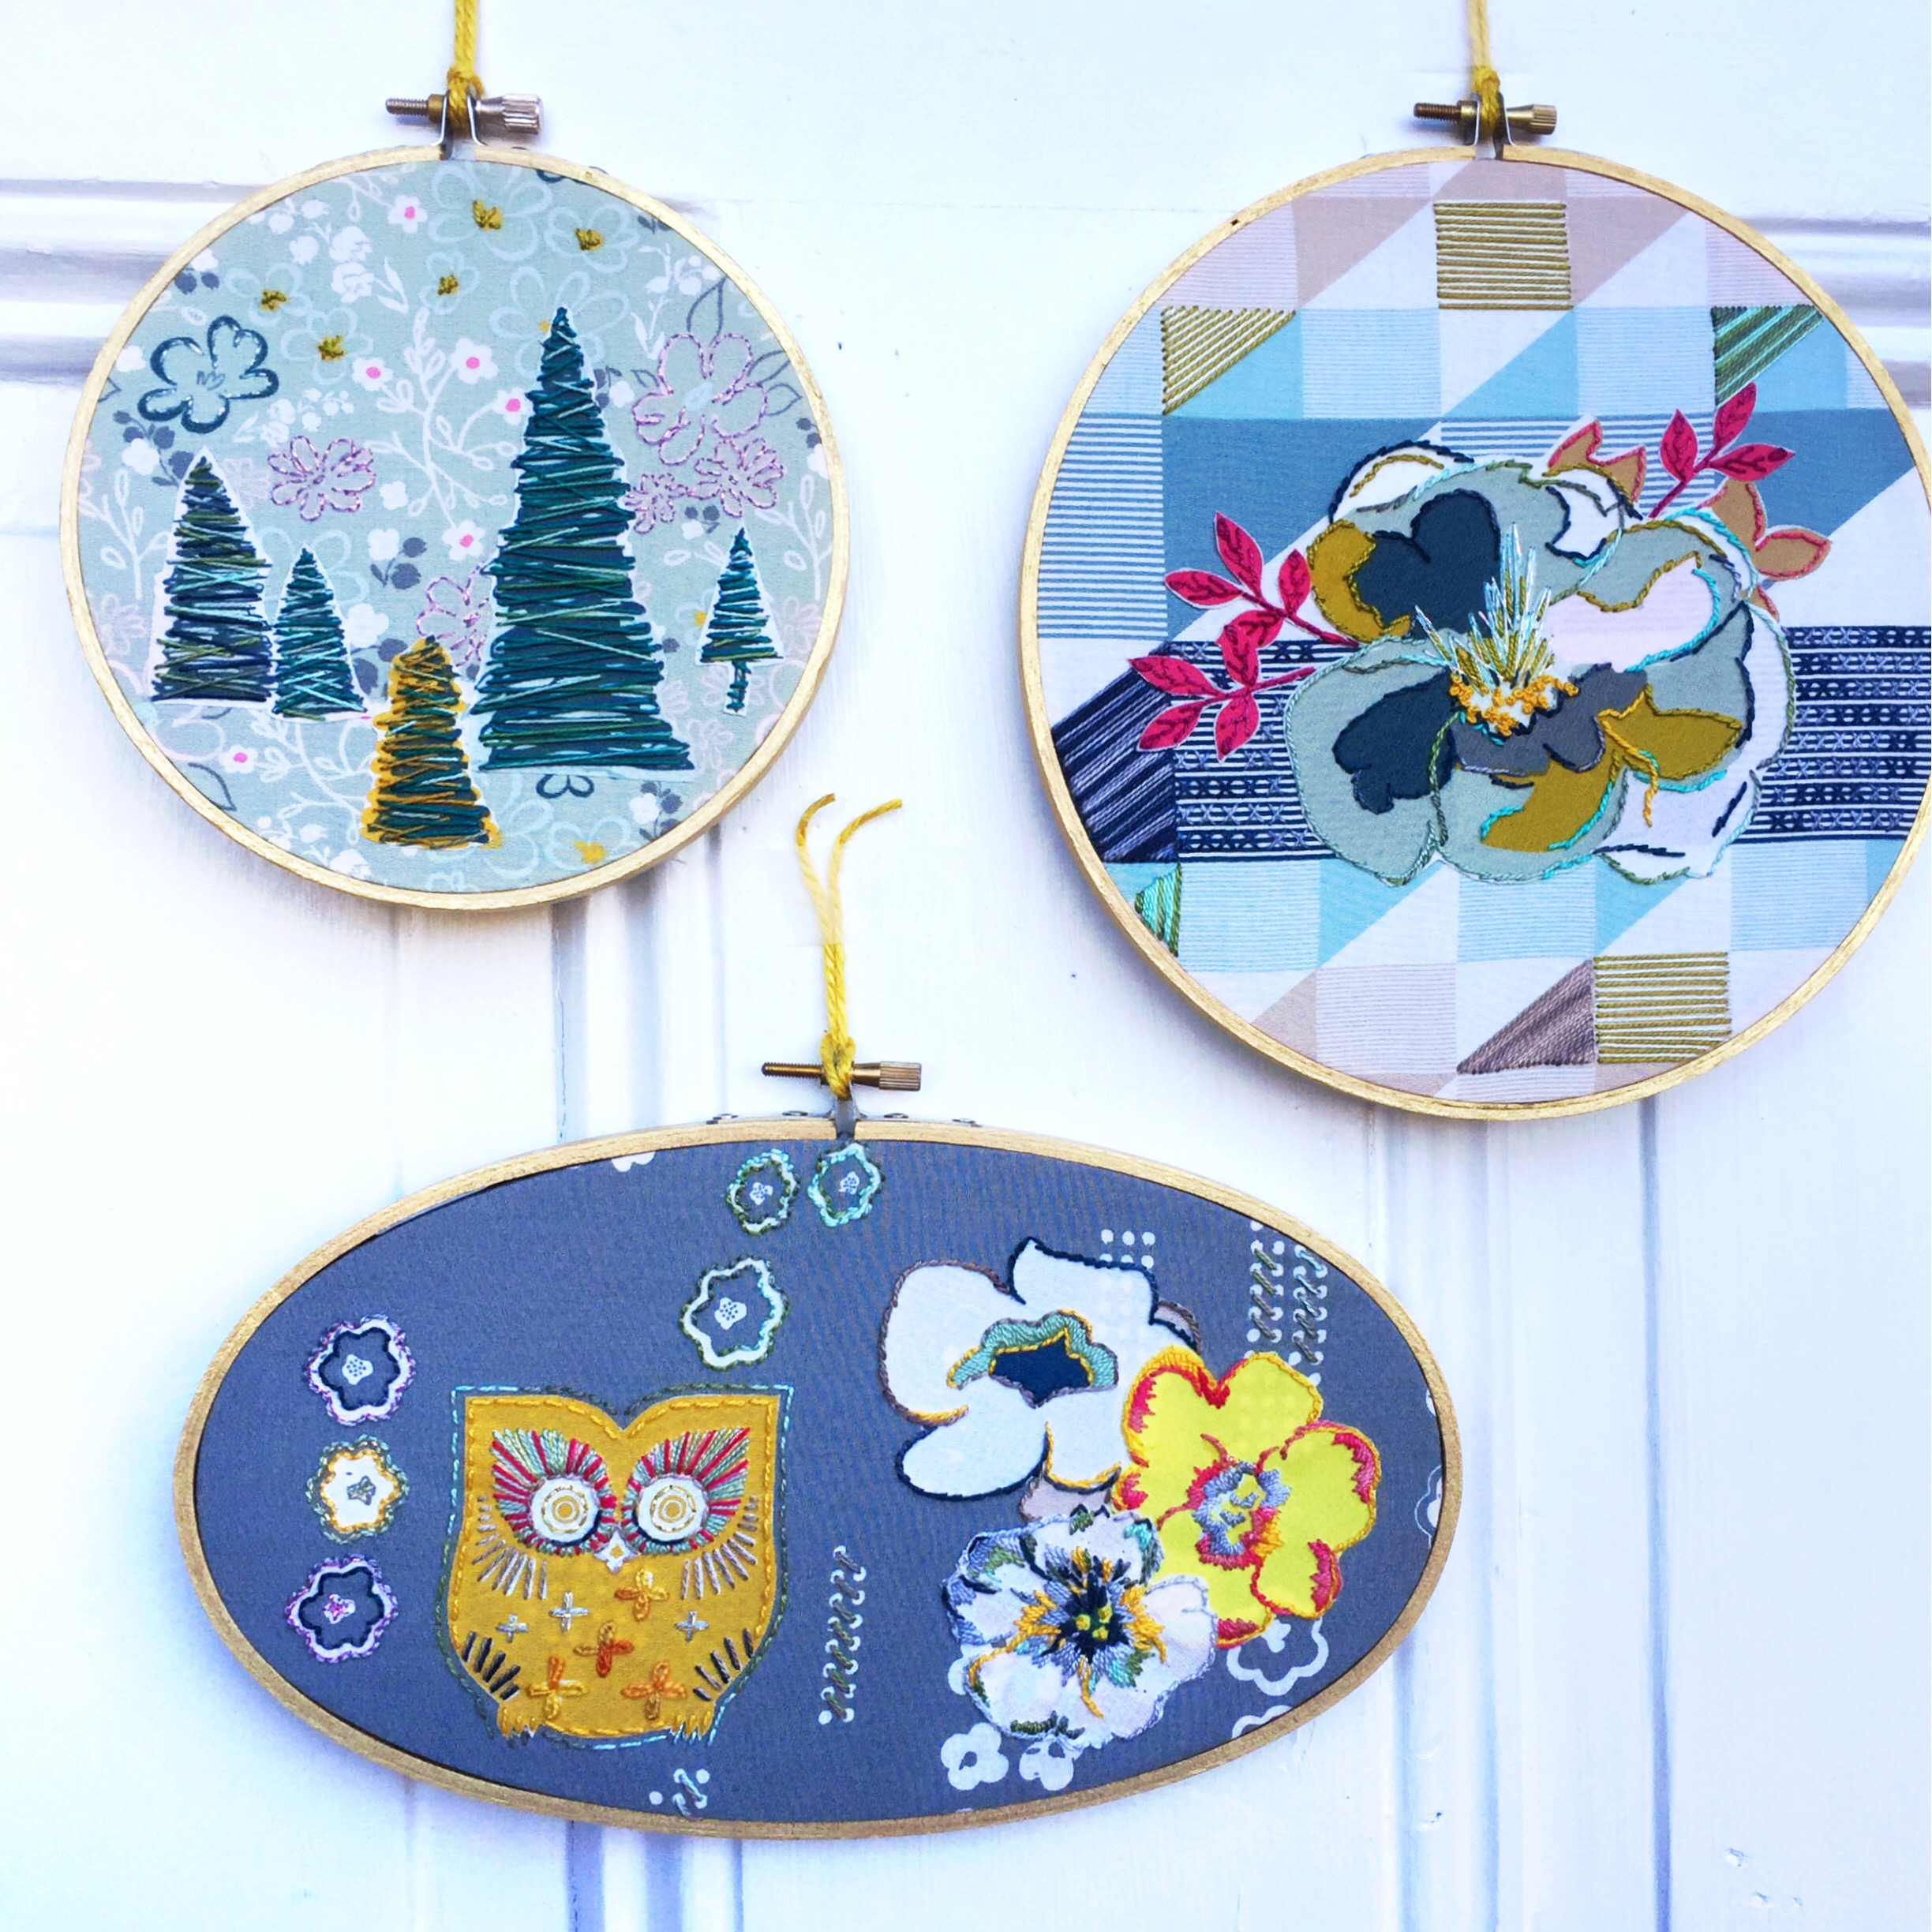
Here is the Steampunk Bee hoop in all of its steampunk fabulousness! This pattern allows you to have fun with things like gears and watch parts and whatever else you might feel the urge to add.

BUT, what if you wanted to use this pattern as an embroidery sampler?

Well, now you can!

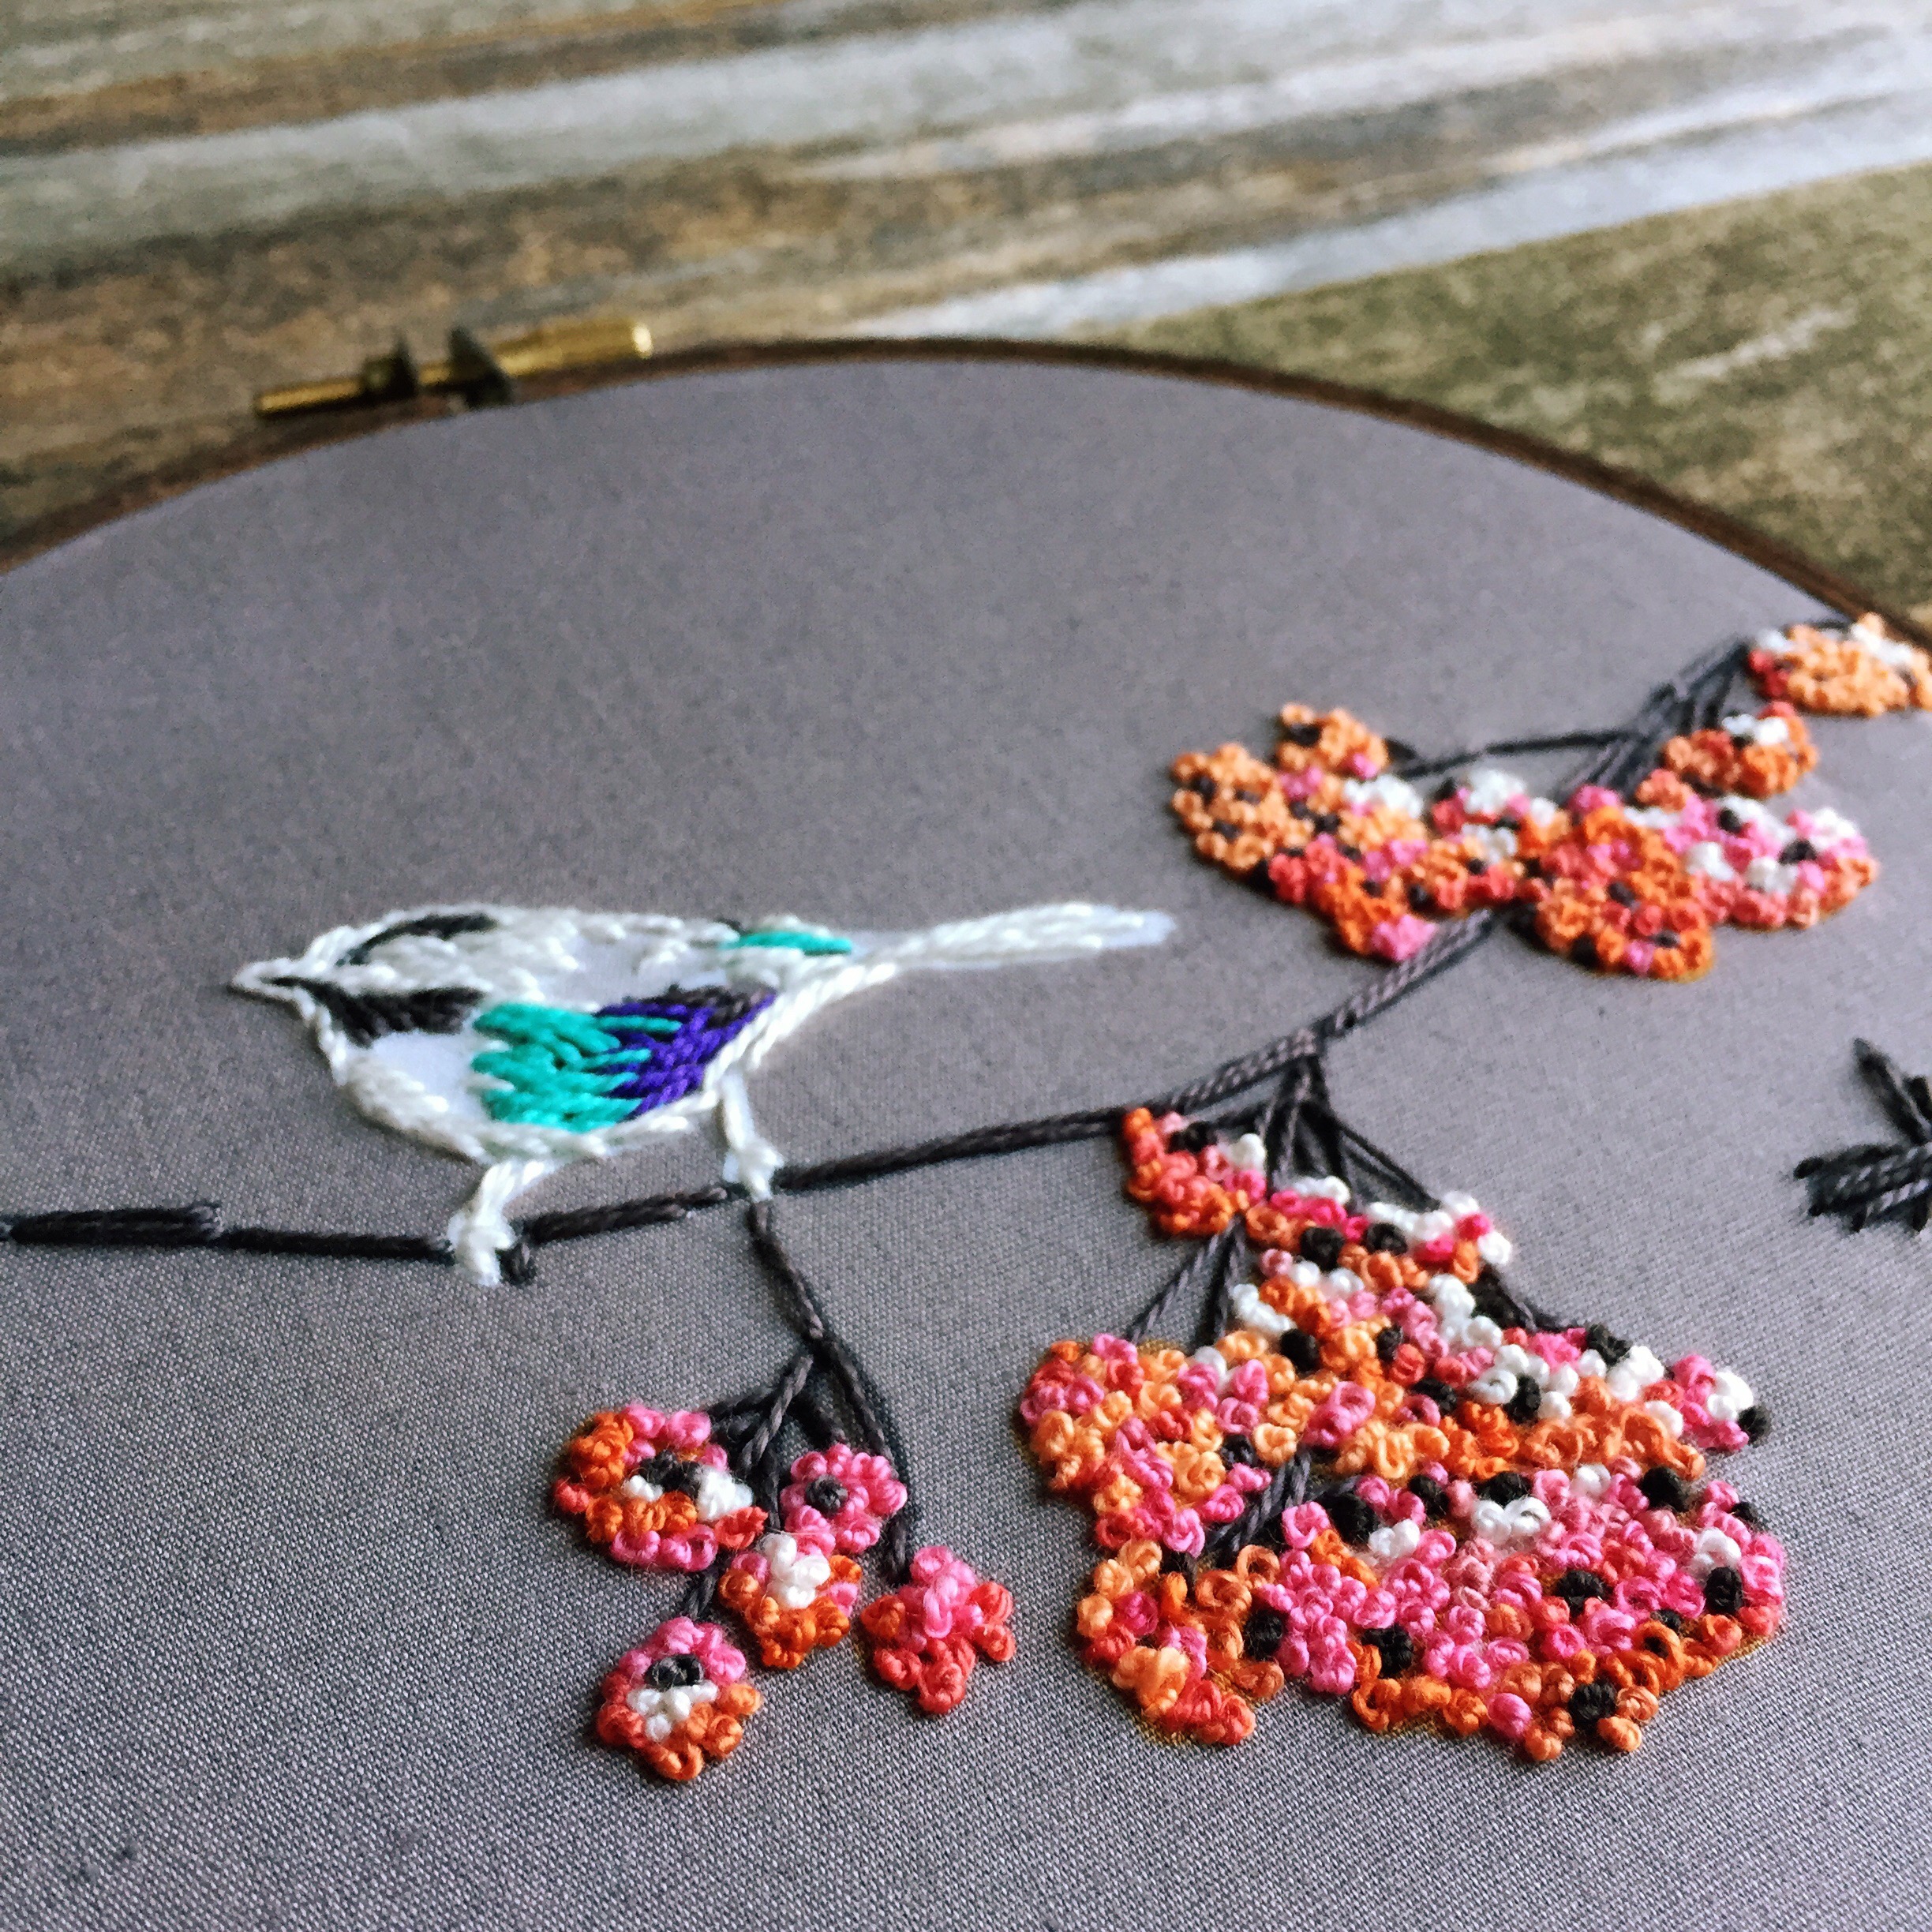
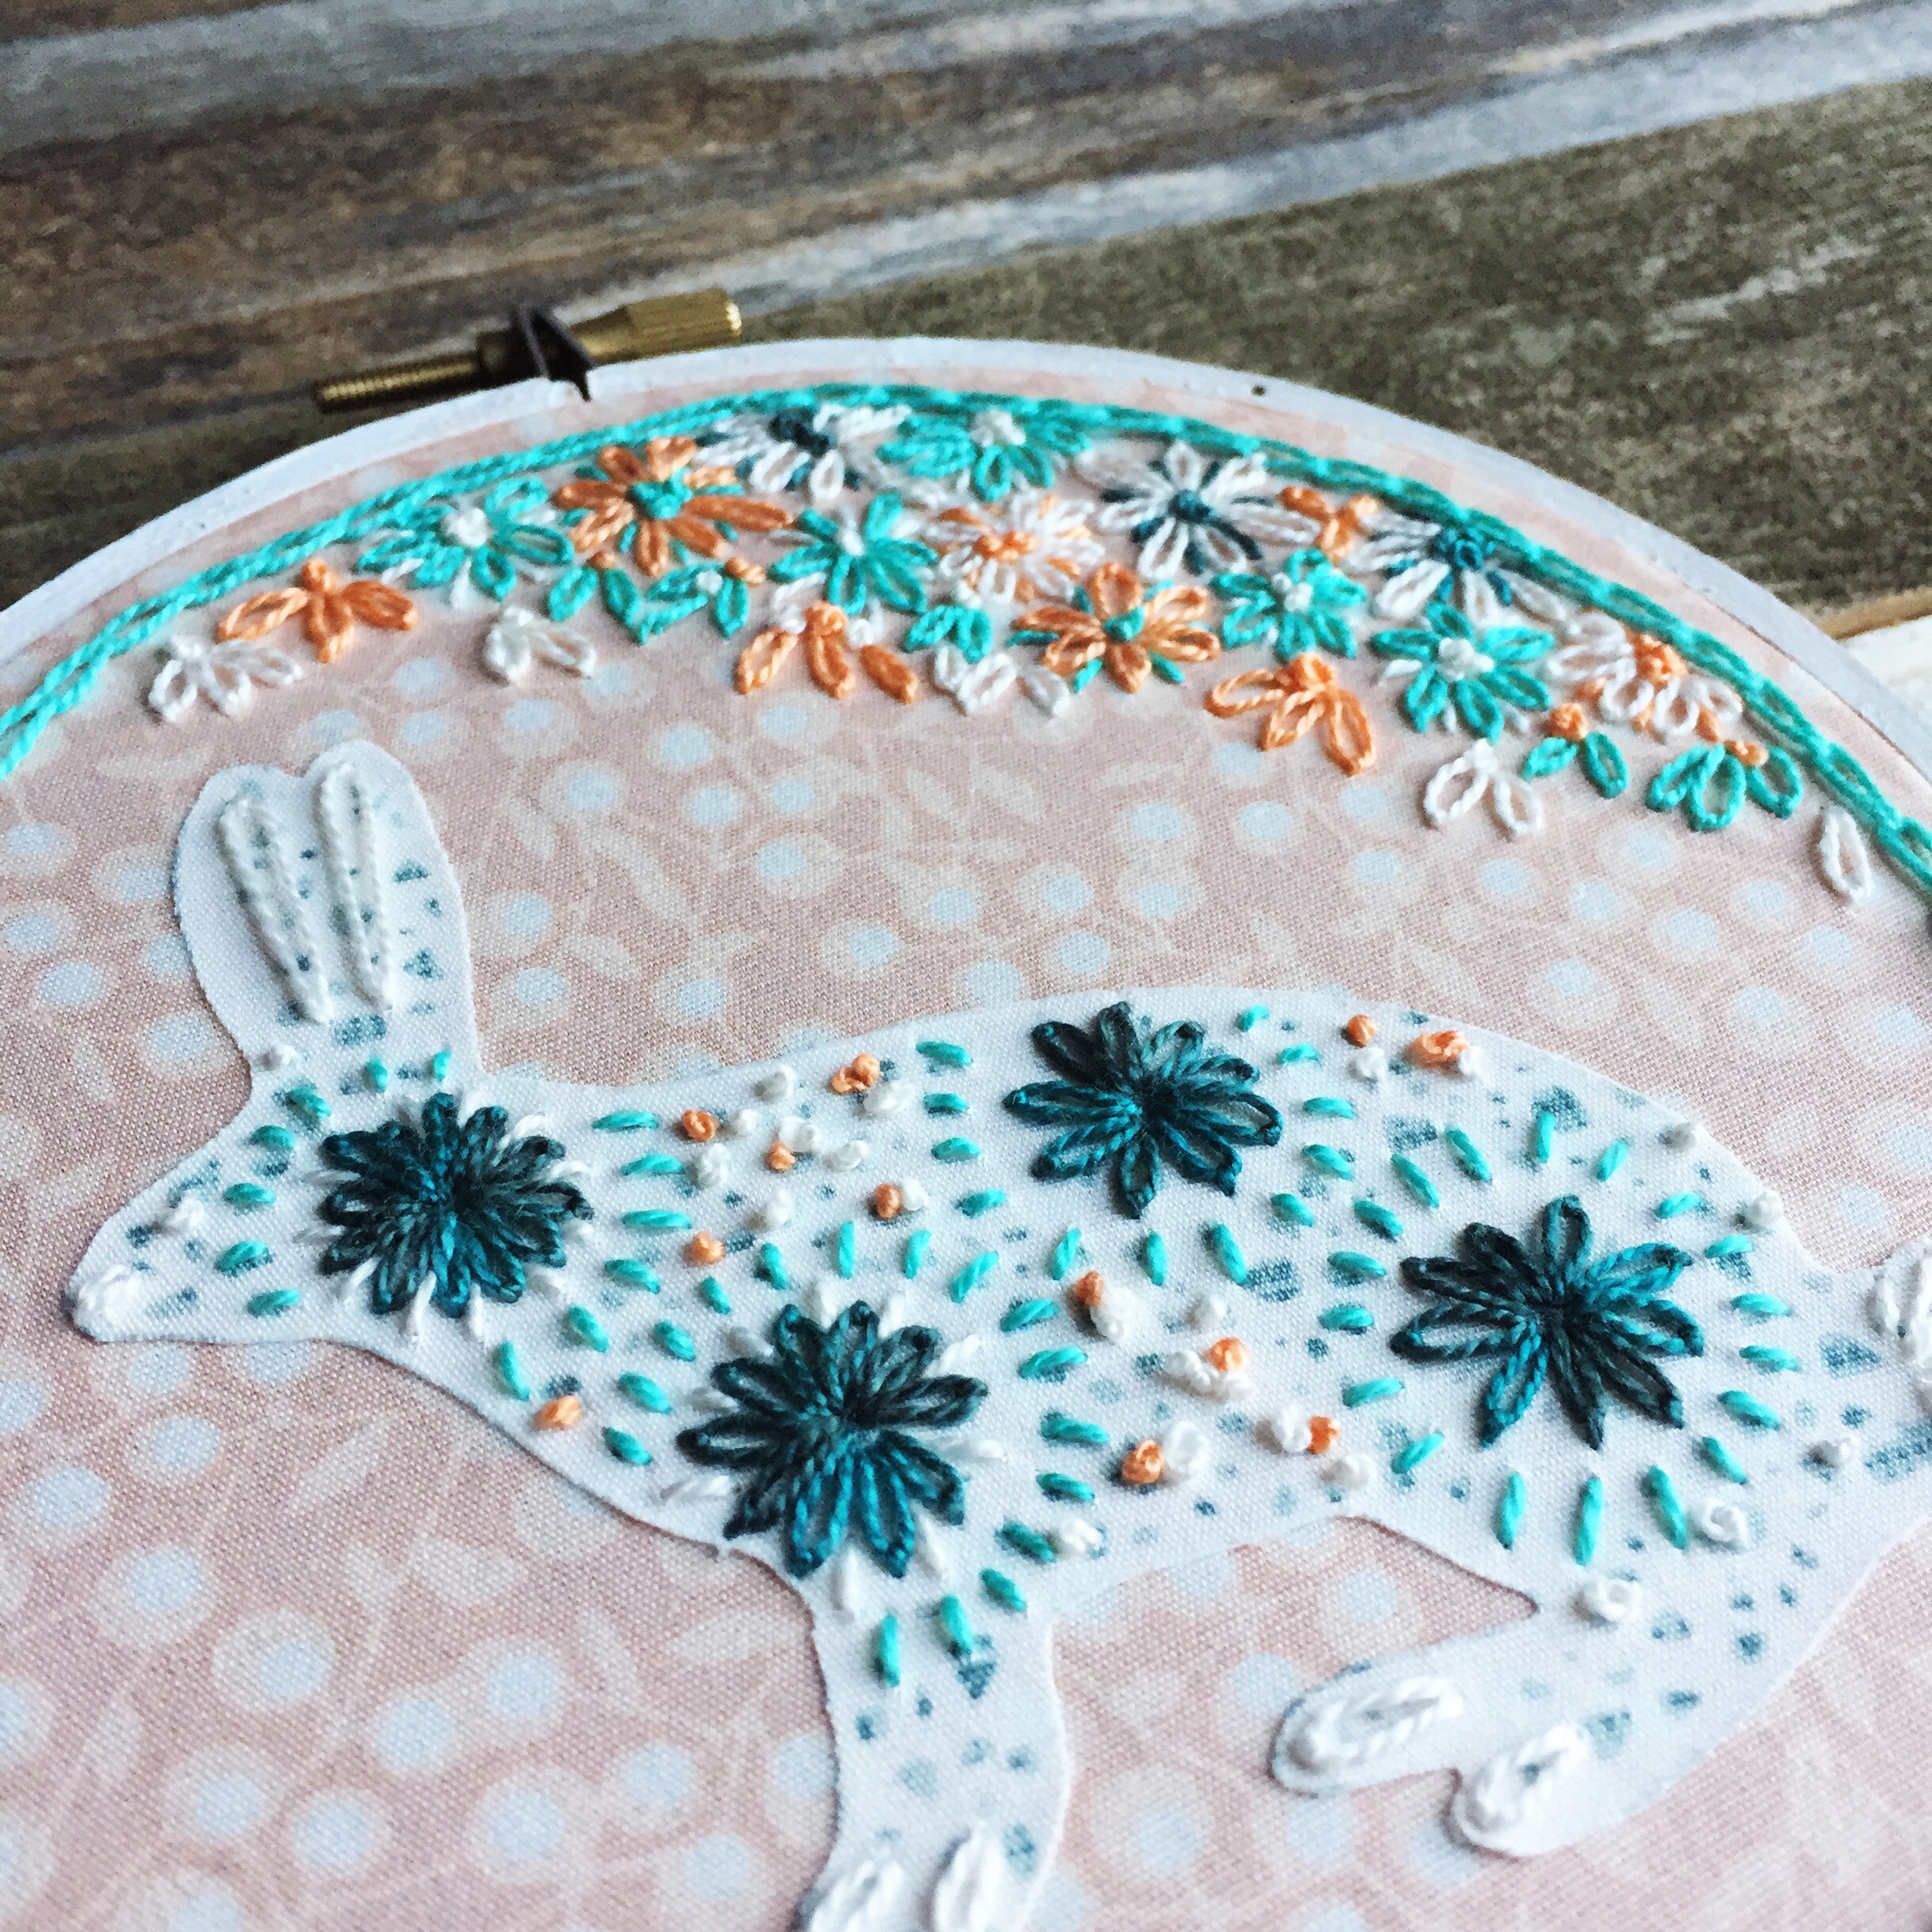
Here is the pattern worked up with just seven embroidery stitches: six of the embroidery stitches that you can find in this book (and one bonus stitch from the first book!)

  • Scalloped Buttonhole Chain Stitch
  • Spanish Knotted Feather Stitch
  • Lattice Stitch
  • Woven Filling Stitch
  • Wheatear Stitch
  • Bunched Couching
  • Feather Stitch (from Boho Embroidery

I used a combination of Koigu KPPM yarn and Eleganza Perle Cotton in sizes 5 and 3 to stitch this up. The beads in the Lattice Stitch are size 8 seed beads and I buy them from Fusion Beads…they come in so many colors!!

The beauty of a project like this, is that you could choose to stitch it with the stitches that I used here or you can pick completely different stitches and colors and you will create a hoop that is all you!

Each of the patterns in this book can become a pattern for you to use as a stitch sampler, just like this!

I can’t wait to see what you all will create!


So, be to check out what each of the makers has stitched up for their week on the Stitch Along and follow along for lots of Boho inspiration!

Also, check out these hashtags to see lots of behind the scenes pictures from the Stitch Along:

#bohoembroiderypatterncollection

#bohoembroiderystitchalong

Boho Embroidery Stitch Along Tour Schedule:

Sept 14: stitch-off with Nichole wildboho

Sept 21: stitch with Kristen @bobbypinbandit

Sept 28: stitch with Jessica @euphoria_jessica

Oct 5: stitch with Anne @lolliandgrace

Oct 12: stitch with Lee @maychappell

Oct 19: stitch with Sarah @hisarahwatson

Nov 9: stitch with Cheri @tinkerellen

Nov 16: stitch with Felie @london_and_granger

Nov 23: stitch with Tamara @tamaramakeshandmade

Nov 30: stitch with Jessica @blueskycrafter

Hope is the thing with feathers

Hope is the thing with feathers
That perches in the soul,
And sings the tune without the words,
And never stops at all – Emily Dickinson

img_6211

In my Cricut Maker post from yesterday, I promised to share with you the project that I made with my new machine.

I have to be completely honest and tell you that I wasn’t sure how much I would use my Maker, because I do so much hand embroidery and I very rarely use quilting or sewing patterns.

BUT, I have been completely sold with the one aspect of this machine. Something that I can see myself using over and over again: the  FONTS!  All 370 of them!

Working with fabric and embroidery, I have never found a great way to add fonts into my work. Sure, I’ve done it, but it has never been quite as easy as it was using Design Space and my Cricut Maker.

If you’ve been following along with me for awhile, you’ll know that it’s not a secret that I love to stitch feathers! I also wanted to work on a project that would be simple enough to show you how easy it is to cut fabric and shapes with my Maker, but that you could also envision this stitched up with your favorite fabric combinations!

So here’s what the Design Space app looks like with a work in progress. You’ll see I have my word “hope” next to the feather that I’m also going to be using for the project. I was easily able to find a font that I liked, move and size each letter individually, and then attach them all together so that they would be cut out of one piece of fabric. An alternative to this would be to cut each letter out of a different fabric.

Screen Shot 2018-03-27 at 1.35.20 PM

Remember how I told you yesterday that I would share my behind-the-scenes flubs? Well, this was a major one. When I first started working with the idea of combining a feather and the Emily Dickinson quote from above, I had much smaller font and the letters were going to be cut out of the feather. Great idea, right?! Look how fabulous it would have been!

But, it wasn’t fabulous.

Letters are great for the Maker to cut out of fabric with the rotary blade….when they are big enough. My first try had letters that were less than an 1″. It was a mess. I tried to separate the letters from the feather and made the mess worse. You don’t believe me, do you?

Well, here’s a picture to show just what a mess I made! Yes, it cut the words perfectly, but as I used the weeding tool (an awesome little Cricut tool!) to pull each one off the mat, the delicateness of the letters was not on my side and they shredded into an unusable mess of fabric!

So, I knew that if I wanted the letters to work, they would have to be bigger and bolder. I have no problem adding big and bold to my work, but I needed to re-work the words cut out of the feather idea.

My second try went brilliantly! I cut the word “Hope” out of one fabric, weeded the letters from the fabric and was ready to move onto phase 2 of my project: adding them to the feather that I had already cut out.

This pink mat that you see is the Fabric Mat which is designed to be used with the Maker. The Feather has been cut from the yellow fabric (all of the fabric you see here is by Jennifer Sampou)

And this shot shows the weeding tool I was talking about…it has a sharp edge and helps to pull the fabric pieces gently from the fabric/pattern/mat board. It isn’t strictly designed for fabric and can be super helpful when working with iron-on, vinyl, etc.

So there’s the feather, all cut out and ready to be attached! For both the feather and the words, I used this amazing (no, seriously!) product from Dritz Quilting. It is spray adhesive and can easily be found at your local craft store.

I sprayed the adhesive to the back side of the feather, pressed it into place with my hands on the background fabric and then did the same exact thing with the words. It is not a permanent hold, but rather a temporary one that keeps everything in place until you embroider your pieces to the fabric.

I can’t recommend this product enough!!! It is simple enough to stitch through and does not make your embroidery needles sticky…at all!

Are you ready to finally see my embroidered hoop?

img_6286

For this project, I wanted to show how a simple design, cut from the Maker, could be embroidered and embellished and personalized with your choice of fabrics and colors.

img_6133

I have been on a Pom Pom making spree and to make the ones that I sewed onto this hoop, I used the Boye Pom Pom Tassel Maker. It is fun to coordinate the colors of your fabric with a yarn and even more fun to use a variegated yarn (like I used in the above picture).

The flowers on the lower corner of the hoop are paper embellishments that I found in the scrapbooking section of my local Michaels. I like to mix and match textures and paper is something you might not think to add to a hoop made with fabric!

img_6224

So, a very simple project to make, made even simpler with the Cricut Maker!

If you are looking to replicate this project in Design Space, I used the Feather (#MC88B9C) from the Bohemian Wedding designs and the font is Chloe Whimsy.

You can easily change the size of both the feather and the letters to whatever hoop size you are working with. I used a 12″ hoop for this project.


This is a sponsored conversation written by me on behalf of Cricut. The opinions and text are all mine.

Cricut Maker Review

Back in November, I posted about my first time ever using a cutting machine: the Cricut Maker, and the hoop that I created with it. Since then, I’ve been creating other projects, getting better each time (!) and I wanted to share with you what I like about this machine.

Ok, so the Cricut Maker.

I should tell you that I have never used a cutting machine before I used this one. I thought what they could do was cool, but until now, I didn’t see much of a use for them, because the medium that I work in is fabric and thread and not so much paper and that’s what stopped me from exploring them any further.

However, this machine was designed to use a rotary blade that is meant to work with fabric!

With the addition of a knife blade, you can expand your materials to working with not just fabric, but thicker things like leather, balsa wood, chipboard and mat board. And switching to the fine point blade, you can make regular cuts on materials like as iron-on adhesive and vinyl. I absolutely love the the versatility of this machine!

“What’s that…you need a book-character themed costume for Read Across America week at school tomorrow?! Let me just pull out my iron-on adhesive and whip something up!”  Yes, this was an actual conversation from my house! And, yes, it was amazing to quickly use the Design Space app to make last minute Dog Man and Where’s Waldo themed shirts for my kids!

But back to cutting fabric!

The rotary blade does not require you to have your fabric backed with anything like Heat n’ Bond (although, I used that in my first project and it worked just fine!). The mat designed to be used with fabric is sticky, requiring you to simply press your fabric into place with your hands before inserting it into the machine. From there, the machine knows what to do!

But how does it know what to make? Well, using Cricut’s Design Space app, you can either use one of the hundreds of designs available in the library, or you can create your own image and go from there. Are you are quilter or sewer? Well, Cricut has teamed with both Riley Blake and Simplicity to create patterns that are available for your use as well! I love that you can work with the Design Space app both on a laptop or on your iPad/iPhone.

Since the first project that I created in November, I have used this machine a lot. I’ve played with Cricut’s adhesive vinyl to make fancy labels for my beading supplies, the rolls of iron-on material for shirts and tote bags and my rotary blade has been getting a serious work-out with the fabric i’ve been cutting!

I LOVE working with Cricut’s Iron-on and it’s what saved me on that last minute school project I told you about!!

I’m going to share my latest embroidery project with you tomorrow and don’t worry, i’ll even share my behind-the-scenes mess-ups as i’ve been learning my way around the Maker!

What is sharing without getting some of the the nitty gritty behind-the-scenes details, right?!

In the meantime, check out some of the tools I’ve been working with!

I have yet to use this Washable Fabric Pen, but i’m going to try my hand at using it for an embroidery pattern. I’ll post about it here when I finally get through my stack of WIPs!!!

Don’t forget to pop back tomorrow for my finished project!

This is a sponsored conversation written by me on behalf of Cricut. The opinions and text are all mine.

Blithe Fabrics Blog Tour


I was honored to be able to work with Katarina Roccella’s beautiful new fabric line, Blithe for her blog tour. Katarina is a designer for Art Gallery Fabrics and I am a huge fan of her fabric designs! A muted palette of grey, teal, pale pink and even a few metallics mixed in…this is the perfect end of winter, hint of spring fabric line!

You can read more about Katarina’s inspiration here and you can see the Art Gallery Fabrics look book here. Follow along with her on Instagram and check out each of the other stops on the Blithe Blog Tour!

For all of the hoops, I used size 5 Eleganza Perle Cotton from Sue Spargo. This hoop was made using the Bird Songs design from Blithe.


 I added lots and lots and lots of French Knots in pink, orange, white, grey and black to the buds on the branches. I picture this tree blossoming in early spring with the greyness of winter far behind!

For this hoop, I used a background of Winterberries in Snow which has metallic gold berries flecked throughout. The butterfly was cut from the Arcadia Bliss in Shine pattern. I used large teal Lazy Daisy stitches on the butterfly and I added grey Feather Stitch details to the background.


This snow bunny was also cut from the Arcadia Bliss in Shine fabric and the background is Winterberries in Gold. A teal Chain Stitch border and offset Lazy Daisys in hues of pink and orange and teal add to the spring like feel of this hoop.

I love the lacy, almost doily-like, pattern of the Arcadia Bliss fabric and I tried to replicate that with additional stitching on the bunny.


This is the only hoop that I used all wool thread to embroider on the fabric. Ellana Wool Threads from Sue Spargo / Wonderfil Specialty Threads are delicate and yet vibrant in color. On this motif from Joy Wreaths, I introduced brighter colors as I embroidered Bullion Knots, Cross Stitch and Lazy Daisies. It was a delicate balancing act…embroidering just enough to let the fabric shine through and not going too crazy with stitchery!


For my final hoop, I used several fabrics, including this beautiful quote on linen from the Eternal Nature fabric, to weave a pattern. Using my trusty Wefty Needle, I used the fabrics listed above and added several strips of the Evergreens in Dusk for a lovely, woodsy feel. I also added a snowy owl from Bird Songs and embroidered him in whites and greys.

I love working with Art Gallery Fabrics and especially enjoyed working with these gorgeous Blithe fabrics as winter winds down and spring is not too far away! I hope you enjoy these hoops as much as I enjoyed creating them! 


-nichole

Black & White 2

A long, long time ago….well, back in September, Jennifer Sampou sent me a gorgeous selection of her brand-new, not-yet-released, fabric-line-from-Robert-Kaufman, Black & White 2. I was so excited to have the chance to play with these muted palette fabrics…a departure from my typical saturated in color hoops!

I could have added additional colors to these fabrics when I began to stitch them, but I decided to stay true to the color palette of the fabrics and chose to stitch in colors of silver, grey, black, white, pale blue, and even flecks of copper and metallic. I love that Jennifer hand drew these designs in charcoal, pencil, chalk and pen and I think the simple stitches highlight her designs.

I have to say that my favorite piece in this collection is the modern toile design and from that, I chose to highlight the beautiful ferris wheel and feather border.

Those mini feathers!!

Those flickering little gas lamps!

I love hot air balloons! I thought it was fun to add this motif to the “fly” script background fabric from this collection.

A beautiful moth with some added blue. The blue goes so well with the grey and copper in this collection.

You know how much I love to stitch feathers, so I was excited to see that this new collection included a feather pattern, just like the original Black and White collection did!

And here are the four hoops, all together!

I loved the challenge of staying with a neutral palette, but I also want to stitch these and add more color! Stay tuned…it’s a project on my always-growing, never-finished, to-do list!

Happy stitching and check back in on Sunday for the next #BohoSAL update!


Heartland Fabrics Blog Stop


I was asked by Amy Friend of During Quiet Time to join in with a handful of other makers for the Heartland Fabrics Blog Tour. Have you checked out Amy’s Gilmore Girls coffee cup sew along yet? Pause here so you can go check out her character inspired coffee cups! Is anyone else as excited for the Netflix reboot as I am?!

But back to Heartland Fabrics! Designed by Pat Bravo for Art Gallery Fabrics, these fabrics are a muted palette of Scandinavian inspired designs. I say muted, because I’m usually all about the color…the more saturated the better! It was a challenge that I welcomed to tone down my usual color palette and work with the palest shades of mint, ivory and pink!

Choosing my threads was easy, having picked up several shades of the newest Eleganza Perle Cotton thread colors at Quilt Market. The newest colors (available very soon!) are based on a more primitive color palette and were just the colors I needed for stitching on these Heartland Fabrics. For the delicate bit of sparkle, I used Cosmo Shabon-dama, which I also picked up at Quilt Market.


I chose to create a hoop art trio from my fabric selections.


Here is the full list of makers for this blog tour…be sure to check out what they created with this fabric too!

November 7 Debbie, A Quilter’s Table
November 8 Jess, Craftiness Is Not Optional and Charise, Charise Creates
November 9 Jade, Stitch Mischief
November 10 Amanda, Jedi Craft Girl
November 11 Kari, Craft Happy
November 14 Stephanie, Spontaneous Threads
November 15 Christopher, The Tattooed Quilter
November 16 Kerry, Kid Giddy
November 17 Nichole (that’s me!)
November 18 Krista, Poppyprint

And would you like the chance to stitch a hoop with this gorgeous fabric and thread palette? Leave a comment here for your chance to win!


Scandinavian Inspired Hoop


Several weeks ago, I was asked by RJR Fabrics if I would like to participate in the #whatshaderu blog hop for their Cotton Supreme Solids. I was excited but also realized this would be a challenge as I normally choose to work with patterned fabric over solids. A huge fan of Cotton and Steel, which is a division of RJR Fabrics (as you see noted on every keep-worthy bit of selvage!), I decided to choose 12 colors that would stand out on an assortment of grey Cotton and Steel Basics. I also knew that my design would be Scandinavian-inspired, just because. I drew up a pattern for a straight row of brightly colored houses, a funky floral design and, as pictured below, a geometric heart made of 54 diamond and half-diamond pieces. Time consuming? Absolutely! But well worth the effort to have solids like red, coral, pink and purple playing nicely together!

Check out RJR Fabrics Quilt with love blog for my entry and read on to see what others have done with Cotton Supreme Solids!

image

Little House on the Prairie Hoop

I am working on several Andover Fabrics hoops for the International Quilt Market in Houston, TX this Fall. The upcoming Little House on the Prairie fabric is inspired by the illustrations found in the “Little House” novels. When you see this fabric, you will feel both the rustic nature of life on the prairie combined with dainty floral prints meant to give women a touch of femininity in their hard-working lives.

This hoop is based on the motif of the running girl and is a favorite piece of mine.  Here she is in her pre-stitched glory:


To see the full line in each of the motifs, check out Andover Fabrics blog.