Embellishing Yazzii Craft Bags

I am an organizer. And I am always looking for better ways to organize my embroidery supplies. I like my organizers to be portable and roomy for lots of my threads and beads. A zipper is good, just in case my beads spill. Something that can sit on my lap is great, especially for travel.

Enter Yazzii bags! The ultimate organizing solution to so many of my hand embroidery needs!

Two of my current favorite are the Craft Box-Fabric Top and the Oval Sewing Box.

A bonus with these bags, besides being really well-designed (in Australia) and hand-sewn (in India), is that the fabric design allows for you to personalize them with your own appliqué and embroidery!

I’ve embellished my bags and I even made a video for you to see how I used a slightly different method for each one!

And while you’re on YouTube, check out the “Inspired By” segment that I recorded with Free Spirit Fabrics yesterday!

Happy watching (and stitching!)

Cricut Maker Review

Back in November, I posted about my first time ever using a cutting machine: the Cricut Maker, and the hoop that I created with it. Since then, I’ve been creating other projects, getting better each time (!) and I wanted to share with you what I like about this machine.

Ok, so the Cricut Maker.

I should tell you that I have never used a cutting machine before I used this one. I thought what they could do was cool, but until now, I didn’t see much of a use for them, because the medium that I work in is fabric and thread and not so much paper and that’s what stopped me from exploring them any further.

However, this machine was designed to use a rotary blade that is meant to work with fabric!

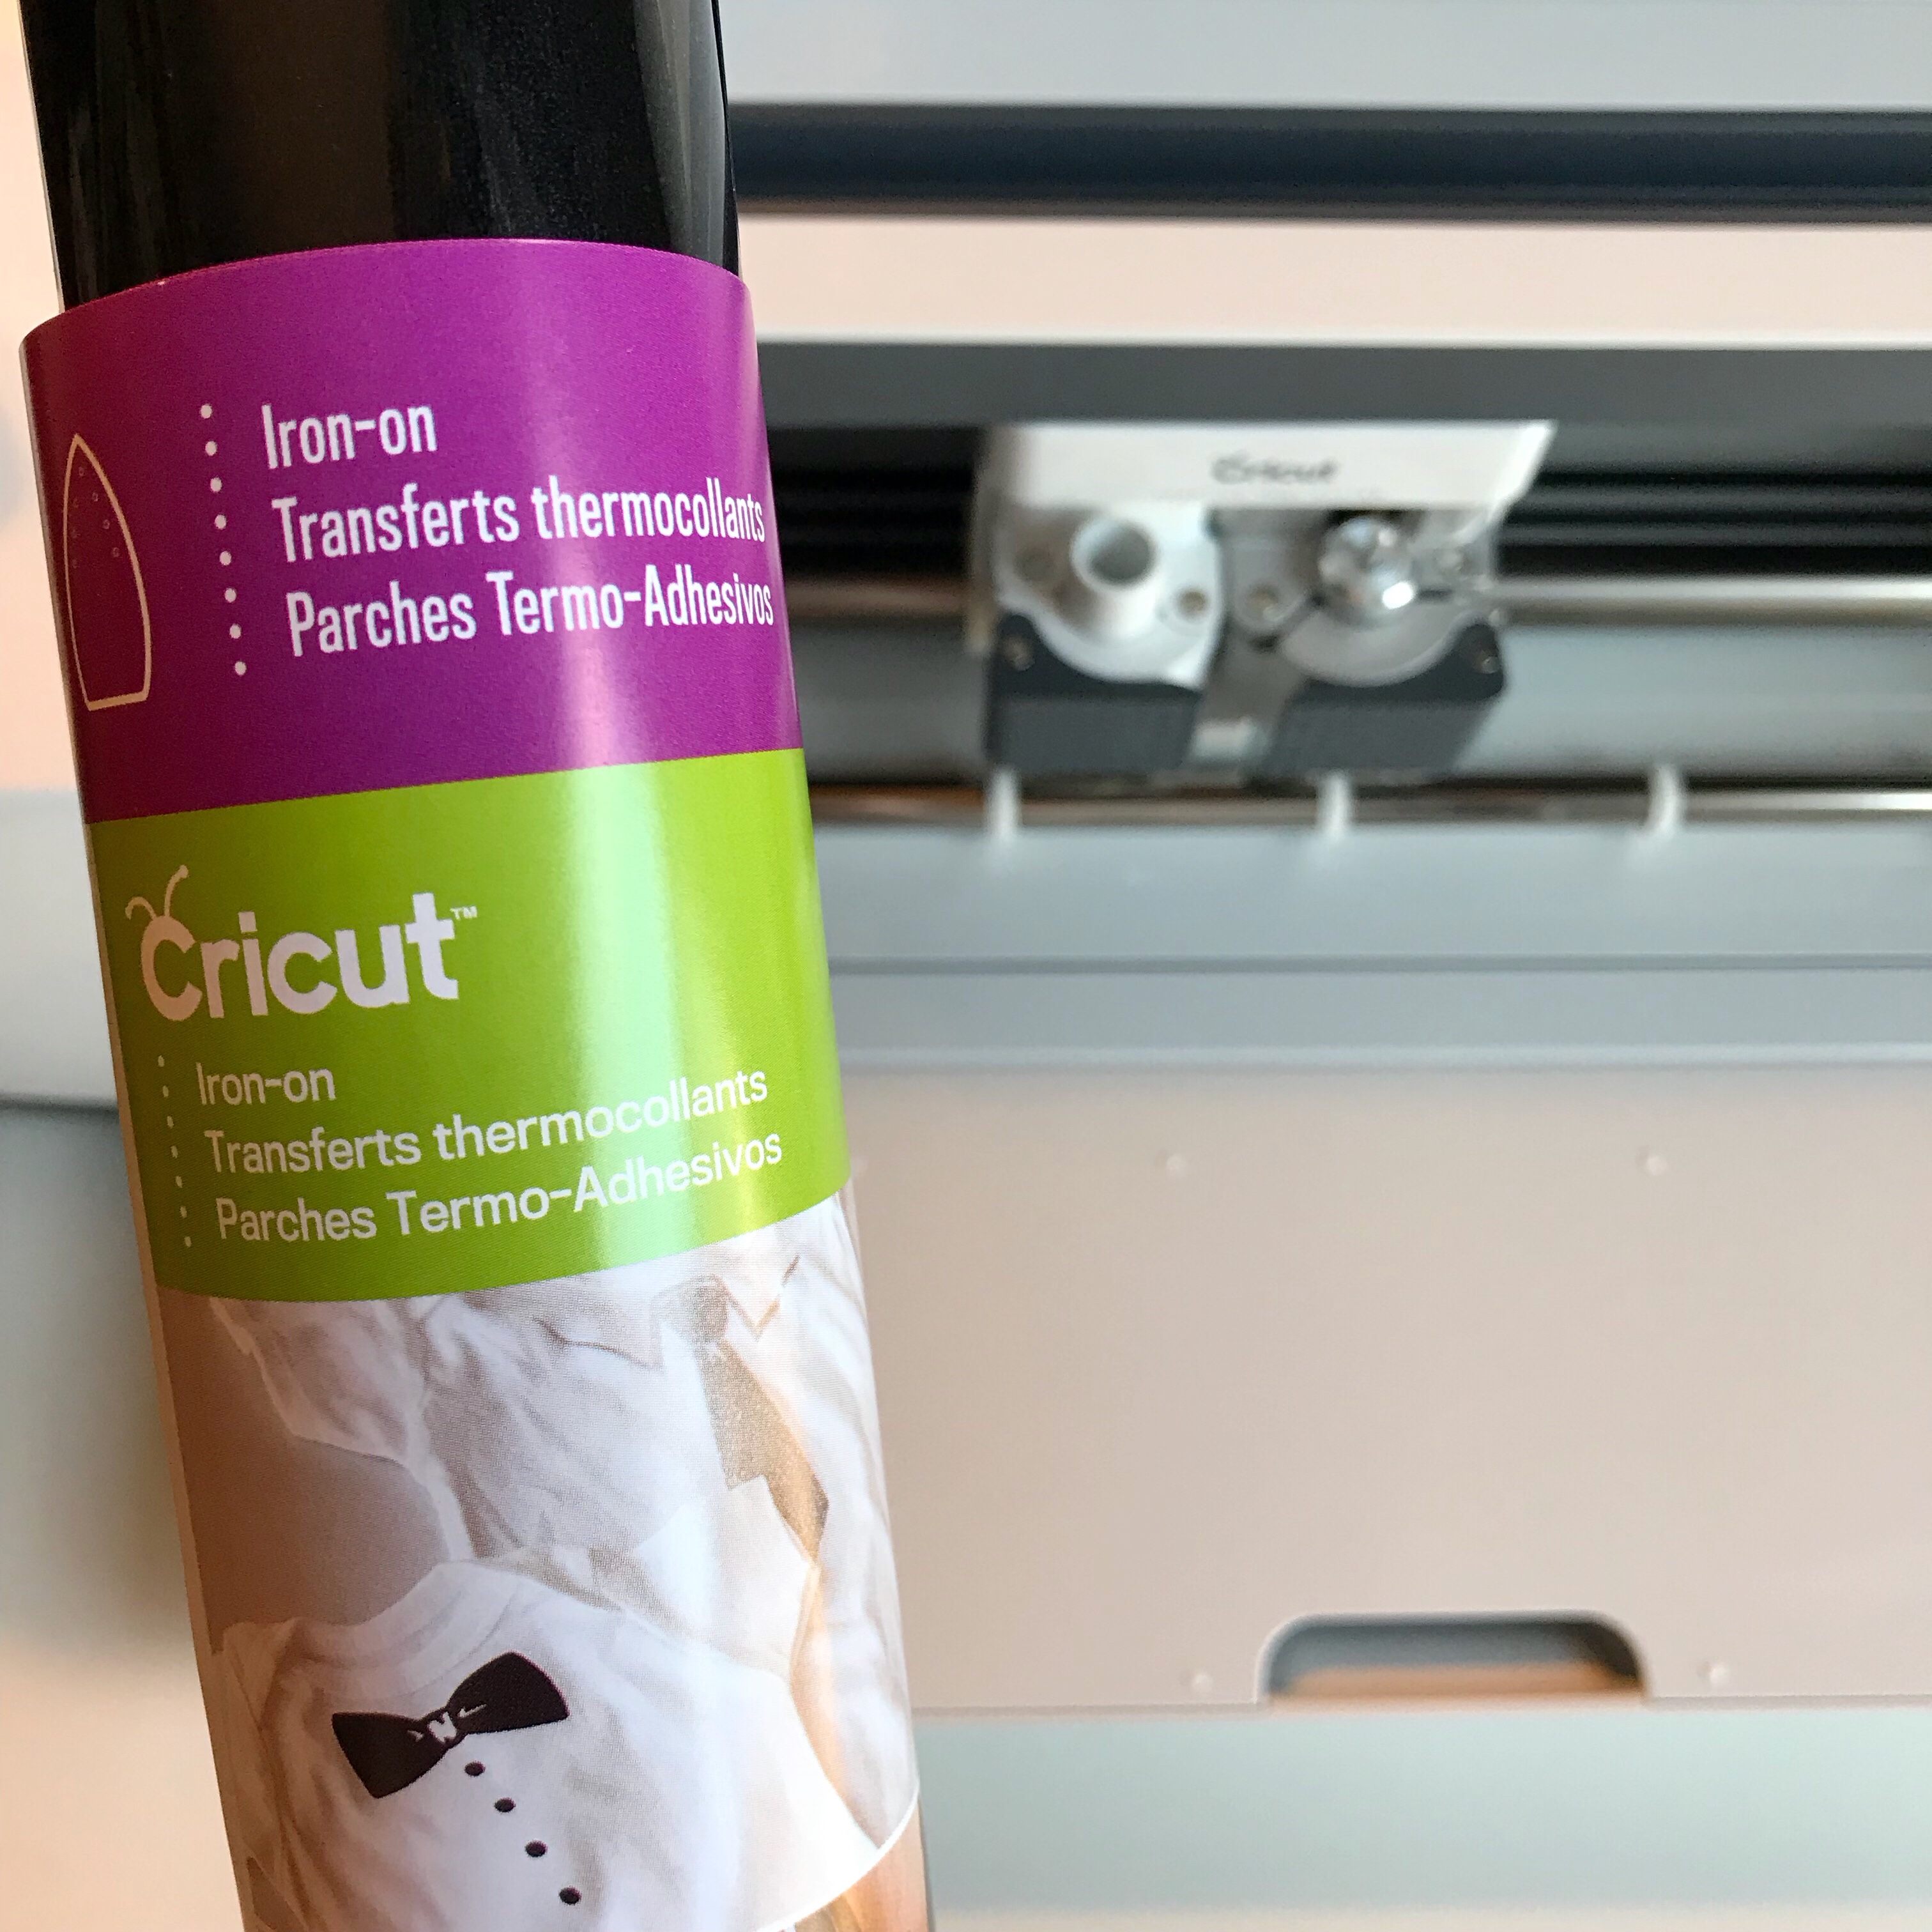
With the addition of a knife blade, you can expand your materials to working with not just fabric, but thicker things like leather, balsa wood, chipboard and mat board. And switching to the fine point blade, you can make regular cuts on materials like as iron-on adhesive and vinyl. I absolutely love the the versatility of this machine!

“What’s that…you need a book-character themed costume for Read Across America week at school tomorrow?! Let me just pull out my iron-on adhesive and whip something up!”  Yes, this was an actual conversation from my house! And, yes, it was amazing to quickly use the Design Space app to make last minute Dog Man and Where’s Waldo themed shirts for my kids!

But back to cutting fabric!

The rotary blade does not require you to have your fabric backed with anything like Heat n’ Bond (although, I used that in my first project and it worked just fine!). The mat designed to be used with fabric is sticky, requiring you to simply press your fabric into place with your hands before inserting it into the machine. From there, the machine knows what to do!

But how does it know what to make? Well, using Cricut’s Design Space app, you can either use one of the hundreds of designs available in the library, or you can create your own image and go from there. Are you are quilter or sewer? Well, Cricut has teamed with both Riley Blake and Simplicity to create patterns that are available for your use as well! I love that you can work with the Design Space app both on a laptop or on your iPad/iPhone.

Since the first project that I created in November, I have used this machine a lot. I’ve played with Cricut’s adhesive vinyl to make fancy labels for my beading supplies, the rolls of iron-on material for shirts and tote bags and my rotary blade has been getting a serious work-out with the fabric i’ve been cutting!

I LOVE working with Cricut’s Iron-on and it’s what saved me on that last minute school project I told you about!!

I’m going to share my latest embroidery project with you tomorrow and don’t worry, i’ll even share my behind-the-scenes mess-ups as i’ve been learning my way around the Maker!

What is sharing without getting some of the the nitty gritty behind-the-scenes details, right?!

In the meantime, check out some of the tools I’ve been working with!

I have yet to use this Washable Fabric Pen, but i’m going to try my hand at using it for an embroidery pattern. I’ll post about it here when I finally get through my stack of WIPs!!!

Don’t forget to pop back tomorrow for my finished project!

This is a sponsored conversation written by me on behalf of Cricut. The opinions and text are all mine.

Coloring with Thread Book Showcase

Photo courtesy of The Quilting Company 

Late last year, I was excited to work on a stitching project based on a pattern by Tula Pink that was going to be included in her new embroidery book, Coloring with Thread: Stitching a Whimsical World with Hand Embroidery.

Check out that center Octopus hoop in the picture up there (maybe, just maybe, it was stitched by yours truly!)

If you love Tula Pink’s fabric, then, no doubt, you will be excited to get your hands on a book full of her embroidery patterns!

When I was asked to stitch up another pattern from her book as part of the Coloring with Thread blog tour, I couldn’t wait to try Boho-ing up one of her designs: the Double Bunny.

I feel like I need to add this disclaimer before going any further: for my sanity (and yours!), I highly recommend enlarging your chosen patterns before you try this method for yourself. Seriously. Tula Pink designs are gorgeously intricate but cutting so many teeny, tiny fabric pieces might just be enough to push the most patient of fussy cutters to the brink of frustration!

I began with enlarging the Double Bunny pattern.

Enlarging a pattern is incredibly easy if you have an office supply store nearby. Take your pattern in and ask them to make an engineering print in whatever size you need. I enlarged the Double Bunny pattern to 14″ and it fits perfectly in a 14″ hoop.

Once I had my copy of the pattern, I used the techniques outlined in my book, Boho Embroidery to transfer the pattern to a selection of my favorite Tula Pink fabrics.

Here’s what I ended up with once I ironed all of the fabric pieces in place.

Using Madeline Tosh Unicorn Tails yarns and the Stem Stitch, I outlined all of the pieces. You can see what a difference it makes when each piece has been outlined:

And then I just kept on embroidering! I added sequins and beads and finished it up just in the nick of time so that I could share it with all of you! Here’s how it looks all stitched up:

And how about some up close and personal detail shots, because it’s all about the details!

The sequins make these feel like Disco Bunnies, don’t they?!

And there you have it!

If you want to try your hand at an embroidery project like this, here are the specialty Threads and beads that I used:

This yarn is really fun to embroider with….I mean, check out those colors! You can find these “Unicorn Tails” at Mad Tosh.

If you’ve been following along for awhile now, you already know how much I love the Eleganza Perle Cotton from Sue Spargo and Wonderfil Specialty Threads! I used the size #8 and in some cases doubled it up so that my stitches stood out next to the Unicorn Tails. I could have just used a size #5 or #3, which are both thicker, except I was gifted this box of threads and the colors matched perfectly!

Another one of my favorite threads (especially to use when working with beads and sequins) is Sulky Petites. These threads are approximately the weight of 2-strands of a floss like DMC that gets separated, except you can use these right off the spool without separating strands.

And speaking of beads, my favorite seed bead source is Fusion Beads. (How about that neon pink?!) I used size 8 seed beads for this project.

And if all of this seems completely overwhelming and you just want to stitch a pattern, look how completely different this project can be if it is simply embroidered using the Tula Pink color guides and her pattern from the book!

photo courtesy of The Quilting Company and stitched by Elise Baek

Please be sure to check out all of the other amazing embroidery projects on this Book Showcase!

Here’s the full schedule:

Monday, November 27th — The Quilting Company

Tuesday, November 28th — Minki Kim, Minki’s Worktable

Wednesday, November 29th — Nichole Vogelsinger, Wildboho

Thursday, November 30th — Amanda Carestio, Sew Daily

Friday, December 1st — Nydia Kehnle, Nydia Kehnle Design

Monday, December 4th — Sharon Burgess, Lilabelle Lane Creations

Tuesday, December 5th — Cindy Guch, Raspberry Sunshine

Wednesday, December 6th — Sandi Sawa Hazlewood, Crafty Planner

Thursday, December 7th — Wynn Tann, zakkaArt

Friday, December 8th — Elise Baek, Elise & Emelie

Monday, December 11th — Ann Blalock, Coats & Clark Sewing Secrets

Tuesday, December 12th — Sara Lawson, Sew Sweetness  * Watch the Facebook Live video at 7pm CST

Wednesday, December 13th — Nancy Jewell, Free Spirit Fabrics

Thursday, December 14th —Annette Allison Millard, The Sewful Life

Friday, December 15th — Brenna Riley Gates, The Quilting Company

Cricut Maker

Recently, I discovered the brand new Maker machine from Cricut and I can’t wait to tell you how easy it was to make this hoop with the machine!

If i’m being completely transparent, i’d have to say that I never even looked at Cricut machines for my own use, because my focus is on fabric crafting rather than paper crafting and I thought Cricut machines were just for paper. Well, not so with the Maker machine…yes it can cut paper but also fabric, vinyl and even thin wood!

I was sold!

So, I received and unboxed my machine, set it up and then sat down to learn how to use Cricut’s Design Space app for the iPad (which can also be used on your computer and that’s actually where I set up my first project).

Since this was going to be my very first project ever, I wanted to keep it simple in case I really messed it up!!

I chose images from the design library: a pair of scissors and a swirly ribbon. This video shows a snippet of what the cutting process looks like:

I have the fabric backed with Heat ‘n Bond and that is being held in place on the pink Cricut adhesive fabric mat.

Once the cuts were made, I had three separate pieces that I then assembled onto my background fabric.

And then my favorite part, of course, the embroidery!

The fabrics that I used are from Alison Glass.

The threads that I used are Eleganza from Sue Spargo. This is the size 8 thread, but I doubled it up for stitching this piece.

And finally, I am asked all the time about the beads that I use…these are size 8 Japanese seed beads from Fusion Beads.

I stitched it up and have the perfect hoop for my stitching studio space! (say that three times fast!)

I’m thrilled with how simple it was to use the Maker machine and how quickly I was able to put together all of the pieces for this project. I’m thinking that for my next project, I might use my own design for a hoop. So, stay tuned, i’ll be sure to share it with you here!

And in the meantime, you can check out how others have been using their machines on Cricut’s Instagram page!


The Maker machine and supplies have been provided to me by Cricut. The opinions, photos and videos above have been provided by me. 

Thread Round-Up

As someone who works with lots of threads and always on the lookout for new colors and textures to try, it is one of my favorite questions when I am asked: “what threads do you recommend?”

So here’s a quick thread round-up for you if you are thinking of starting an embroidery project and want to try something new!


Hands down, my favorite everyday embroidery thread is Eleganza Perle Cotton. A collaboration with Wonderfil Specialty Thread, these colors from Sue Spargo are rich and saturated and match any project I am working on.

In the picture below, you will notice that size 5 is slightly thicker than size 8. With Perle Cotton, you do not need to separate threads, like you might typically do with regular floss. This is meant to be used directly off the spool, which might partially be why I like it so much!

You also get a lot of thread for your money with these spools! The size 5 comes in 40 yard spools and the size 8 comes in 70 yard spools.

This Dala Perle Cotton also comes from Sue Spargo, only this one is hand-dyed in small batches by her daughter, Kelly. The colors in these variegated threads are also incredible!

If you are used to using thinner threads but want to add a bit more texture to your work, I suggest giving this particular brand a try. It is easy to work with, does not need to be separated and also adds lovely visibility to your stitches. And notice the twist in the threads? That adds to the texture of your work and gives it a bit of shine. If you are going to be spending lots of time adding your embroidery to a project, you definitely want those stitches to stand out, right?!

Have you ever worked with wool yarn or thread in your embroidery? If you haven’t, these are my two favorite brands of wool yarn to use in my hand stitched projects.

On the left is Koigu Needlepoint Yarn which I picked up on a recent trip to Purl Soho in NYC. It comes in 11 yard hanks and is the weight of a fingering yarn. It does not need to be separated like regular embroidery floss. I have found that even though it looks thicker, it threads through Milliner’s Needles easily and I haven’t had any problems using it in my embroidery.

The Ellana wool thread on the spool is from Sue Spargo. Compared to the spools of Eleganza Perle cotton, this thread is thinner and wispier. I like to use it double stranded, but if you are looking to add delicate texture, then you can certainly use it as a single strand. This also comes 70 yards to a spool and the color selection cannot be beat! I could seriously find a use for every single color in this collection!!!

My favorite threads for adding beads to my work are these Sulky Petites and Sulky Blendables. When compared to a DMC type floss, these are the weight of 2-strands of floss. Each spool is 50 yards. I like using these to add beads because the colors are subtle enough to blend with my work and I rarely have problems with the thread tangling. This is a nice, lightweight addition to my embroidery toolbox!

Boho Stitch Along. Week no. 22

Welcome back for Week no. 22! If you are just beginning a piece for the #BohoSAL, check out my previous posts here. And if you are new to embroidery and want to learn the basics, check out my embroidery book, Boho Embroidery for everything you need to get started!


I am just loving this Outback Wife fabric SO MUCH. The fabric has so much texture pre-stitching and is slightly heavier than a quilting cotton, so it can withstand the weight of the beads and threads that I am adding! Here it is, in my garden….doesn’t it look like it belongs with the peachy-orange irises?!


And speaking of Outback Wife fabric, did you see the two limited edition color ways that were released at Quilt Market? I will be stalking my favorite fabric shops for yardage to be available because I think I need more!!!

Here is a picture of the limited edition colors from Ella Blue Fabrics:


We have so beautiful floral inspired hoops that are in the #BohoSAL feed and I thought I would share some of my favorites this week!

This is a lovely piece by @locowispsnwips and you can check out her feed for lots of detail shots!!

@beckymac1 has perfectly matched her Eleganza to this gorgeous floral and I can’t wait to see more pictures of this hoop as she makes progress!

 I just love hummingbirds and so when I saw this hoop from @handmadewhimzy, I knew I had to feature it! And I love how she is changing the flower with her embroidery!

Such perfect little stitches from @quilterathart and lots of other beautiful embroidery on her feed!


And that’s a wrap! Have a fabulous week and happy stitching!

Boho Stitch Along. Week no. 20

Welcome back for Week no. 20! If you are just beginning a piece for the #BohoSAL, check out my previous posts here. And if you are new to embroidery and want to learn the basics, check out my embroidery book, Boho Embroidery for everything you need to get started!


This week, I am working with this beautiful-beyond-words barkcloth from Gertrude Made‘s first fabric line, “Outback Wife.” This fabric is seriously gorgeous.

I have been following along with Cathi’s Instagram feed for ages now. You can find her @gertrudemade on Instagram. Her beautiful floral dresses first caught my eye, and then when I saw she was coming out with her very own fabric line, I was just ecstatic! I love the stories behind Outback Wife and I can’t wait for her next line of fabric!!

So, anyway, I have several pieces from this line and I have had them sitting in a pile, just waiting for time to work with them! Well, it’s time. I have had ideas swirling around for this fabric and my fingers are just itching to throw some stitches on this hoop!

Because I have been waiting so long to work with this fabric, i’m not rushing the process. This is a true Boho Stitch Along piece, because there is no deadline and i’m working on this one little by little and letting the ideas gradually fall into place.


This past week was Teacher Appreciation Week and we love our teachers around here! I’ve had hoop ideas in my head for them and this week, after I sent off all of my Quilt Market hoops, I was able to focus on these hoops!

Here are the hoops I stitched up:


And that’s a wrap!

Have a great week stitching!


Boho Stitch Along. Week no. 16

Welcome back for Week no. 16! If you are just beginning a piece for the #BohoSAL, check out my previous posts here. And if you are new to embroidery and want to learn the basics, check out my embroidery book, Boho Embroidery for everything you need to get started!


Well, the stomach bug has hit our house hard this week, which means I did a whole lot of cleaning and disinfecting and then some more cleaning and disinfecting and not as much stitching as I had hoped!!!

I did have wits enough to put together this Tula Pink piece that is slightly larger than I normally work with, though, and I am considering it my Boho Stitch Along piece for the week!

This citron color is from Tula Pink’s Prince Charming line, which might just be one of my  all-time favorites…I still have decent cuts of all of the color ways from this one! I also added elements from AcaciaBumble and Slow and Steady.

I found this lap embroidery hoop for a whopping $2.50 at the thrift store and picked it up even though I wasn’t sure if I would like using it. Let me tell you….I definitely like this hoop! For large pieces of embroidery, it is so handy to not have to hold the hoop while i’m stitching. I feel like I can stitch faster than if I were wrangling a large 14″ hoop while trying to stitch!


In non-Boho Stitch Along related posts, I want to tell you about a new (to me) thread that I have been using for the past week or so. Sulky sent me a few things to try out and these Cotton Petites were among the samples.

I am always game to try a new thread and I discovered that these threads work really great when I am adding beads to my embroidery. In the past, whenever I added beads, I just used sewing machine thread because I wanted something thin that wouldn’t take away from the embroidery. I would inevitably have to deal with tangles and it just never worked great. So when Sulky sent me this, a lightbulb went off and I was excited to use it with beads.

Each spool has about 50 yards and is the thickness of about 2 strands of floss, but you don’t have to separate it…you heard me right! You can use it directly from the spool!!! I love when I can use a thread that doesn’t need to be separated because it lets me stitch more and work less!!

I haven’t seen these in any craft stores that are local to me, but you can check them out at Sulky and they come in both solid and variegated (or bendable) colors.


Have a great week stitching!!

-nichole

Boho Stitch Along. Week no. 13

Welcome back for Week no. 13! If you are just beginning a piece for the #BohoSAL, check out my previous posts here. And if you are new to embroidery and want to learn the basics, check out my embroidery book, Boho Embroidery for everything you need to get started!


For my stitch along piece this week, i’m back to my Urban Artifacts hoop. Earlier this week, I came across a packet of beads that I had tucked away and they just so happened to match the colors on this hoop! So on a whim, I added them.

I also wanted to mix and match the Sue Spargo Ellana Wool thread alongside of the Eleganza Perle Cotton thread so that you could see the side by side differences. In this pic, the Ellana threads are on the white/tan spools and the Eleganza are on the green spools.

You can see below, that the Ellana Wool is slightly thicker with a matte finish (I doubled up the strand here because I wanted it to stand out) while the Eleganza has a slightly shinier look. I love mixing and matching threads to get a variety of textures!

And here’s a full shot of this little section. Kind of 70’s mod vibes, right?! This might be one of my favorite sections on this hoop!


There have been some beautiful detail shots added to the #BohoSAL pool on Instagram recently!

P.S. If you have added your pics with that hashtag but you have a private account, I won’t be able to see them. For a chance to be featured, you can direct message your pics to me through Instagram.

So let’s see what our Stitch Along friends have been up to lately, shall we?!


I just love the Chain Stitch and Lazy Daisy combination that @quilterathart has been stitching! Aren’t these great colors?!

The quilts scrappiness of this piece that @mamacesare has been stitching is just awesome! The dense stitching (especially on those flowers!) is all kinds of gorgeous!

The addition of navy thread (if my detective skills are on par, it looks like it’s a limited edition color from The Thread Gatherer!) that @belladar58 is adding to her fabric.  I love the texture that this is adding and can’t wait to keep watching this one grow!

@little_girl_pearl is working wonders on this Anna Maria Horner fabric. I mean, it’s Anna Maria Horner….do I need to say anything else?!

That’s a wrap for this week! Keep being awesome all you stitch along-ers!


If you are in the Doylestown, PA area and want the chance to check out what I have officially dubbed my “favorite art exhibit of all time,” the Charles Sheeler: Fashion, Photography and Sculptural Form exhibit at the Michener Art Museum, then you have until July 9th to make your way there.

I was blown away by the combination of large murals, photography and fashion from the twenties and thirties. An incredible mix of industrial settings from the Machine Age combined with  (always a favorite!) geometric patterns and the fashion from the 1920s…it was awesome and I can highly recommend it!

Here’s a little sneak peak:

And catching a glimpse of my book in the wild, at the Doylestown Bookshop, never gets old!


And lastly, if you are in the PA/NJ area, don’t forget that i’ll be teaching a Boho Embroidery workshop at Pennington Quilt Works this week. You can check their class schedule for dates and availability!

Have a great week and happy stitching!

-nichole