Hope is the thing with feathers

Hope is the thing with feathers
That perches in the soul,
And sings the tune without the words,
And never stops at all – Emily Dickinson

img_6211

In my Cricut Maker post from yesterday, I promised to share with you the project that I made with my new machine.

I have to be completely honest and tell you that I wasn’t sure how much I would use my Maker, because I do so much hand embroidery and I very rarely use quilting or sewing patterns.

BUT, I have been completely sold with the one aspect of this machine. Something that I can see myself using over and over again: the  FONTS!  All 370 of them!

Working with fabric and embroidery, I have never found a great way to add fonts into my work. Sure, I’ve done it, but it has never been quite as easy as it was using Design Space and my Cricut Maker.

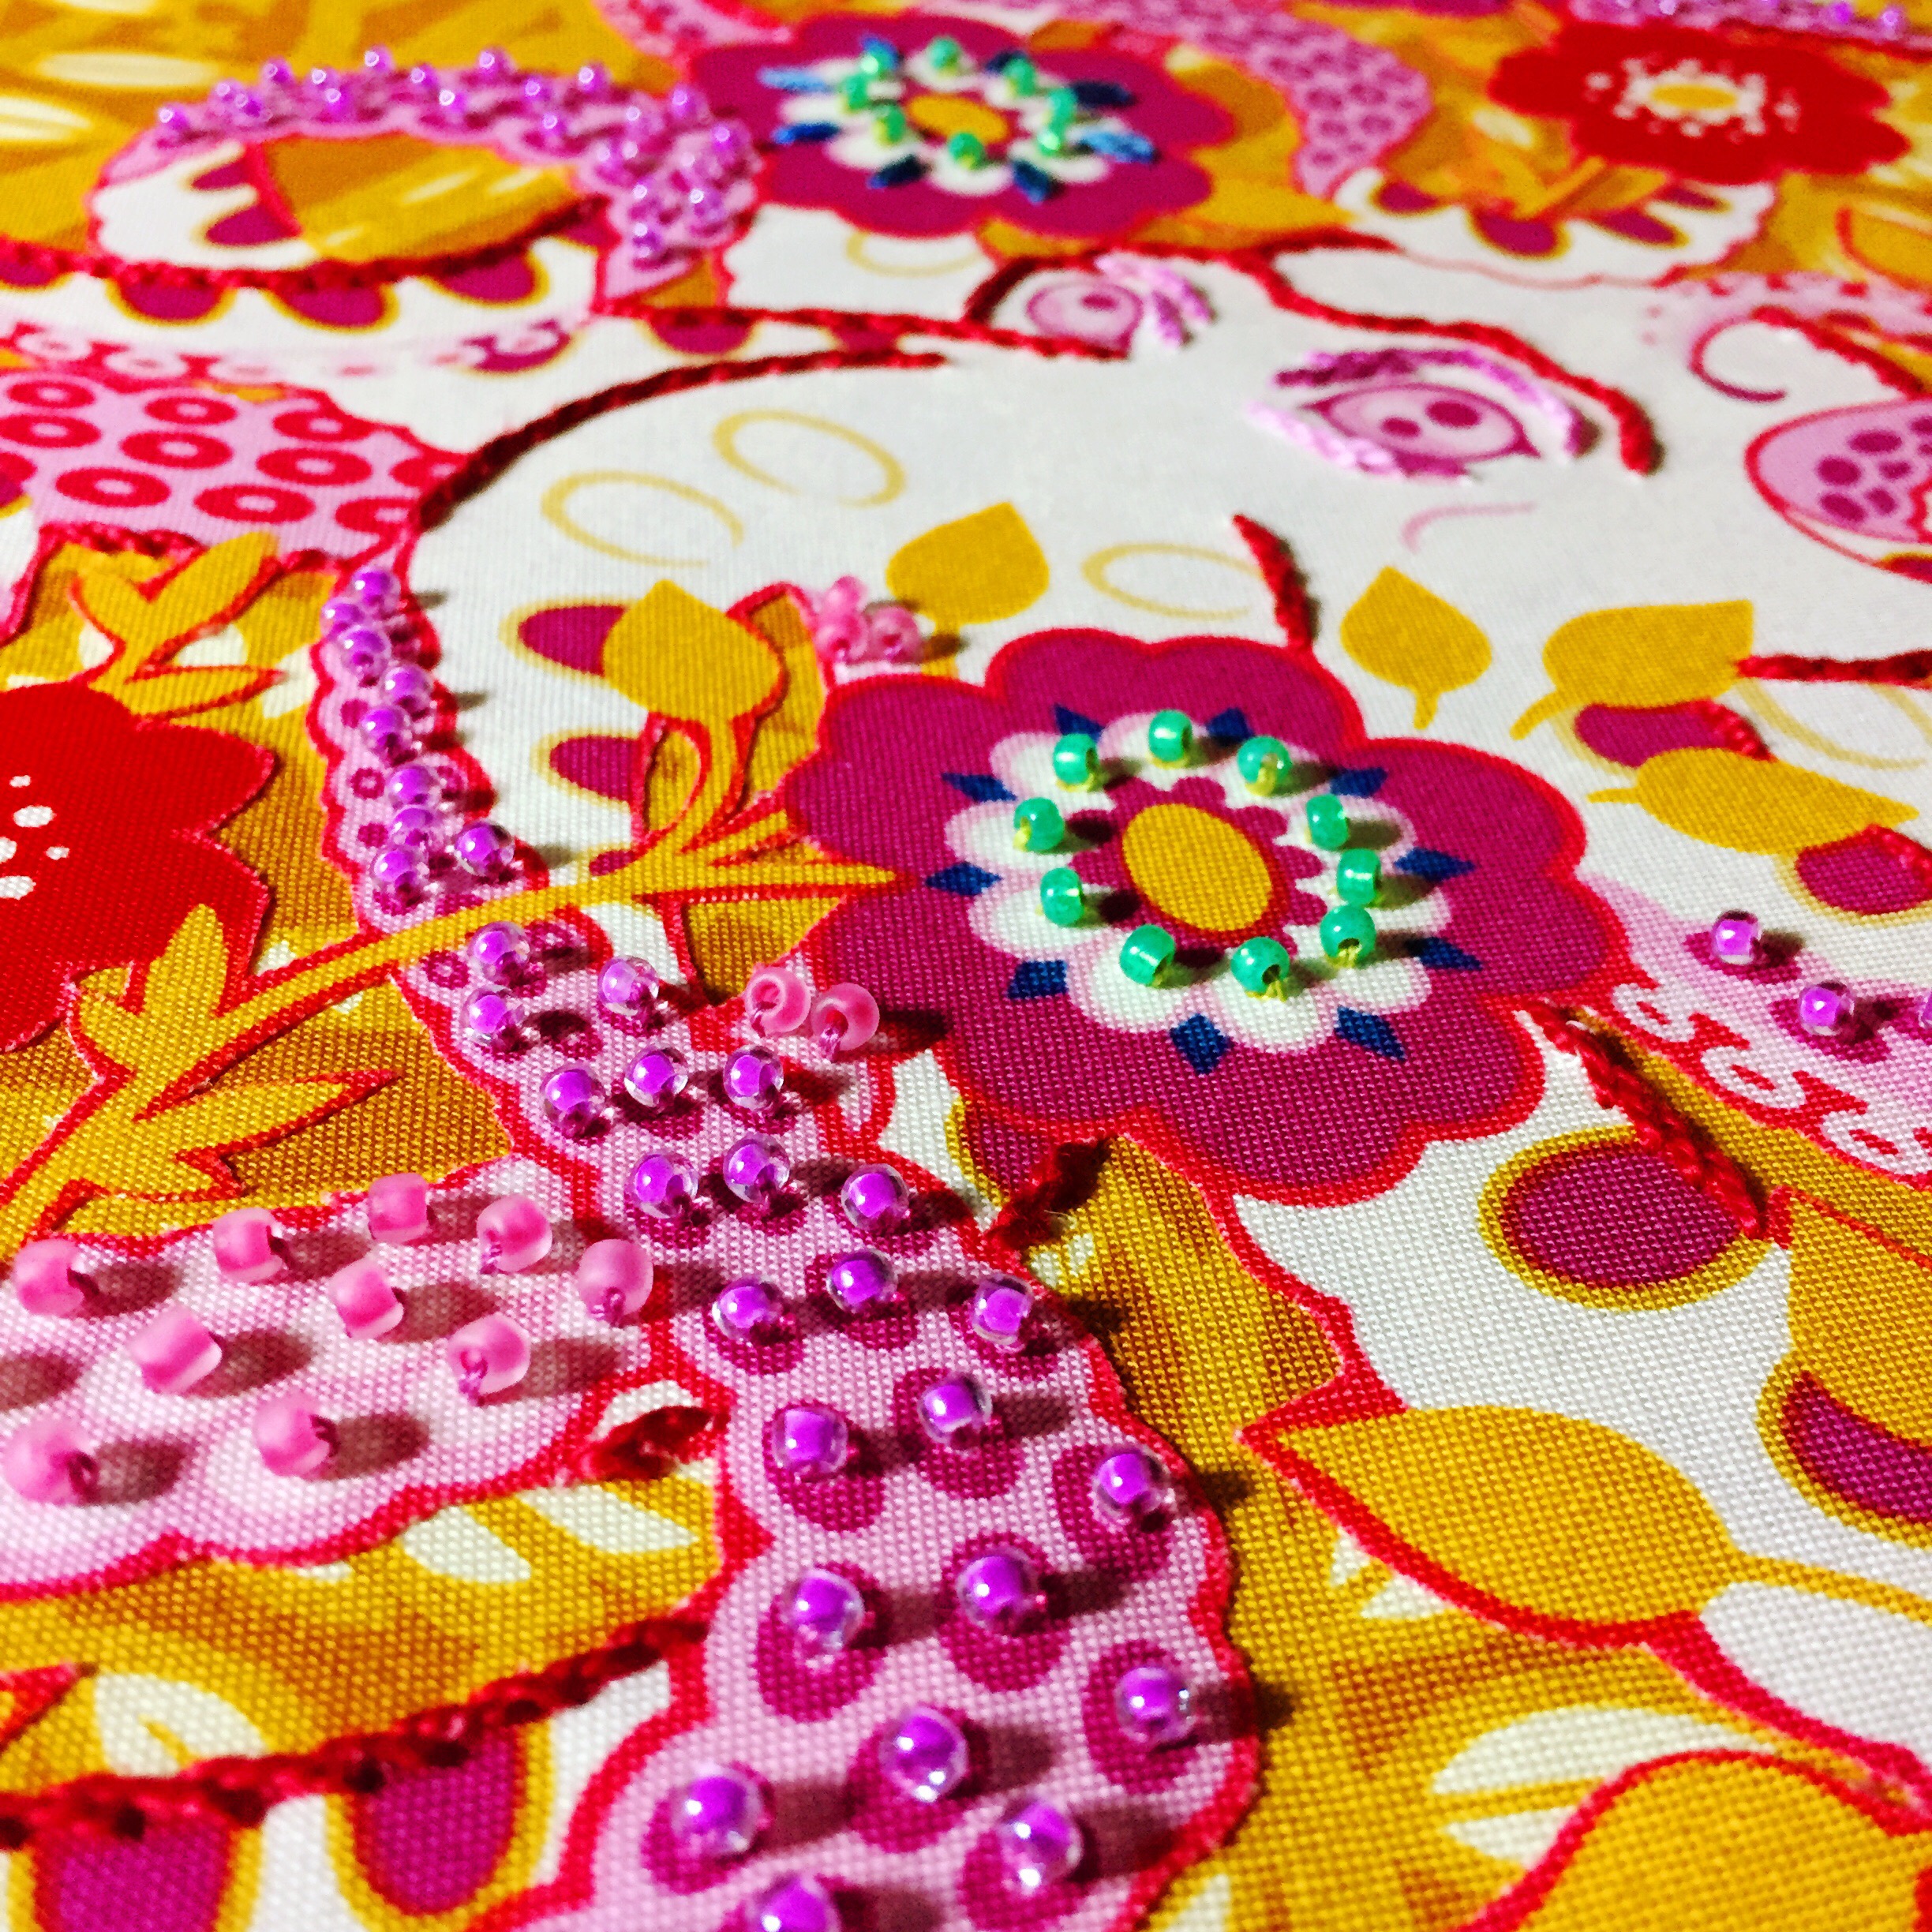
If you’ve been following along with me for awhile, you’ll know that it’s not a secret that I love to stitch feathers! I also wanted to work on a project that would be simple enough to show you how easy it is to cut fabric and shapes with my Maker, but that you could also envision this stitched up with your favorite fabric combinations!

So here’s what the Design Space app looks like with a work in progress. You’ll see I have my word “hope” next to the feather that I’m also going to be using for the project. I was easily able to find a font that I liked, move and size each letter individually, and then attach them all together so that they would be cut out of one piece of fabric. An alternative to this would be to cut each letter out of a different fabric.

Screen Shot 2018-03-27 at 1.35.20 PM

Remember how I told you yesterday that I would share my behind-the-scenes flubs? Well, this was a major one. When I first started working with the idea of combining a feather and the Emily Dickinson quote from above, I had much smaller font and the letters were going to be cut out of the feather. Great idea, right?! Look how fabulous it would have been!

But, it wasn’t fabulous.

Letters are great for the Maker to cut out of fabric with the rotary blade….when they are big enough. My first try had letters that were less than an 1″. It was a mess. I tried to separate the letters from the feather and made the mess worse. You don’t believe me, do you?

Well, here’s a picture to show just what a mess I made! Yes, it cut the words perfectly, but as I used the weeding tool (an awesome little Cricut tool!) to pull each one off the mat, the delicateness of the letters was not on my side and they shredded into an unusable mess of fabric!

So, I knew that if I wanted the letters to work, they would have to be bigger and bolder. I have no problem adding big and bold to my work, but I needed to re-work the words cut out of the feather idea.

My second try went brilliantly! I cut the word “Hope” out of one fabric, weeded the letters from the fabric and was ready to move onto phase 2 of my project: adding them to the feather that I had already cut out.

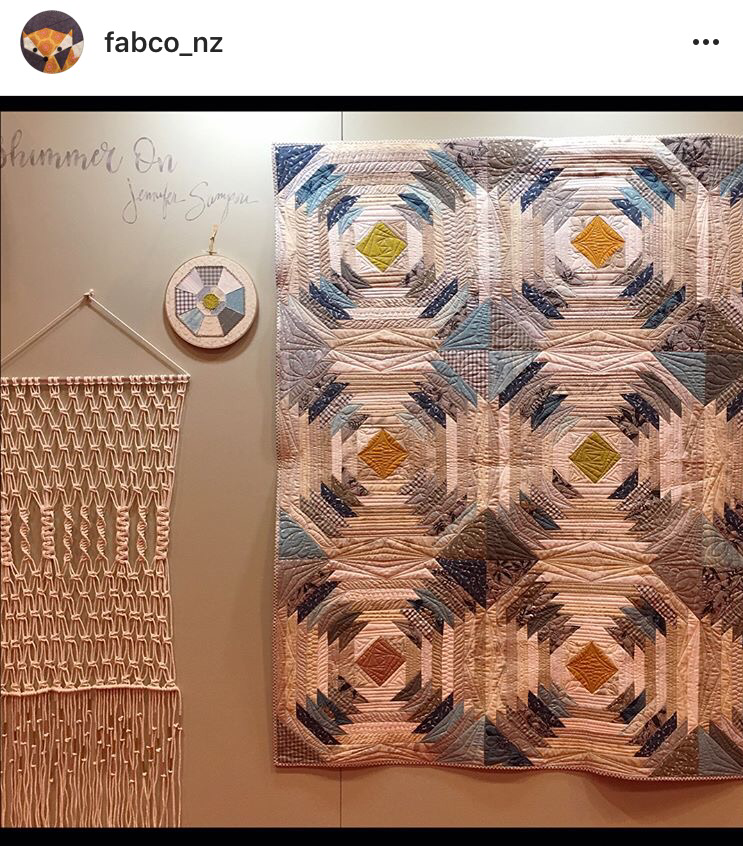
This pink mat that you see is the Fabric Mat which is designed to be used with the Maker. The Feather has been cut from the yellow fabric (all of the fabric you see here is by Jennifer Sampou)

And this shot shows the weeding tool I was talking about…it has a sharp edge and helps to pull the fabric pieces gently from the fabric/pattern/mat board. It isn’t strictly designed for fabric and can be super helpful when working with iron-on, vinyl, etc.

So there’s the feather, all cut out and ready to be attached! For both the feather and the words, I used this amazing (no, seriously!) product from Dritz Quilting. It is spray adhesive and can easily be found at your local craft store.

I sprayed the adhesive to the back side of the feather, pressed it into place with my hands on the background fabric and then did the same exact thing with the words. It is not a permanent hold, but rather a temporary one that keeps everything in place until you embroider your pieces to the fabric.

I can’t recommend this product enough!!! It is simple enough to stitch through and does not make your embroidery needles sticky…at all!

Are you ready to finally see my embroidered hoop?

img_6286

For this project, I wanted to show how a simple design, cut from the Maker, could be embroidered and embellished and personalized with your choice of fabrics and colors.

img_6133

I have been on a Pom Pom making spree and to make the ones that I sewed onto this hoop, I used the Boye Pom Pom Tassel Maker. It is fun to coordinate the colors of your fabric with a yarn and even more fun to use a variegated yarn (like I used in the above picture).

The flowers on the lower corner of the hoop are paper embellishments that I found in the scrapbooking section of my local Michaels. I like to mix and match textures and paper is something you might not think to add to a hoop made with fabric!

img_6224

So, a very simple project to make, made even simpler with the Cricut Maker!

If you are looking to replicate this project in Design Space, I used the Feather (#MC88B9C) from the Bohemian Wedding designs and the font is Chloe Whimsy.

You can easily change the size of both the feather and the letters to whatever hoop size you are working with. I used a 12″ hoop for this project.


This is a sponsored conversation written by me on behalf of Cricut. The opinions and text are all mine.

Boho Stitch Along. Week no. 21

Welcome back for Week no. 21! If you are just beginning a piece for the #BohoSAL, check out my previous posts here. And if you are new to embroidery and want to learn the basics, check out my embroidery book, Boho Embroidery for everything you need to get started!


For the moment, I can stitch just to stitch and not to meet a deadline, which is really an enjoyable thing…when it happens!

So this week, working with my Gertrude Made fabrics for my #BohoSAL piece, I began to add beads galore to my Boho Stitch Along piece. With a piece like this, I had no specific plan of what I was going to stitch, what stitches to use, etc. I knew I wanted to add a running stitch along the background, so that’s where I began. While I was working on the running stitch, it gave me time to really look at the fabric and decide what my next move would be! Plus, I have all of these great beads in shades of green and I just knew I had to add them somewhere!!

img_9927


In other news, it’s Spring Quilt Market time! I’m not there, but several of my hoops made the journey to St. Louis

I was really excited to be asked to work with the beautiful Shimmer On fabric by Jennifer Sampou for Robert Kaufman.

Here’s a full view of the booth:

img_9929

And here are a few close ups of the hoops that I made:
img_9880-1

img_9882
img_9883

I was also asked to make a hoop for Sue Spargo’s booth using my favorite Eleganza threads. Here’s a view of her booth in all it’s colorful gorgeousness and also a close up of the hoop that I made using Heather Bailey’s “Hello Love” fabrics:

img_9908

I was also thrilled to create a few projects for Andover Fabrics using the upcoming Chroma Handcrafted fabrics from Alison Glass.

img_9914

img_9930

img_9931
img_9932

And last but not least, here is the Alexander Henry booth and that citron owl hoop is one I was commissioned to make awhile back. I love that hoop! It is complete with a pink tulle skirt and lots of metallic threads throughout!

Well, that’s a wrap!

Don’t forget to check out the tag #Bohosal to see what our other stitch along friends have been up to lately!

Hope you all had a great week and happy stitching!

Boho Stitch Along. Week no. 19

Welcome back for Week no. 19! If you are just beginning a piece for the #BohoSAL, check out my previous posts here. And if you are new to embroidery and want to learn the basics, check out my embroidery book, Boho Embroidery for everything you need to get started!


My stitch Along piece this week is a hoop that I am making as a gift for one of my boy’s teachers…a little late for teacher appreciation week, but it will be done soon!

How cool is this fabric from Free Spirit Fabrics from the line, “Neptune and the Mermaid”?!

There’s a story behind this one, though…

I saw this fabulous fabric online and just had to buy it immediately (from Circa 15 Fabric Studio). When I buy fabrics, I don’t typically buy large quantities…usually a fat quarter or a 1/2 yard works for most of my projects. Not checking the size of this octopus, I quickly added a 1/4 yard to my cart and then added a few other things and then checked out.

I couldn’t wait to open the fabric when it arrived. Sadly, I realized that, with this particular fabric, I should have ordered a larger cut because I didn’t get one complete octopus. SO…if you like this one and want a complete octopus, don’t make my mistake and think you can get by with a 1/4 yard!


Here’s how I’ve made lemonade out of my lemon-ish purchase! I’ve been using the Lion Brand bonbons and seed beads to add swirly octopus legs around the flowers on the fabric.

I think it’s a pretty good fix, right?!


And speaking of Octopi (because we were, right?!), here’s another one I’ve been stitching. This one required lots and lots and LOTS of fussy cutting and another Free Spirit Fabric this one from Heather Bailey‘s “Hello Love” line. You’ll be seeing lots more from this one as I finish it off to send to Sue Spargo for Quilt Market this week!

Speaking of purchases (because we were, right?!), look at this beautiful trim! I have no particular project in mind for these, but I saw them and knew I had to have them for something!

And speaking of Quilt Market (because we were, right?!) Here’s a detail shot of one of the hoops i’ve been making for Robert Kaufman’s booth with the upcoming Jennifer Sampou “Shimmer On” fabrics (coming out in August).

Remember how I told you I love these Sulky 12 Wt. Cotton Petites? Well, this is what I love them for…they are brilliant for adding beads to my embroidery! They do not break (like when I tried to use just plain sewing machine thread) and you don’t have to separate threads (like when you use floss).

I’ll post more pics of these hoops around Quilt Market time!

And speaking of sneak peeks (because we were, right?!) Here’s a peek at a mini quilt made with my Fractured Color Wheel Embroidery Pattern. I used some of my favorite Anna Maria Horner fabrics combined with so beautiful You and Me batiks. My mom (even though she told me not to give her any credit!) did the quilting and binding and everything else for me!) It turned out better than I was picturing!! How about that butterfly in the center?!

So that’s this week all wrapped up! Hopefully your week was less jumbly and jam-packed than mine was (!) and that you have plenty of time for stitching in the coming week!

Happy stitching!

Black & White 2

A long, long time ago….well, back in September, Jennifer Sampou sent me a gorgeous selection of her brand-new, not-yet-released, fabric-line-from-Robert-Kaufman, Black & White 2. I was so excited to have the chance to play with these muted palette fabrics…a departure from my typical saturated in color hoops!

I could have added additional colors to these fabrics when I began to stitch them, but I decided to stay true to the color palette of the fabrics and chose to stitch in colors of silver, grey, black, white, pale blue, and even flecks of copper and metallic. I love that Jennifer hand drew these designs in charcoal, pencil, chalk and pen and I think the simple stitches highlight her designs.

I have to say that my favorite piece in this collection is the modern toile design and from that, I chose to highlight the beautiful ferris wheel and feather border.

Those mini feathers!!

Those flickering little gas lamps!

I love hot air balloons! I thought it was fun to add this motif to the “fly” script background fabric from this collection.

A beautiful moth with some added blue. The blue goes so well with the grey and copper in this collection.

You know how much I love to stitch feathers, so I was excited to see that this new collection included a feather pattern, just like the original Black and White collection did!

And here are the four hoops, all together!

I loved the challenge of staying with a neutral palette, but I also want to stitch these and add more color! Stay tuned…it’s a project on my always-growing, never-finished, to-do list!

Happy stitching and check back in on Sunday for the next #BohoSAL update!