
Believe it or not, I like to clear my to-do list (or at least put it aside for the day!) and sometimes work on projects that do not involve embroidery!
For Teacher Appreciation Week (May 6-10, 2019) this year, I decided to try my hand at a project that involves my Cricut Maker, several rolls of vinyl and every green Sharpie marker I could find!!
I’ve mentioned it here and here and now again in this post…that one of my very, very favorite things about the Cricut Maker is the ability to do whatever I want with fonts! I’ve embroidered fabric words that my Maker has cut, used it to print directly on fabric and this time, I’ve cut words out on vinyl.
Full disclosure before I even walk you through this project: if I could do it all again, I would absolutely be using the Cricut Transfer Paper to make the whole vinyl transfer process go more quickly. I had a stack of nine chalkboards all ready to be vinyl-ed up and it was a time consuming process that I’m pretty sure the transfer paper would have helped to speed up!
That being said, I absolutely love how these projects turned out! And I loved using my Maker with vinyl. This is an easy peasy project!
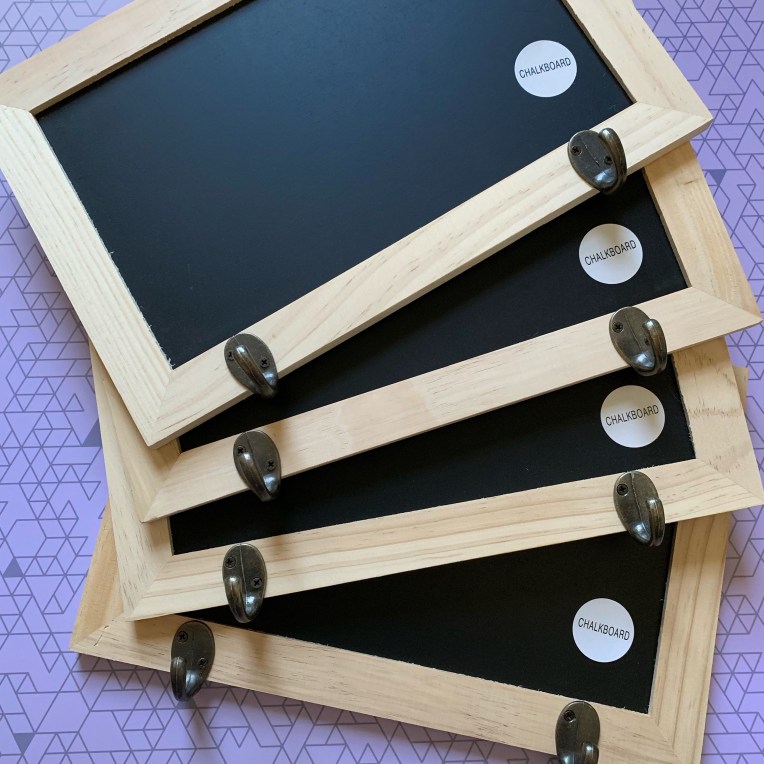
I picked up a stack of hanging chalkboards from Michaels:
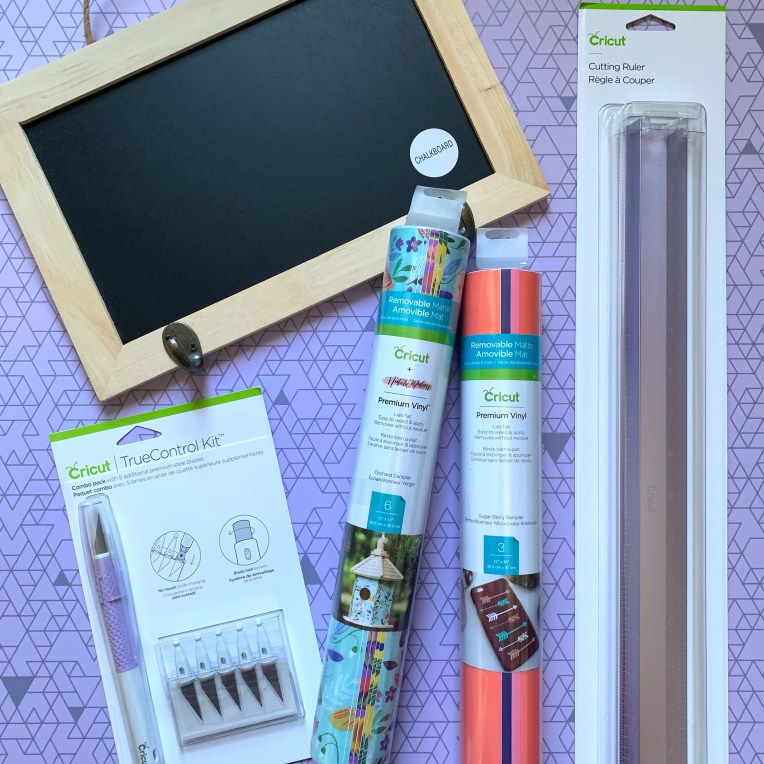
This patterned vinyl might be my favorite ever!
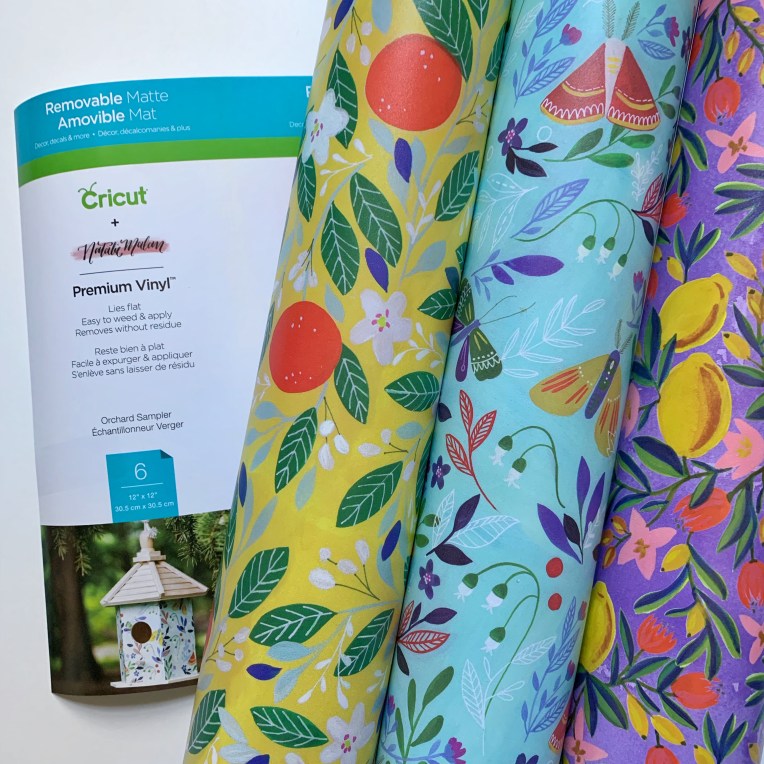
Here are the Cricut materials I used for this project:
Premium Vinyl, True Brushed Sampler
18 x 24 Lilac Self-Healing Cutting Mat
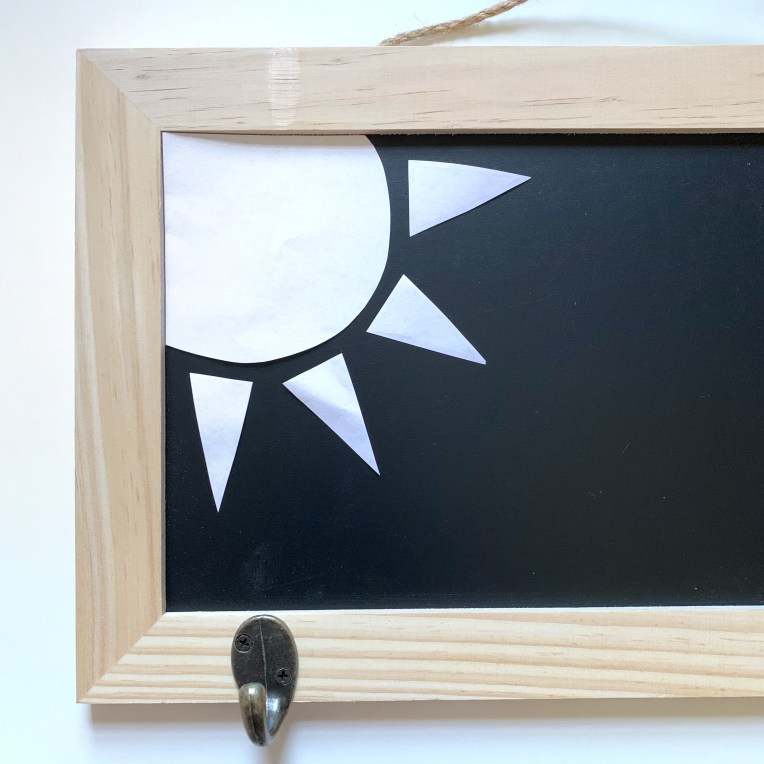
Step One: Sun on Chalkboard
So I knew that I wanted to have a sun peeking out from the corner of the chalkboard. I began with a paper shape that I cut and placed in the corner.
When I was happy with the dimensions of the sun, I cut the pieces out of cardstock and then pulled out my new TrueControl knife. If you have only ever used X-Acto knives before (like me!), then you are in for a pleasant surprise.
The end of this knife is padded just enough to keep your fingers from hurting if you are making a lot of cuts. I must use tons of pressure when I am cutting with a knife like this and end up with sore fingers when I’m done cutting!
However, my fingers did not hurt when I had finished making lots of tiny little cuts! I easily cut out nine sun shapes and rays of light and then attached them to the chalkboard corners.

Aren’t they sunny and cheerful?!

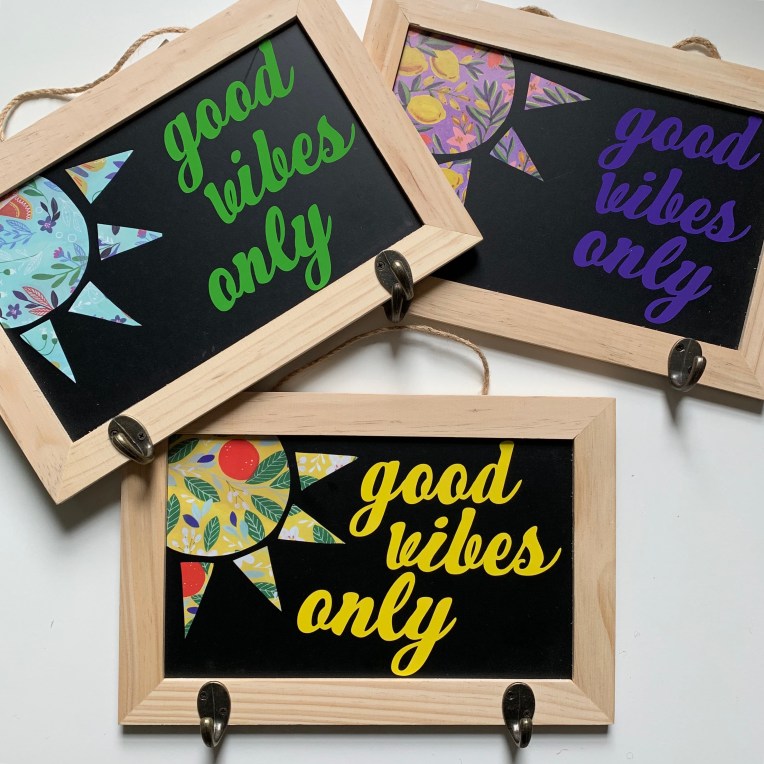
Step Two: Vinyl Good Vibes Only
Since I use my Maker for font based projects about 99% of the time, I can give you a few tips I’ve picked up along the way.
These letters do not come automatically connected. To connect them, you have to pick a font (in this case, it needed to be a script font) and type out your message. Next you have to separate all of the letters and then move them individually to connect them.
Play around with your fonts. Some connect and look better than others. You’ll notice that I used Retro Script as my font. It’s a nice chunky font that connects well and looks bold when cut out.
BEFORE CUTTING! You need to use the WELD button to connect the font and have it cut as one piece on the vinyl. If you just choose the Attach feature, you will see a little cut-out where you have attached each letter. Don’t make my mistakes!! Use WELD and your vinyl project will turn out much better (and with less headaches and wasted material!!)

My Maker is set-up and loaded with the vinyl:
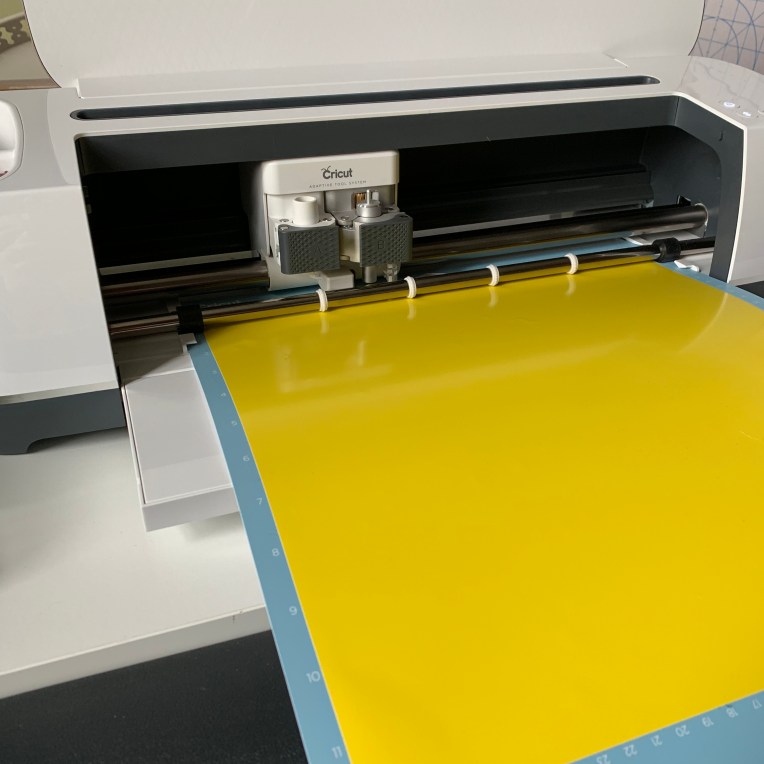
If you do a lot of vinyl based projects, I cannot recommend the weeding tool set enough. My very favorite piece is the weeding tool all the way to the left in the below picture.

My vinyl words and sun are all in place!

Step Three: Sharpie Leaf Vines
I had first wanted to paint each of the chalkboards. However, as I worked on this project, I thought that a leaf and vine detail would look fun running up the sides and across the bottom of the project. Each one would look different, too.
I needed to use three different types of Sharpie markers for this project. You can find them all here.
- A Fine point sharpie for drawing and filling in the leaf shape. Keep in mind that there will be a small amount of bleeding from the marker onto the wood when you draw your shape. Keep going, though. Make all of your leaf shapes and fill them in.
- Next step is outlining them with a metallic Sharpie. This will add definition around each leaf with the added bonus of covering up any leaves that bled onto the wood. The Metallic does not bleed.
- Finally a white Fine Point Acrylic Sharpie. I added small dotted details onto the leaves. You’ll see that some I let fade into the leaf for dimension and some I repeatedly drew so that they stood out more against the leaf color.
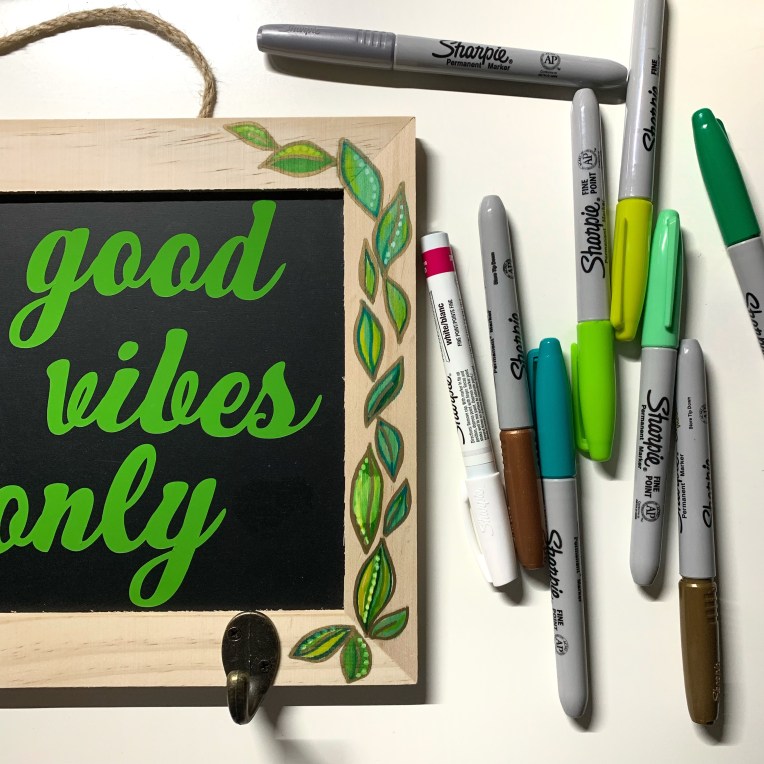
Have fun mixing and matching your colors…I used several yellows to create a citron leaf color (one of my favorites!)
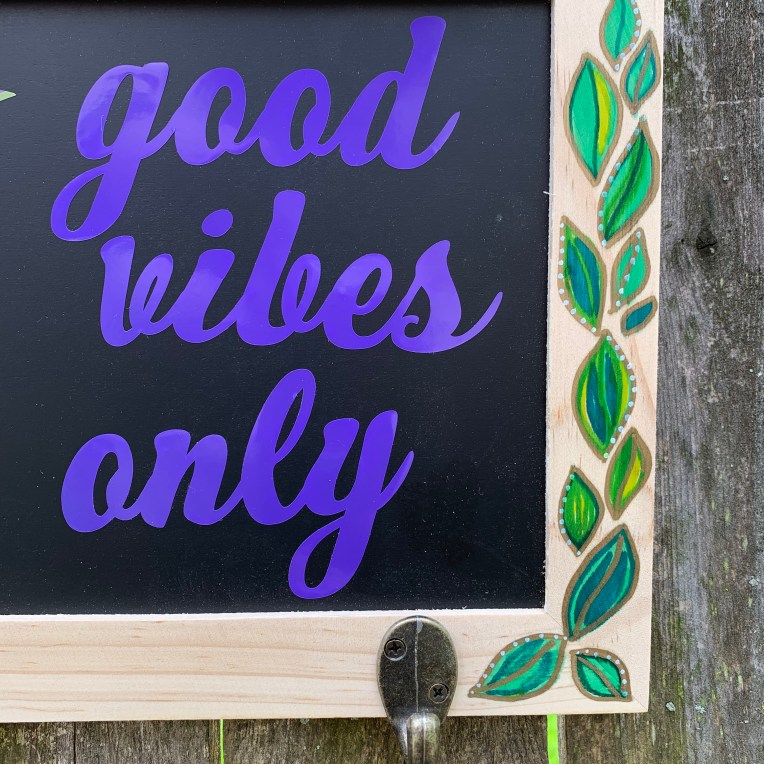
And there you have it: the finished chalkboard!

My final step before gifting these to our amazing teachers, will be to further personalize them by writing each of their names in the lower left corner with my white acrylic Sharpie.
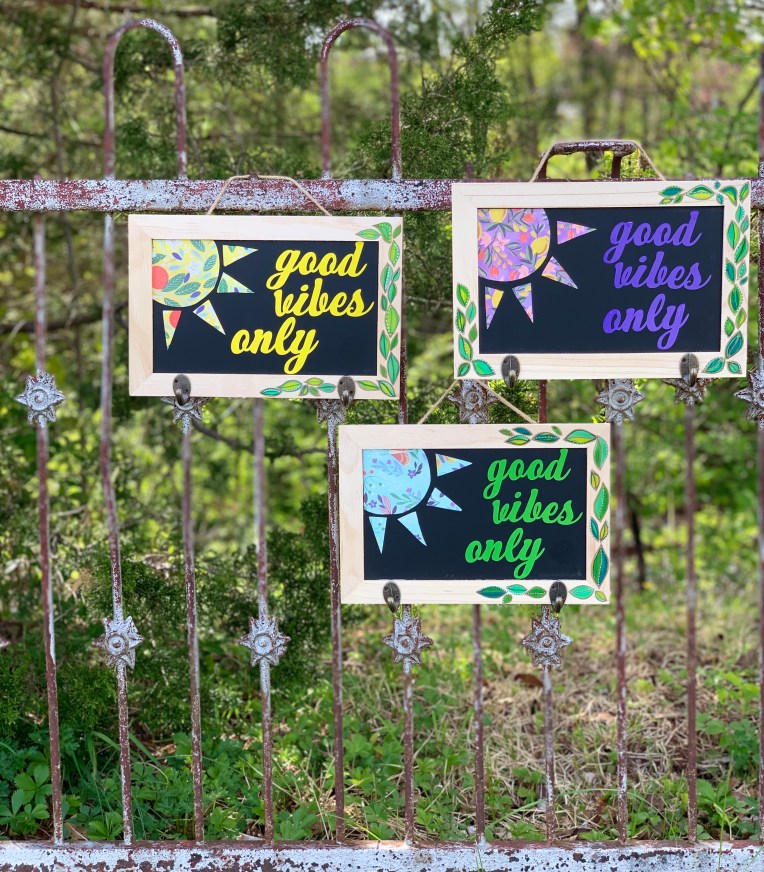
I’m super happy with how these turned out and cannot wait for Teacher Appreciation Week to arrive!
Be sure to share any pictures with me if you take on a project like this for your teachers!
This post does contain affiliate links. It also contains lots of opinions, all of which are mine!