The New Cricut Machine Tool Organizer

I’m one of those people who has been handling this 3-month quarantine period with extreme organization! I have gone through every room, bookshelf, cabinet and drawer in my house. No spot has been overlooked. Everything has been rearranged and reorganized and it’s all feeling nice and tidy.

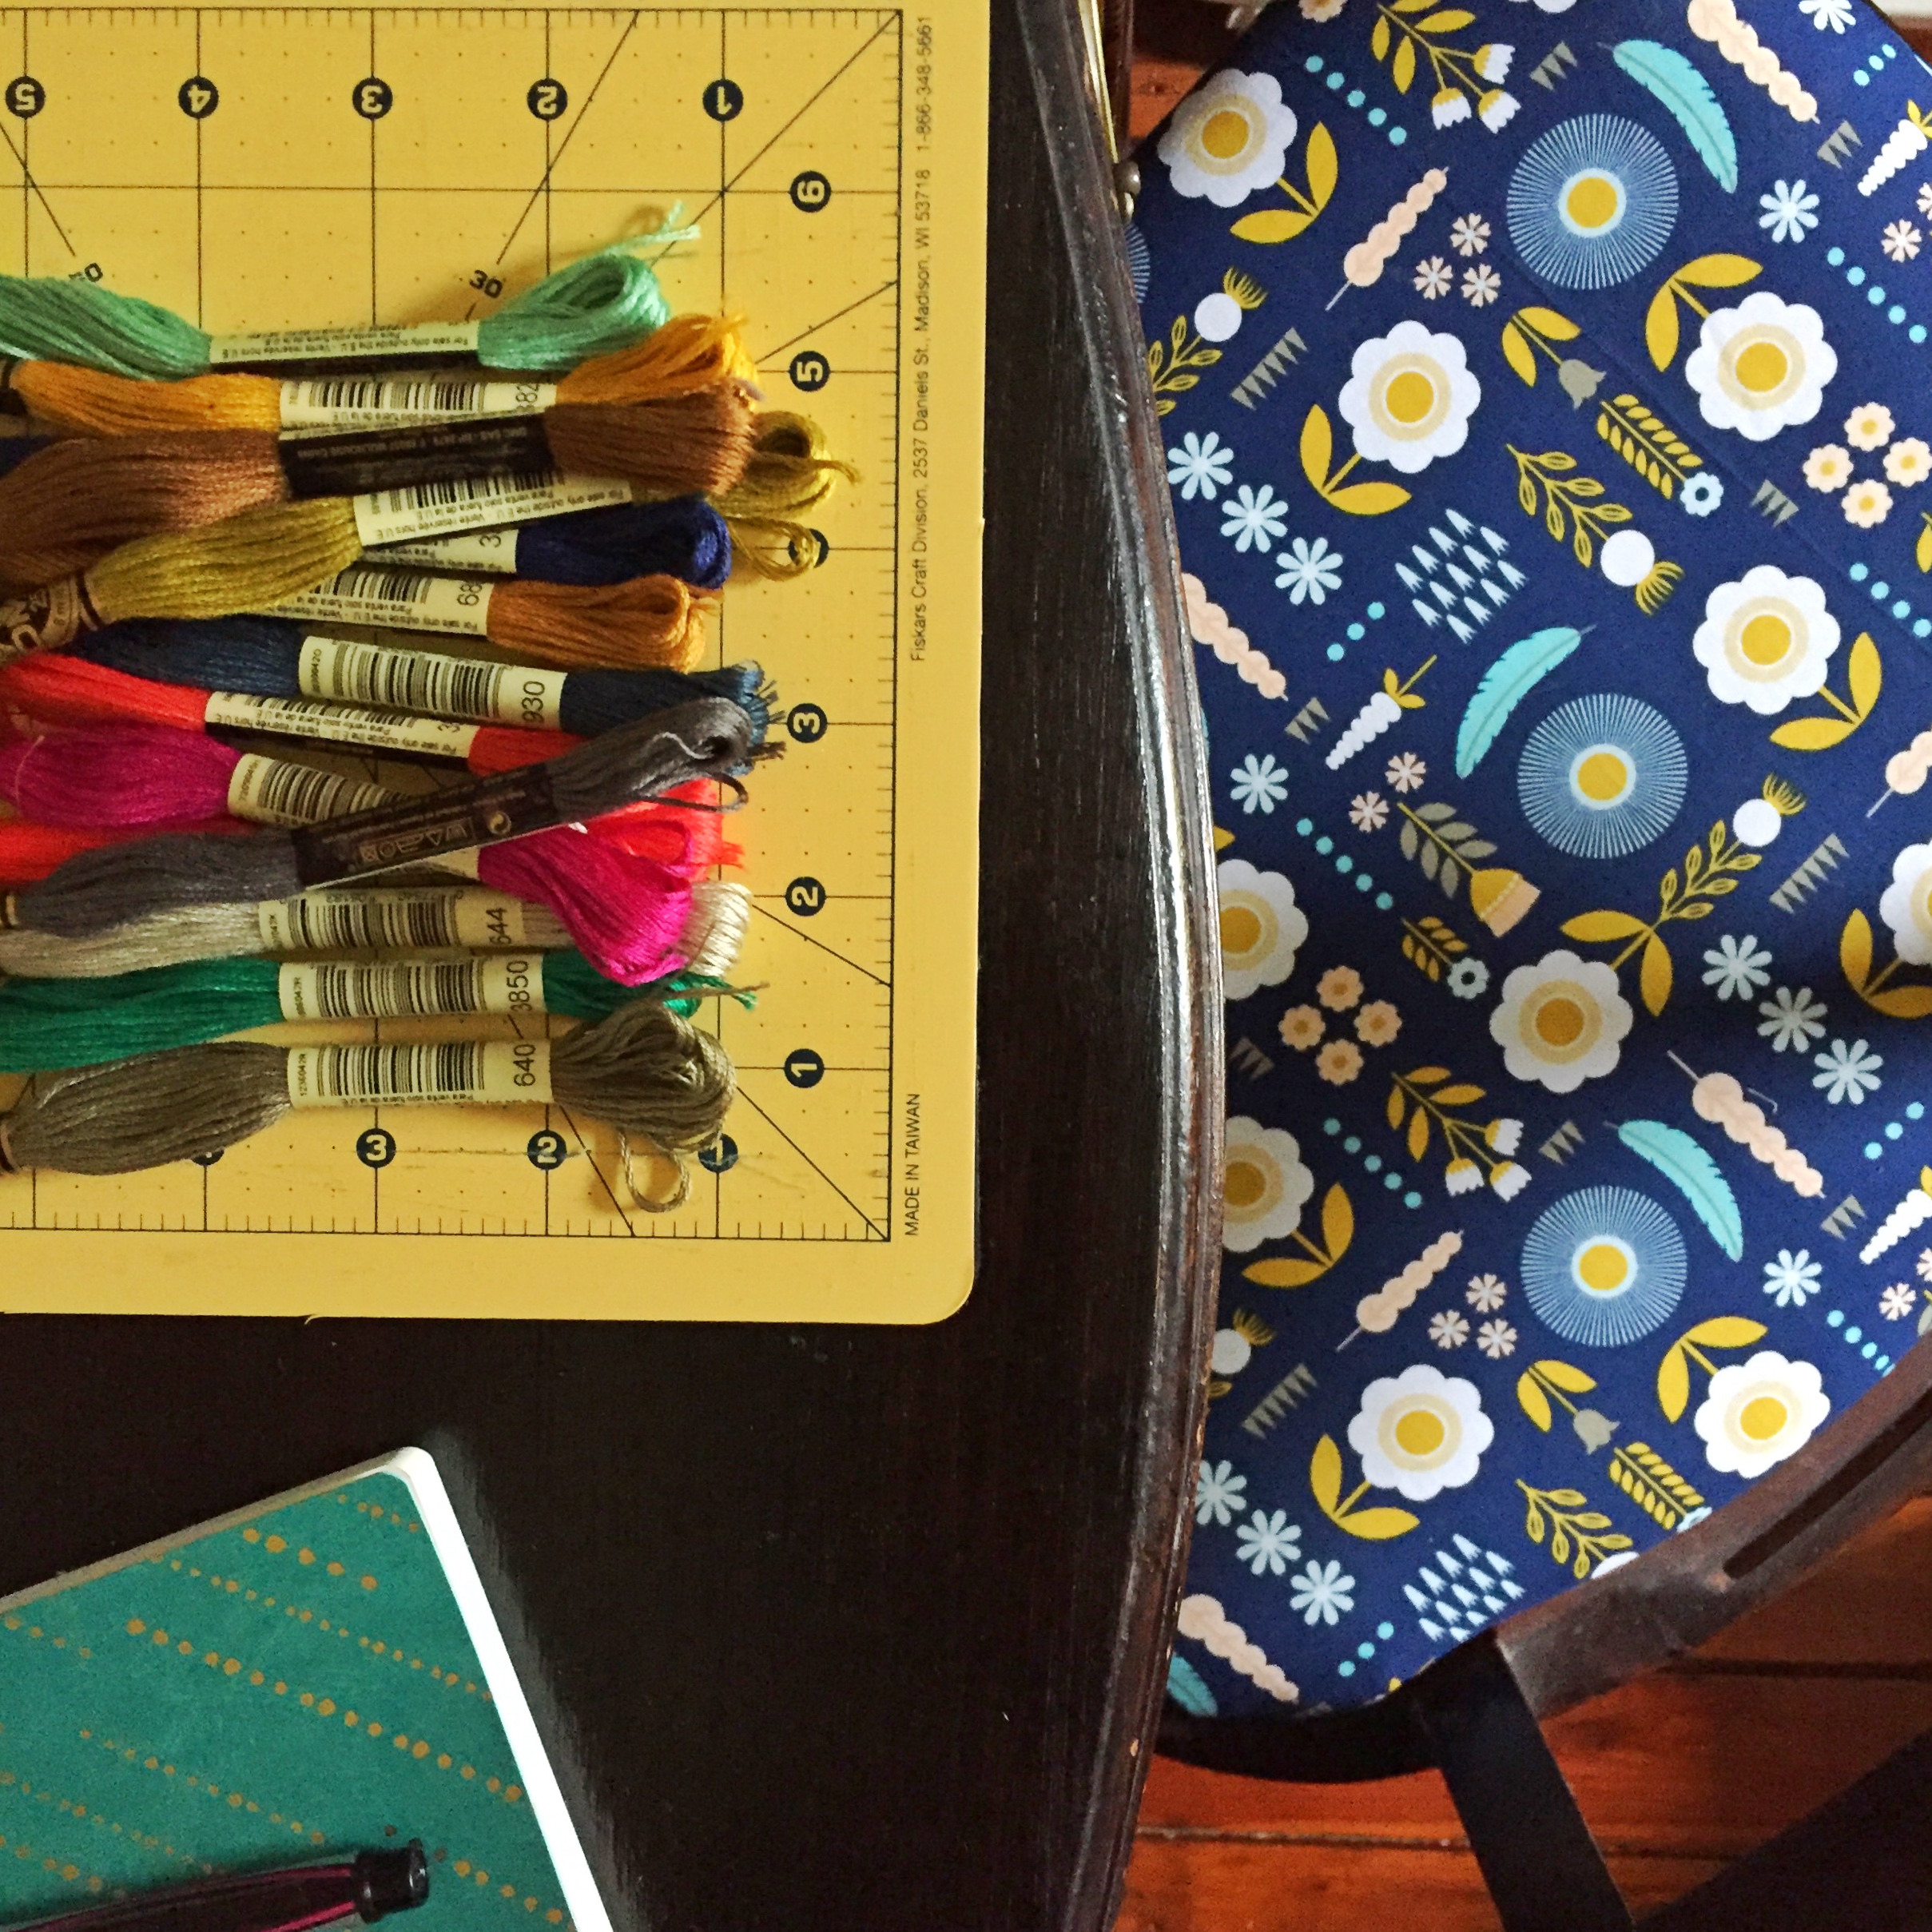
Despite my major studio overhaul/reorganization last summer, I knew that upcoming electrical work in my 100-year old house was going to require that I completely empty out that room once again. A daunting task and one that I have been slightly dreading for months.

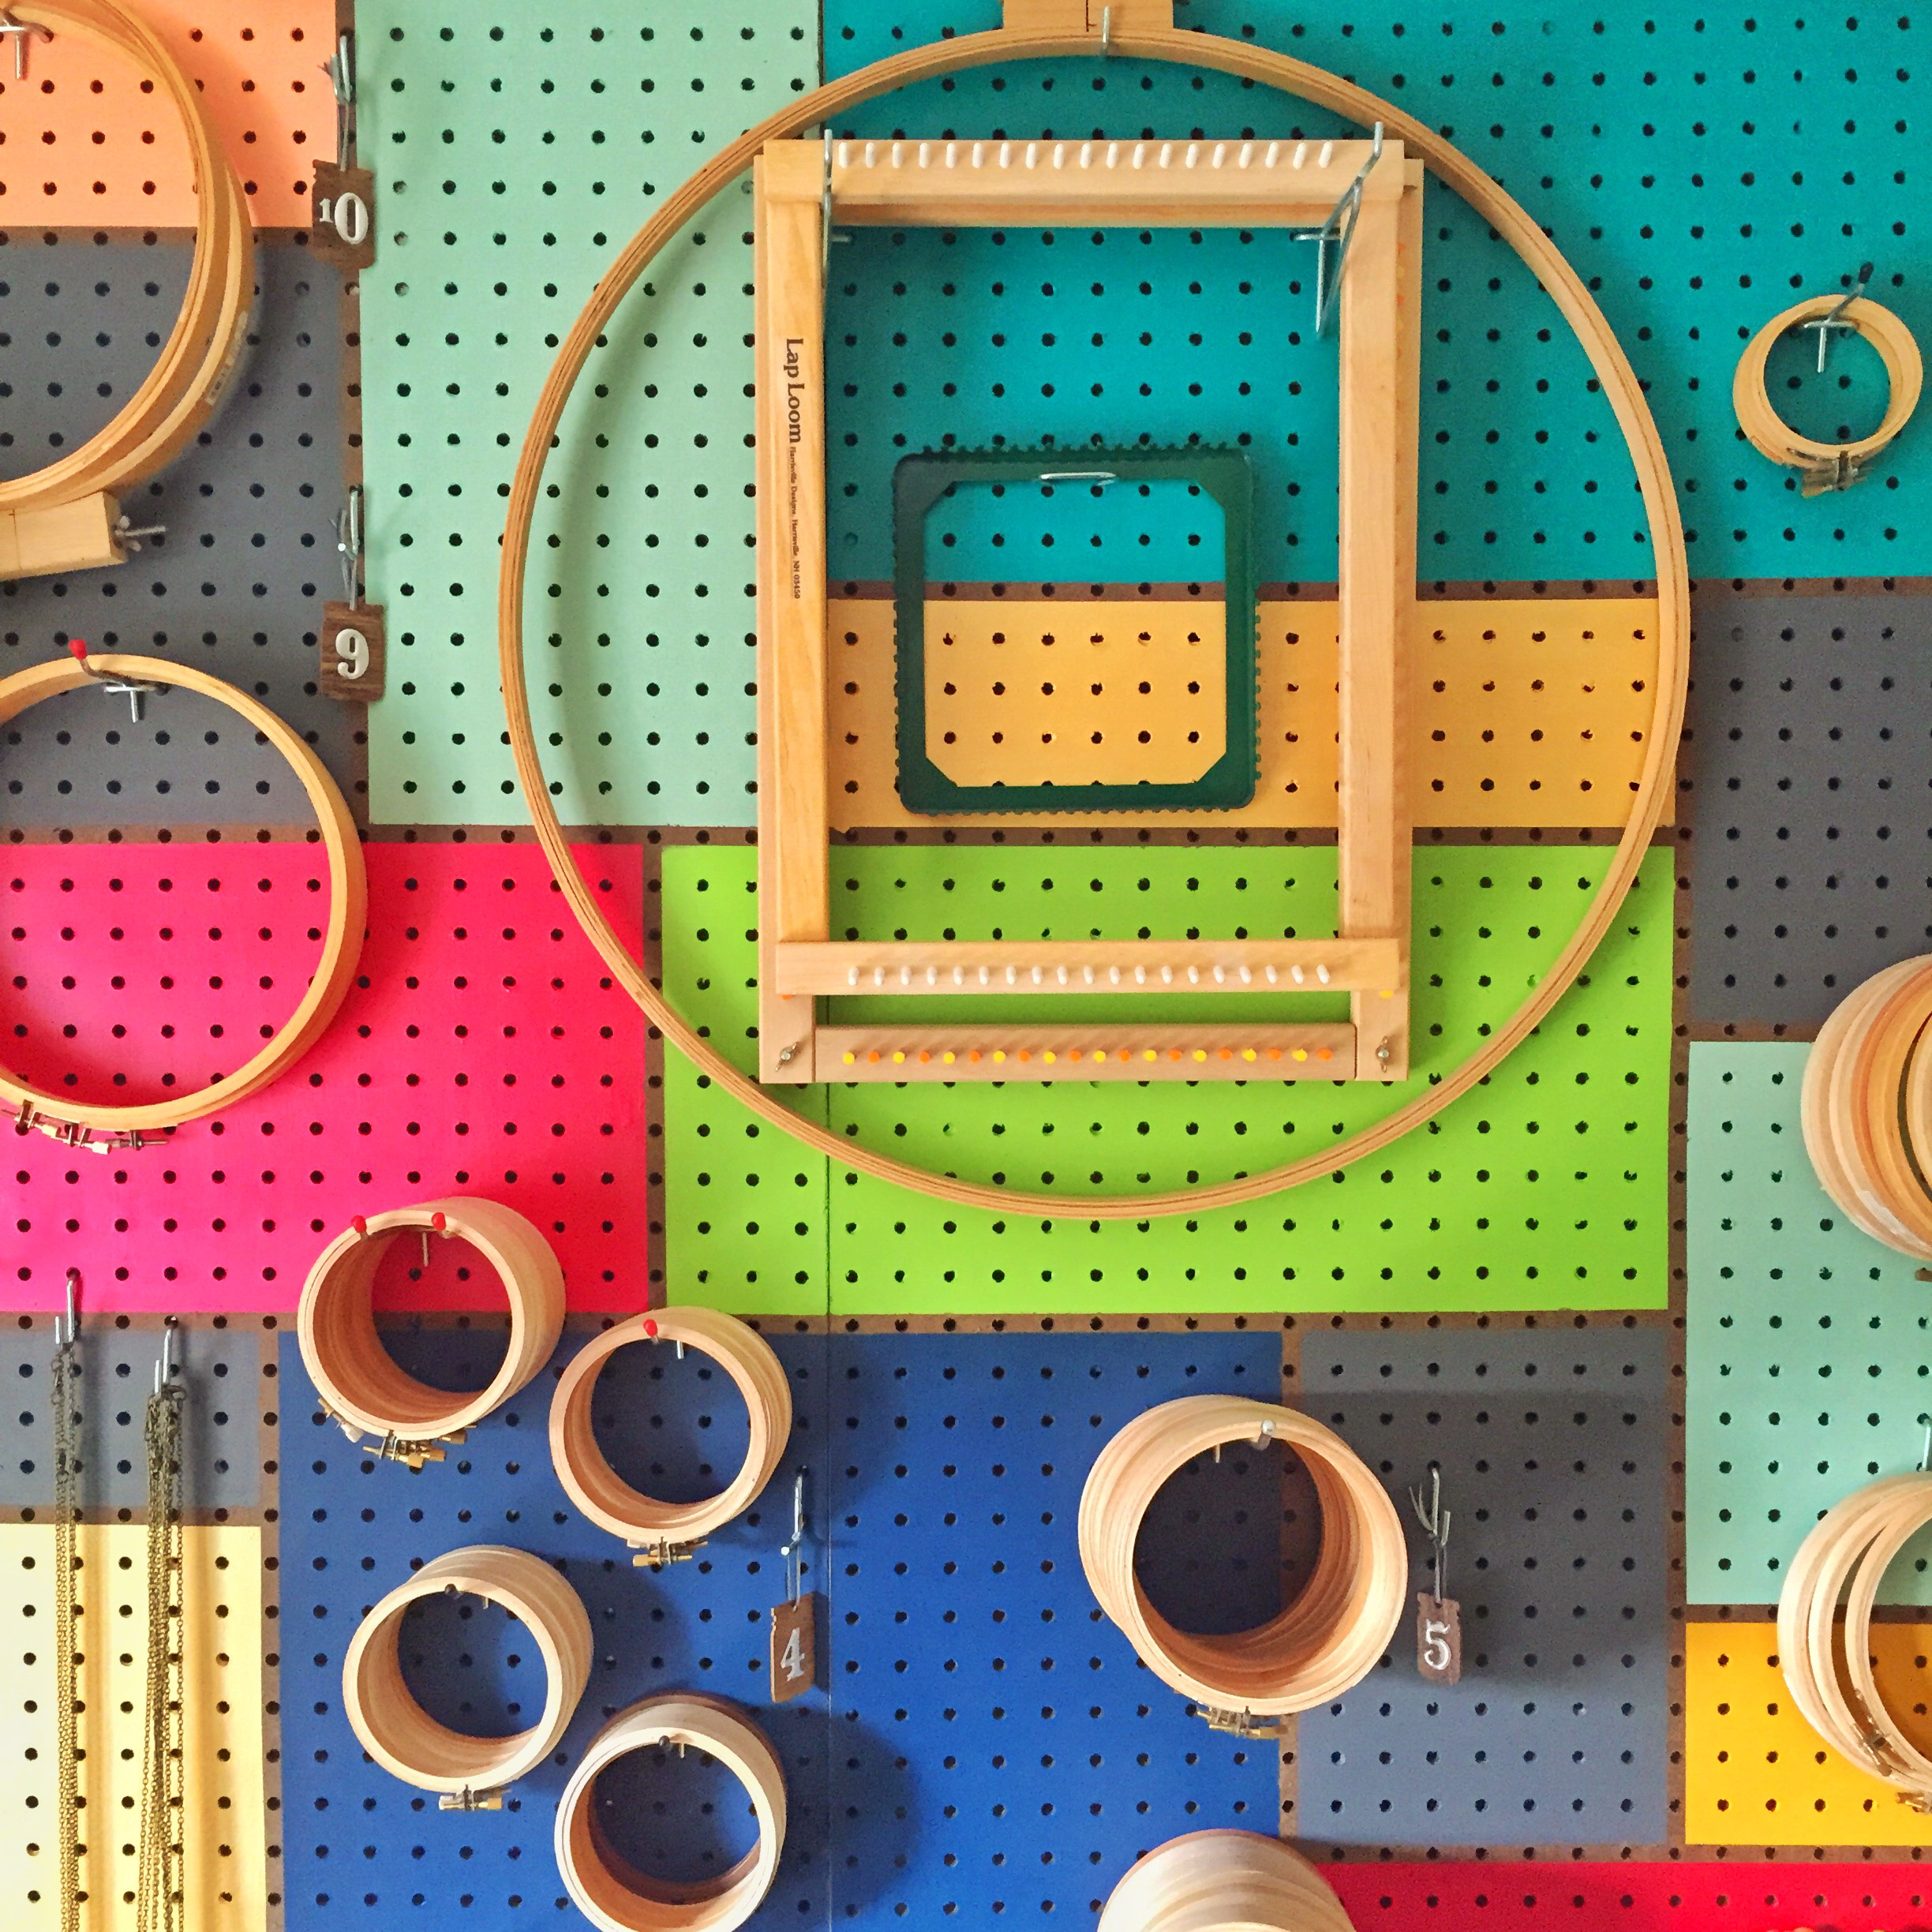
As I slowly emptied the room, I continued to look at my storage solutions to see if they were working for me. And then I heard the news that Cricut was releasing a new tool organizer (shop for it here) which could hold the many blades that I use with my Maker. I jumped at the chance to try out the organizer and I have to say that it has solved one of my tiny space organizing woes!

Here is an embarrassing look at how I’ve been storing all of my spare parts. Despite the adorableness of the box, it was not working great at storing all of the pens/blades/cords for my machine. (Hello rummaging around and finding a sharp blade!!)

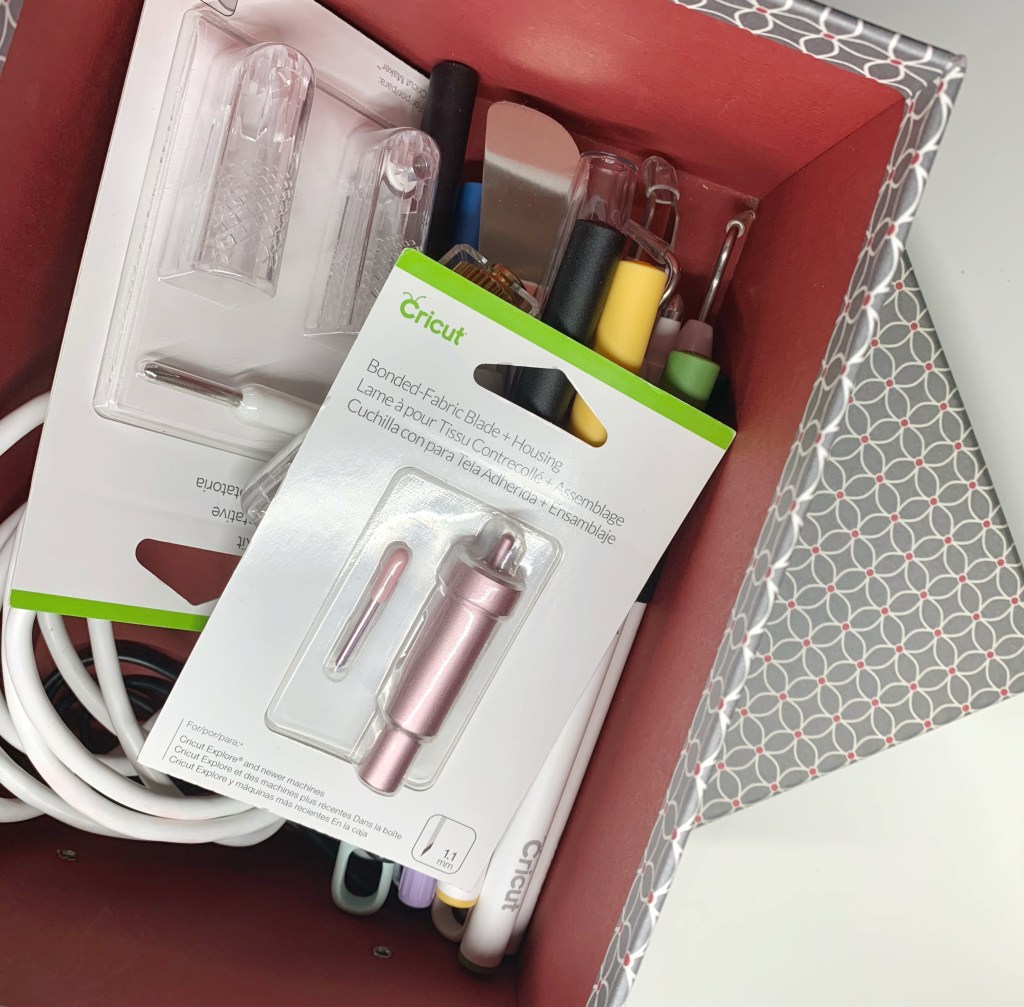
I was thrilled to open my package and learn that it could hold up to 10 blade housings. My current Maker usage limits the types of blades that I use to the Rotary blade and the Bonded Fabric blade. It also holds the QuickSwap blades (which I don’t use), but I’ll show you what I do with that space!

Here’s what’s included in the box:

And here’s how mine looks, all organized with the blades that I currently have:

Because I don’t use the QuickSwap blades (which the bottom part of the organizer has little spots to put them in), I just put my extra rotary blades in there and they stay nice and neat.

I love it because I can see what I have at a glance and it controls the chaos of my creative space!

And here it is in my fancy Ikea bookshelf turned fabric and craft storage space!


Note: I have been provided products for review but I only share with you the products that I truly love and use! There may be affiliate links included in this post.

Boho Stitch Along. Week 3

To catch up, you can check out each week of the Boho Stitch Along right here!


Before I show you what I’ve been working on for my Boho Stitch Along this week, I wanted to share my upcoming classes for the summer! If you’ll be on the East Coast from June-September, you just might be able to catch a Boho Embroidery class!

Here is my summer schedule:

June 16, 2018: Finch Knitting and Sewing Studio, Leesburg, VA

July 6, 2018: (Just for TEENS!), Pennington Quilt Works, Pennington, NJ

July 6, 2018: Pennington Quilt Works, Pennington NJ

August 5, 2018: Sew Inspired Quilt Shop & Studio, Simsbury, CT

August 11, 2018: Alewives Fabrics, Damariscotta, ME

September 29, 2018: The Old Country Store, Lancaster, PA


So this week, besides a mad cleaning of my studio (more on that below), I focused on the center medallion of my project.

Using a combination of straight stitches and beads, I have almost completed this medallion!

The center of the center is a small mirror that I attached with a variation of the Shisha Stitch (I cover this stitch in my upcoming book!)

For next week, I plan on finishing up the center and then moving on to the feathers above the center medallion.

I’ll also be stitching some projects for Quilt Market and so i’m not sure how much i’ll be able to tackle…maybe it’s overly ambitious to think i’ll be moving onto the feathers! We’ll just have to see what the week brings!

The thread that I love to use for beading and embroidery is from Sulky and is called Sulky Petites. It is a 12 wt thread, which is about the thickness of 2 strands of a dividable floss would be. I love the variety of colors that it comes in and I can always find a match to the beads and fabric that i’m working with!

The beads that I used on the center are size 11 seed beads and are smaller than the size 8 beads that I used on the words “Magpie Dreams” from last week. I find my beads online and my favorite shop is Fusion Beads.

The adorable bird needle minder is from Alison Glass.


I have a tiny stitching studio in my home and the size forces me to constantly stay on top of how organized my projects are! When I finished writing my second book in the Fall, I transitioned right into Quilt Con prep and then in the February, attended Quilt Con. Before I knew it, Spring had arrived and I had a lot of chaos to deal with in my studio.

This week I decided I needed to tackle my space before starting on the next big project. Today finds me feeling much more organized and with room to breathe and work in my area!

I was also super excited to set up my brand new Daylight Company Slim Line LED Table Lamp. I have great afternoon lighting in my space, but morning and evening is a different story! I’ve been working with an Ott-Lite bulb in an ordinary desk lamp from Target. I have gone through 3 different Ott-Lites, each covered by warranties, and this bulb has been temporary solution until I found a lamp that I loved and that wouldn’t die on me when I needed it most!

Enter the Slim Line LED Table Lamp. I finished the Great Studio Clean-Up of 2018 yesterday and that was when my new lamp arrived. Hello perfect timing!

By last night, I was all set up and wanted to document just how awesome the light is and how i’ve probably been killing my eyes with my previous lamp!

Here’s the before (notice the Ott-Lite bulb sticks out further than the lamp shade?!):

And just look at the after with my new Daylight Company lamp!

I can clearly see every single thread color now!

A special thanks to Sariditty and Daylight Company for this lamp and if you want a coupon to save 20% off of your lamp purchase, use SARIDITTY18 at checkout!

While She Naps with Abby Glassenberg

Nichole-Vogelsinger-Episode-95

I’m just popping by to share something really fun! Last week I had the chance to chat with Abby Glassenberg on her podcast, While She Naps. You can read more about it here and listen to the podcast on here or on iTunes. And while you are at it, check her out on Instagram. We talked Boho Embroidery, Etsy, Instagram and lots of other great stuff!

I’ll see you back here next Sunday for my Stitch Along post!

In the meantime, have a great week and happy stitching!

Secret Tool Stash

I have a secret tool stash. There, my secret is out. Just don’t tell my husband, because he doesn’t know about them. Well, he kind of does, but he doesn’t know where I stash them.

I move things around a lot, hang things and then change my mind and hang them again. I staple fabric to things, then change my mind, pull out staples and re-staple different fabric. I do a lot of this hanging, re-hanging, stapling and re-stapling when he is at work. I can only do this when I have my tools and the aforementioned husband might not be the best at putting tools back where they belong. Hence, my secret tool stash.

image

I have a very old chair (and extremely comfortable) chair in my studio that I recovered once when I bought it about 4 years ago. I decided on a whim that it needed freshening and after a quick trip to JoAnn, I had a yard of navy fabric that screamed “new chair cover!”

This was one of the easier chair recovers I’ve done. It was simply undoing staples, removing the old fabric and stapling new fabric onto the seat.

image

15 minutes later and I had a new seat! And some re-stashed tools, safe until next time.

image

Mini Tour of My Studio

My studio is a tiny room in our very old house.  Built in 1904, the house has just two small closets.  One closet is not even the depth of a hanger! That room is where my studio sits in the house.  I am fortunate to have a dedicated studio space…I know some of you may be working with just a desk in the corner of a family room! Over the years, I have condensed and organized and then condensed and organized once again. I am finally left with a room that has some semblance of order and is a good workspace.  Let the mini tour commence!

An entire wall is dedicated to my painted pegboard hoop storage:

image

Paints are easily accessible and just plain prettier when stored horizontally in an old sewing machine drawer hung on the wall:

image

And finally (for this mini-tour) my favorite stitched collage, featuring girls from fabric by Cori Dantini and Teagan White. This was assembled and free-motion stitched on my machine. One of the few pieces that I haven’t stitched by hand!

image

Stay tuned for more mini-tours to come!