Embellishing Yazzii Craft Bags

I am an organizer. And I am always looking for better ways to organize my embroidery supplies. I like my organizers to be portable and roomy for lots of my threads and beads. A zipper is good, just in case my beads spill. Something that can sit on my lap is great, especially for travel.

Enter Yazzii bags! The ultimate organizing solution to so many of my hand embroidery needs!

Two of my current favorite are the Craft Box-Fabric Top and the Oval Sewing Box.

A bonus with these bags, besides being really well-designed (in Australia) and hand-sewn (in India), is that the fabric design allows for you to personalize them with your own appliqué and embroidery!

I’ve embellished my bags and I even made a video for you to see how I used a slightly different method for each one!

And while you’re on YouTube, check out the “Inspired By” segment that I recorded with Free Spirit Fabrics yesterday!

Happy watching (and stitching!)

Boho Gardens: In the Conservatory

I have been working behind the scenes for quite a while on a project near and dear to my heart. I first began sharing my fabric collage/embroidery projects way, way back in the day (well, if 2012 counts as back in the day!), and each project was a combination of several fussy cut and layered fabrics that I then embroidered directly onto, creating a pattern as I went along.

Fast-forward to today and I still love embroidering layered fabrics that I have fussy cut and I especially enjoy teaching others how they can do this as well.

Boho Gardens: In the Conservatory combines my love of floral anything with trips to both large and small gardens (did you know Philadelphia, PA is the Garden Capital of America?!) and my photography. Mix this up, put it on fabric and you have the first wildboho embroidery project.

Designed to be placed in a 9″ or 10″ hoop, this project captures the spirit of how I first began to embroider fabric collages, except for all of the collage work has been done for you (by yours truly!) and you can focus just on the embroidery!

In addition, I am adding YouTube tutorials to the Boho Gardens section of my channel as inspiration to get you started. This project is designed for all levels of embroiderers and is meant to be embroidered however you would like. Free-spirited, no directions (my favorite kind of directions!) and the perfect slow-stitching project to just begin and take your time embroidering.

For now, I am only taking pre-orders through my instagram page (or a direct email to bohostitchery@gmail.com). These will eventually make their way into my Etsy shop. Orders are shipping soon (next week!) and I can’t wait to see how each person stitches their In the Conservatory hoop project!

Beaded Color Wheel

As an avid bead and button collector, I’m always looking for fun ways to use the supplies that I have. And maybe, just maybe, I’m always looking for an excuse to add to my collections!

I recently stitched one of my patterns, the Fractured Color Wheel, entirely in buttons.

This project took a little over two weeks and I worked on it almost exclusively during that time, but I didn’t track how many hours that I spent on it. A project like this is thought-consuming to me and so the time doesn’t even matter…I can hardly wait to return to it while I’m working on other things!

It is heavy…perhaps one of the heaviest hoops that I have ever stitched! In fact, I had to take it to the grocery store to weigh it on the produce scale and it came in at a whopping 1 lb, 8oz. That might not sound super heavy, but comparing it to most of my hoops (which probably don’t even reach 1 lb), it’s h e a v y!

Here’s the non-beaded, fabric-only version:


To convert this color wheel to an all-beaded wheel rather than a fabric one is very simple!

Choose a background fabric that is simple and light (it makes it easier to trace your pattern onto a light color). Your fabric will be so loaded up with beads and buttons and sequins by the end, that you won’t see it, so don’t use your favorite piece on this project!

Choose the color wheel size that you want to work with (the pattern offers three sizes). I chose to fit my color wheel into a 12-inch hoop.

Print out the pattern and place your fabric on it (pattern facing up, front side of the fabric facing up).

Using a light source (window or Lightbox) and a water soluble pen, trace the pattern onto the fabric. Again, your marks will not need to be washed off because they will be completely covered.

Once the pattern has been traced, fit the fabric into an embroidery hoop and tighten your fabric. And then let the fun begin!

With my fabric pen, I wrote the colors that I wanted to be in each portion of the color wheel. I then began with the biggest pieces…the buttons.

It helped to choose the buttons for each color and then stitch them in place before beginning with the beads. This helps you to visually focus on what color is placed in what spot, but it also helps to have the largest pieces in place first.

Once I had the large buttons in place, I began adding beads and sequins. Large beads first and the smallest beads last (the smallest beads help to fill in any areas that have white peeking through.

Continue adding your embellishments until you can’t see white through the hoop anymore. Tighten your fabric in the hoop once again and then follow the directions in the pattern for finishing the hoop. And you’re done!


One note about thread: I used <a href=”http://Sulky 12 Wt. Cotton Petites Thread” target=”_blank” rel=”noopener”>Sulky 12 wt Petites which is my favorite beading thread. I did not want to use a stranded thread because it’s a little tricky when you are working with lots of beads and I didn’t want to deal with tangles. Having a spool is really helpful. It’s also strong enough to handle all of this beading!

One other note: if you are stitching on heavy beads, it is helpful to stitch through the bead several times. The same thing goes for buttons. You are going to be spending lots of time on this, make sure your beads and buttons are on the fabric nice and tight so that if an accident happens, your beads don’t go scattering everywhere! And hopefully an accident doesn’t happen!

The embroidery stand that I used is also really helpful with a heavy embroidery project. You can find it here. I like that this stand is adjustable into several positions and it never feels like it’s going to be top-heavy when a project is secured into it.


And that’s it! With this post, I’m sending along to you the confidence to take on a project like this…it really is a beginner-friendly project! And it spotlights all of those special embellishments that you’ve been hoarding…I mean, collecting!!!

Have fun stitching and beading and be sure to tag me on Instagram if you take on this project!


Note: some links in this post are affiliate links. I will never recommend something to you that I have never personally tried and that I don’t stand behind for the use intended! 

Cricut Maker Review

Back in November, I posted about my first time ever using a cutting machine: the Cricut Maker, and the hoop that I created with it. Since then, I’ve been creating other projects, getting better each time (!) and I wanted to share with you what I like about this machine.

Ok, so the Cricut Maker.

I should tell you that I have never used a cutting machine before I used this one. I thought what they could do was cool, but until now, I didn’t see much of a use for them, because the medium that I work in is fabric and thread and not so much paper and that’s what stopped me from exploring them any further.

However, this machine was designed to use a rotary blade that is meant to work with fabric!

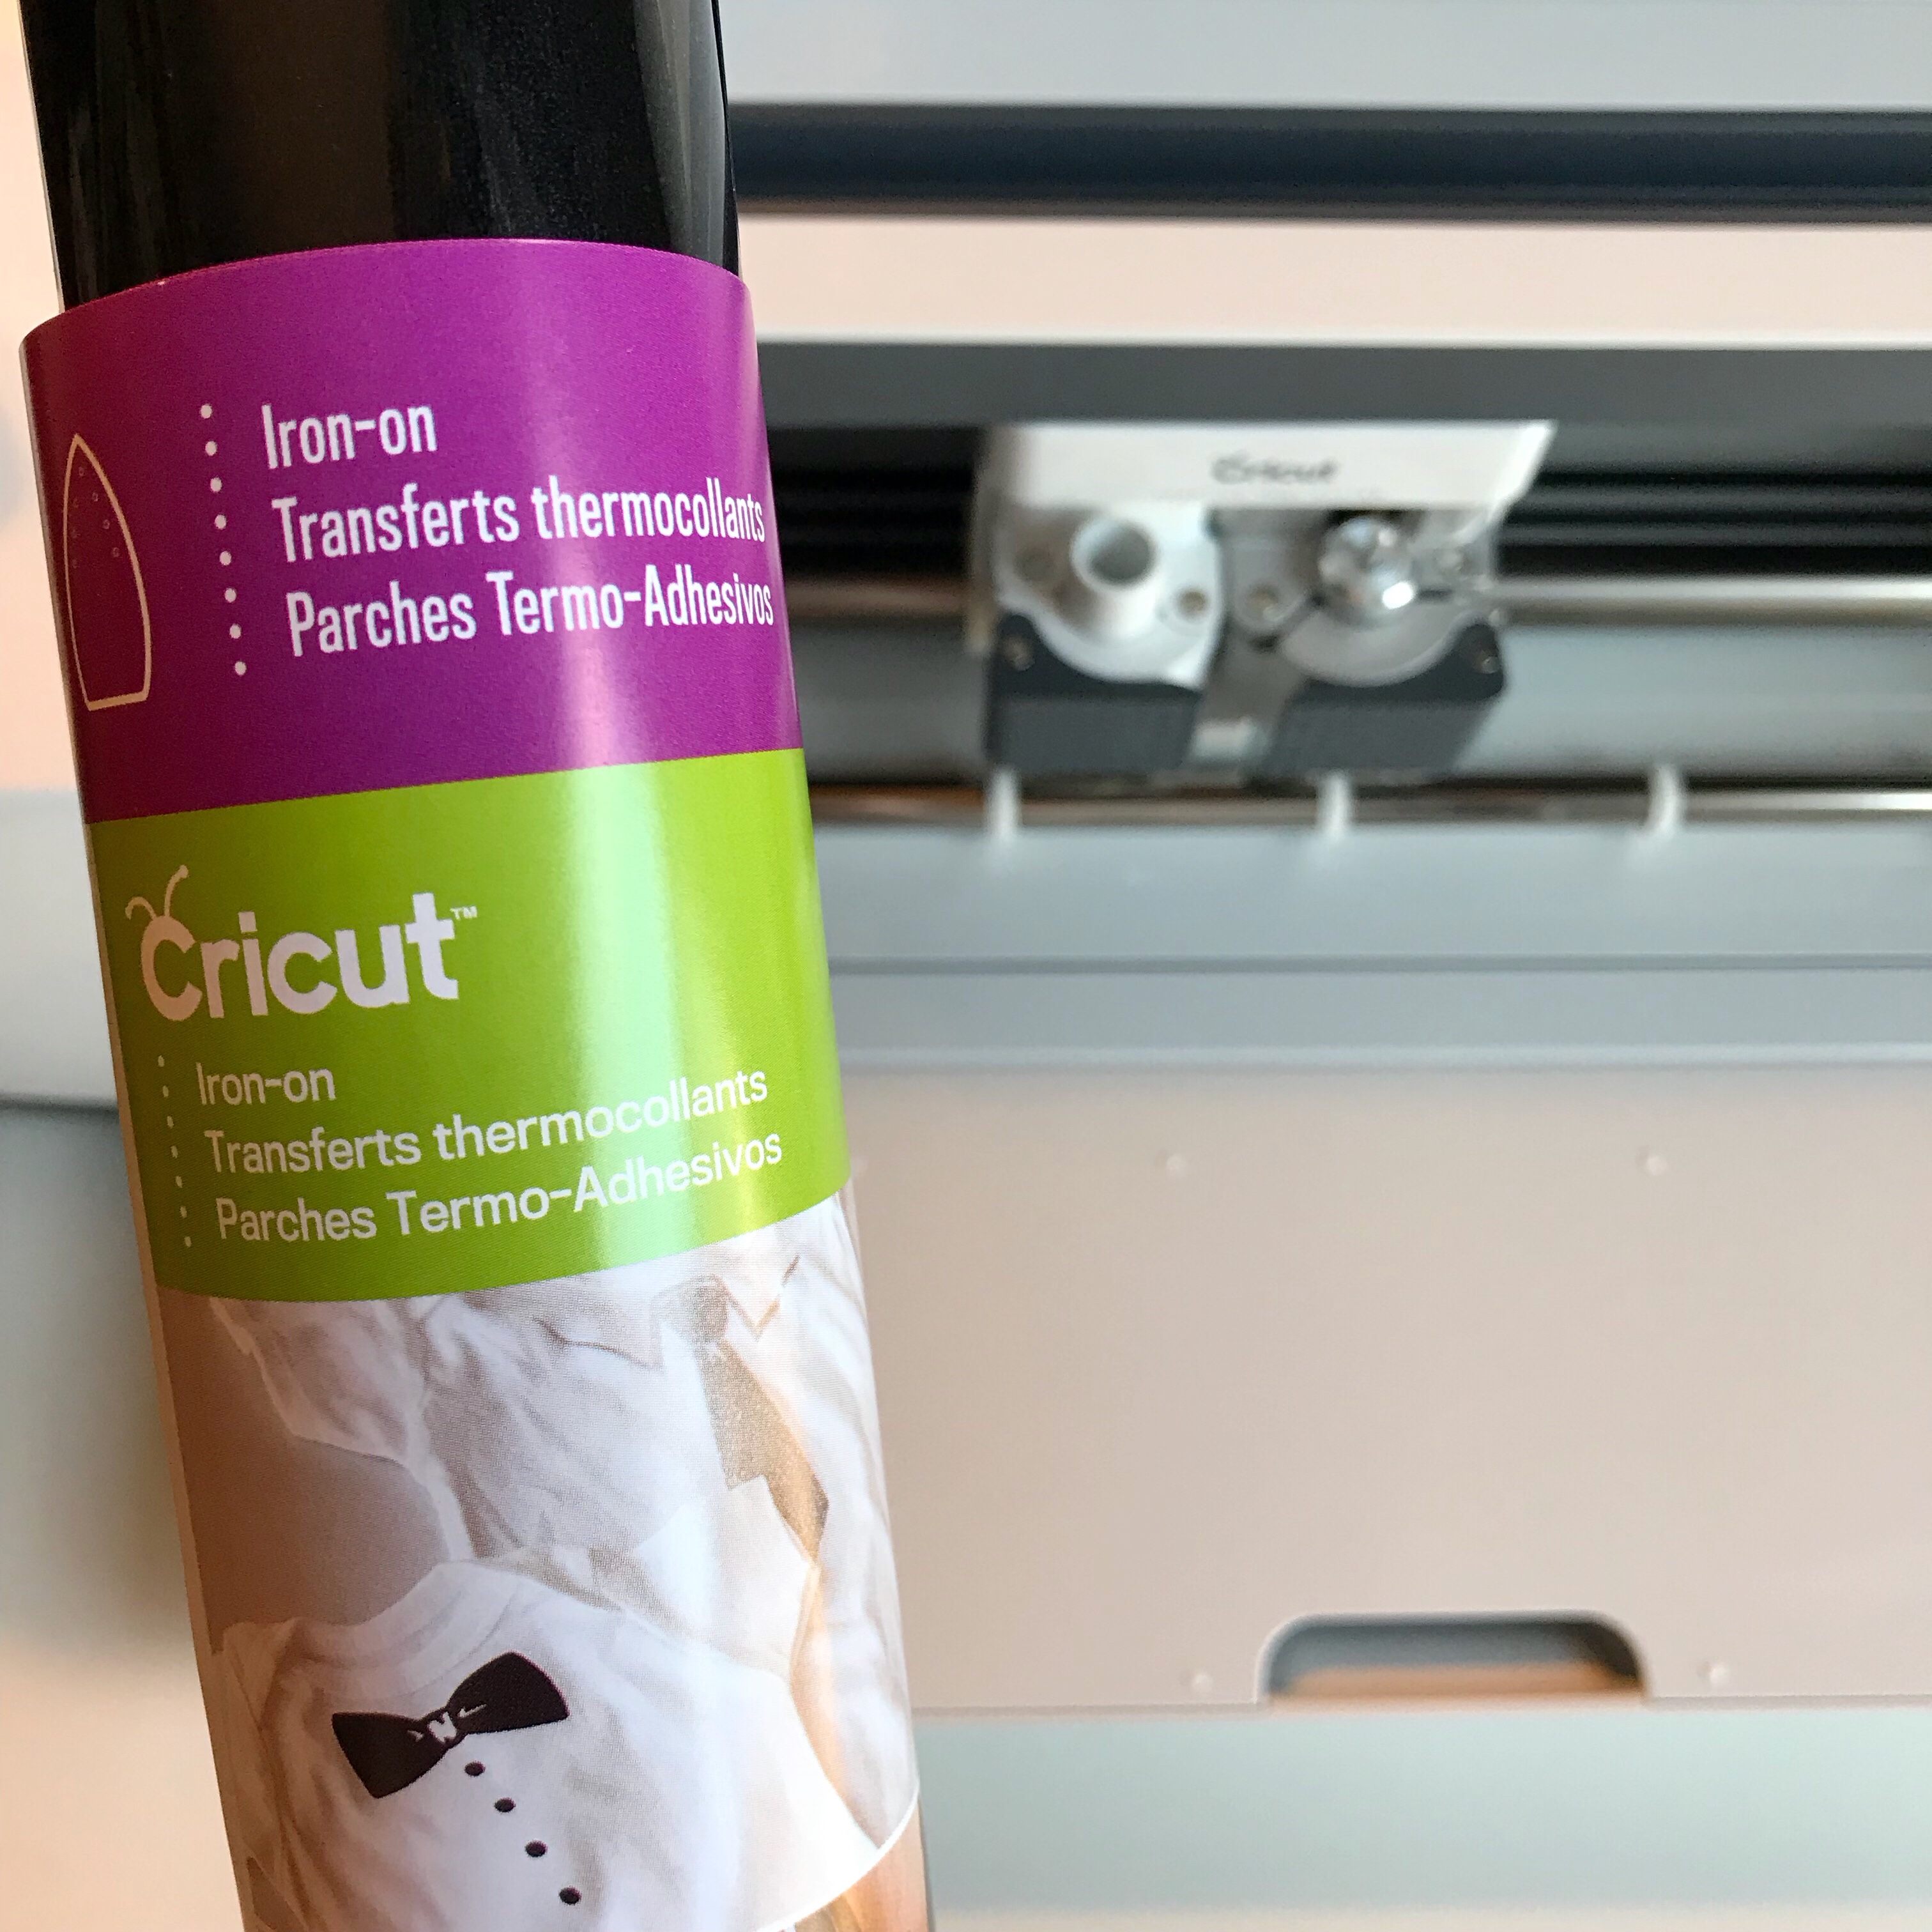
With the addition of a knife blade, you can expand your materials to working with not just fabric, but thicker things like leather, balsa wood, chipboard and mat board. And switching to the fine point blade, you can make regular cuts on materials like as iron-on adhesive and vinyl. I absolutely love the the versatility of this machine!

“What’s that…you need a book-character themed costume for Read Across America week at school tomorrow?! Let me just pull out my iron-on adhesive and whip something up!”  Yes, this was an actual conversation from my house! And, yes, it was amazing to quickly use the Design Space app to make last minute Dog Man and Where’s Waldo themed shirts for my kids!

But back to cutting fabric!

The rotary blade does not require you to have your fabric backed with anything like Heat n’ Bond (although, I used that in my first project and it worked just fine!). The mat designed to be used with fabric is sticky, requiring you to simply press your fabric into place with your hands before inserting it into the machine. From there, the machine knows what to do!

But how does it know what to make? Well, using Cricut’s Design Space app, you can either use one of the hundreds of designs available in the library, or you can create your own image and go from there. Are you are quilter or sewer? Well, Cricut has teamed with both Riley Blake and Simplicity to create patterns that are available for your use as well! I love that you can work with the Design Space app both on a laptop or on your iPad/iPhone.

Since the first project that I created in November, I have used this machine a lot. I’ve played with Cricut’s adhesive vinyl to make fancy labels for my beading supplies, the rolls of iron-on material for shirts and tote bags and my rotary blade has been getting a serious work-out with the fabric i’ve been cutting!

I LOVE working with Cricut’s Iron-on and it’s what saved me on that last minute school project I told you about!!

I’m going to share my latest embroidery project with you tomorrow and don’t worry, i’ll even share my behind-the-scenes mess-ups as i’ve been learning my way around the Maker!

What is sharing without getting some of the the nitty gritty behind-the-scenes details, right?!

In the meantime, check out some of the tools I’ve been working with!

I have yet to use this Washable Fabric Pen, but i’m going to try my hand at using it for an embroidery pattern. I’ll post about it here when I finally get through my stack of WIPs!!!

Don’t forget to pop back tomorrow for my finished project!

This is a sponsored conversation written by me on behalf of Cricut. The opinions and text are all mine.

Boho Stitch Along. Week no. 24

Welcome back for Week no. 23! If you are just beginning a piece for the #BohoSAL, check out my previous posts here. And if you are new to embroidery and want to learn the basics, check out my embroidery book, Boho Embroidery for everything you need to get started!


The school year has been winding down this week and because of the craziness that comes along with that, the time that I had to work on my Boho Stitch Along pieces seemed slightly non-existent!!

I was able to spend five minutes here and there and along with my Owl piece that i’ve been sharing on Instagram, I was able to pick up my Fibs and Fables (Anna Maria Horner) piece again.

While rummaging through my bead drawers (yes, plural!!) I found a few Swarovski crystals that matched this fabric perfectly! I added them along with some lazy daisy stitches in this section here.


My next step will be to add some shades of green, whether that is thread or beads, when I pick this one up again!

This update will be short and sweet as i’m looking forward to some more slightly unstructured time now that summer is here!

Before I leave you, check out this beautiful version of my Fractured Color Wheel pattern (that I’ll be teaching at Quilt Con!) You can see more pictures over on @handmadewhimzy ‘s feed.

Happy stitching!

Quilt Con, 2018. Class Schedule.


I’m excited to share my class schedule for Quilt Con, 2018 in Pasadena, CA! You can check out the full schedule of classes here.


Thursday, (EMB001) Creative Embroidery Palettes

Thursday (EMB005) Fractured Color Wheel

Friday (EMB003) Collage Embroidery


Saturday (EMB006 and EMB007) Layered Abstraction with Embroidery


Hope to see you there!!

Boho Stitch Along. Week no. 17

Welcome back for Week no. 17! If you are just beginning a piece for the #BohoSAL, check out my previous posts here. And if you are new to embroidery and want to learn the basics, check out my embroidery book, Boho Embroidery for everything you need to get started!


My stitch along piece for the week is going to be stitched at a slightly rapider pace than I normally choose to work at for a project like this, but it is only because I am up against several deadlines. That doesn’t take away (too much!) from my enjoyment of a project, but you are going to see a quicker turnaround from start to finish on this hoop!

The fabric that I am using is by Cori Dantini, who has been one of my favorite artists for several years now. I have prints of her work (which you can buy in her etsy shop) and her fabric was what I used to make some of my very first hoops! You can see some of the projects that i’ve made here and here and here and my very first one here! I love to see the progression of my stitching!

Here is a picture of the fabric before I have stitched anything. I have had lots of requests that I show a complete before and after and i’m doing that with this one! So here she is along with several threads I plan on using: the mohair spools and sea grass are from The Thread Gatherer and the Eleganza Perle Cotton are from Sue Spargo.

After a day of stitching, here is what I have:


She needed some purple Mohair strands in her backstitched hair and I used the Sea grass in the flowers to the left of her and running through the blanket stitch along the border. I also added beads added a whip stitch alongside of the blanket stitch.


There are so many awesome hoops in the #Bohosal pool and I decided to share several of the close ups that i’ve been loving! But first, I had to share this one…

I’m pretty sure @codycindy wins the award for best Boho Stitch Along location! Maybe we need to make that be a thing! This is just beautiful and i’m always a fan of anything Alison Glass and bees! And seriously, that backdrop gets all the heart eyes from me!

How much fun is this piece from @judith_b_richardson …such intricate detailing on each lady! Check out her feed too for lots of fun bead/embroidery combos!


I just love the simplicity of a backstitch and @craftingwithoutkids shows just how beautiful it can be added as an outline on the leaf.

Ok, seriously?! @mamacesare is adding the tiniest of details to these little tiny squares and i’m just smitten with both the colors she chose and the details themselves!

Look at the beautiful detail in the center of this flower that @quilterathart has been adding. I just love the teal/brown/gold combo alongside the purples and pinks!

@swoodsonsay has been adding such little details to these butterflies and I think they are just too sweet!


In case you missed it, Abby Glassenberg of While She Naps had me as a guest on her podcast.  You can listen to the podcast here or on iTunes. And while you are at it, check her out on Instagram. We talked Boho Embroidery, Etsy, Instagram and lots of other great stuff!

Enjoy looking through the Stitch Along posts and i’ll see you back here next week!

Happy stitching!

Boho Stitch Along. Week no. 16

Welcome back for Week no. 16! If you are just beginning a piece for the #BohoSAL, check out my previous posts here. And if you are new to embroidery and want to learn the basics, check out my embroidery book, Boho Embroidery for everything you need to get started!


Well, the stomach bug has hit our house hard this week, which means I did a whole lot of cleaning and disinfecting and then some more cleaning and disinfecting and not as much stitching as I had hoped!!!

I did have wits enough to put together this Tula Pink piece that is slightly larger than I normally work with, though, and I am considering it my Boho Stitch Along piece for the week!

This citron color is from Tula Pink’s Prince Charming line, which might just be one of my  all-time favorites…I still have decent cuts of all of the color ways from this one! I also added elements from AcaciaBumble and Slow and Steady.

I found this lap embroidery hoop for a whopping $2.50 at the thrift store and picked it up even though I wasn’t sure if I would like using it. Let me tell you….I definitely like this hoop! For large pieces of embroidery, it is so handy to not have to hold the hoop while i’m stitching. I feel like I can stitch faster than if I were wrangling a large 14″ hoop while trying to stitch!


In non-Boho Stitch Along related posts, I want to tell you about a new (to me) thread that I have been using for the past week or so. Sulky sent me a few things to try out and these Cotton Petites were among the samples.

I am always game to try a new thread and I discovered that these threads work really great when I am adding beads to my embroidery. In the past, whenever I added beads, I just used sewing machine thread because I wanted something thin that wouldn’t take away from the embroidery. I would inevitably have to deal with tangles and it just never worked great. So when Sulky sent me this, a lightbulb went off and I was excited to use it with beads.

Each spool has about 50 yards and is the thickness of about 2 strands of floss, but you don’t have to separate it…you heard me right! You can use it directly from the spool!!! I love when I can use a thread that doesn’t need to be separated because it lets me stitch more and work less!!

I haven’t seen these in any craft stores that are local to me, but you can check them out at Sulky and they come in both solid and variegated (or bendable) colors.


Have a great week stitching!!

-nichole

Boho Stitch Along. Week no. 15

Welcome back for Week no. 15! If you are just beginning a piece for the #BohoSAL, check out my previous posts here. And if you are new to embroidery and want to learn the basics, check out my embroidery book, Boho Embroidery for everything you need to get started!


You may have noticed that I tend to jump around a lot with my #Bohosal piece!! It’s really just to keep you on your toes and not at all because I have too many ideas to contain to just one piece!!!
This week I started and finished a project. When I have lots of deadlines and projects going, I find it works best to introduce yet another project, just to really make my week tricky!

I like to move around the art on my walls fairly regularly, which means that I sometimes end up with pieces that just don’t work anymore. I had a canvas picture of a bike and I just couldn’t make it fit anymore. So I decided to pull a piece of fabric that I really liked and embroider that and then staple it over the canvas picture. This is one of my favorite ways to change up art!

I chose a print from the Shiny Objects collection by Flaurie and Finch. I’ve worked with their fabrics a lot in the past and love the details that are included in each of the fabrics. This collection has metallic bits sprinkled throughout, which is so much fun!

I began with a running stitch in several varieties of thread: Eleganza Perle cotton, Silk Thread and even some yarn. Next up I added beads to the running stitch. I finished up with satin stitching around the flower and a neon leaf or two to really make the flower pop off of the fabric.

I’m thrilled with how it turned out!

Next week i’ll share some of my favorite #BohoSAL posts from our ever-growing pool! How exciting to look through all of the pictures and see so many hoops in progress!

Have a great week and Happy Stitching!

-nichole