I have been working on a series of Boho Crazy Hoops, which are inspired by crazy quilts and incorporate loads of texture. Part of that texture is in the form of fabric yo-yos, which are addictively fun to make.
After posting pictures of these yo-yos, i’ve been asked a lot how to make them, so, without further ado, here are the super-simple-step-by-step-fabric-yo-yo instructions for you!

Supplies needed:
- Clover Round Yo-Yo Maker (for this sample, I have used the Large size)
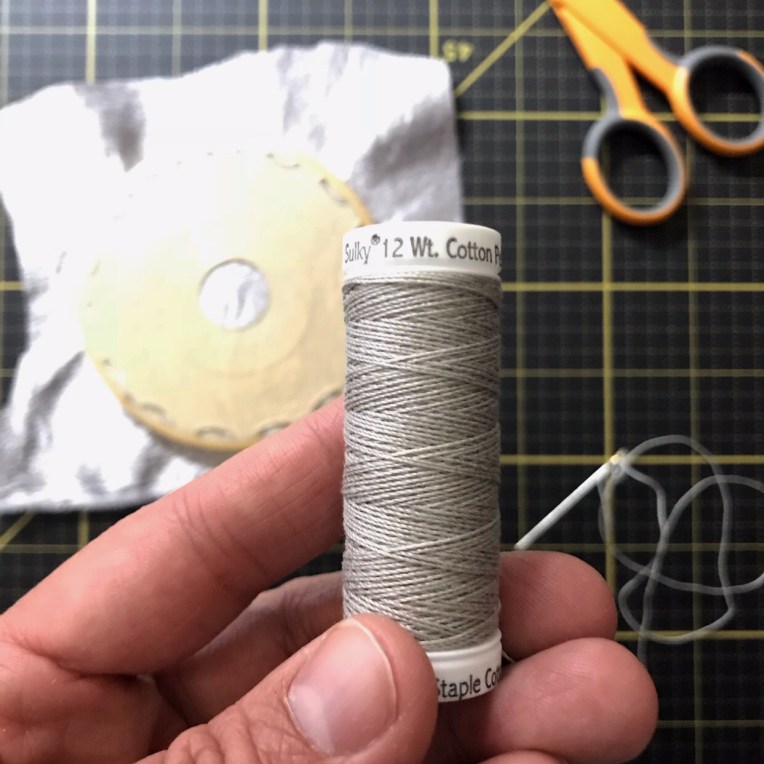
- Sulky 12 Wt Petites thread (or similar weight thread, this one is about the weight of 2 strands of embroidery floss)
- Scissors
- Needle
- Fabric (in this example, I used a shiny, slippery, metallic-y fabric…I suggest starting with something nice and simple like a cotton weight fabric!!)
Now that you have your supplies, you are ready to make some yo-yos!
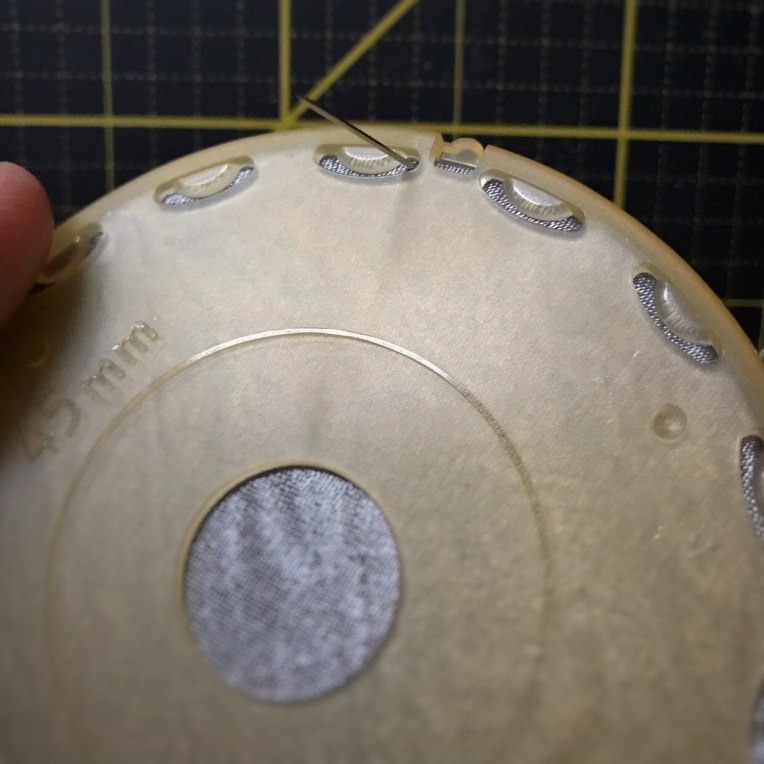
Separate the Clover yo-yo maker and sandwich the fabric in between the layers of the maker. You’ll notice on the directions that it tells you to line up these lines with the little notches on the other side. That is important!
This is the backside of the fabric and the backside of the yo-yo maker.
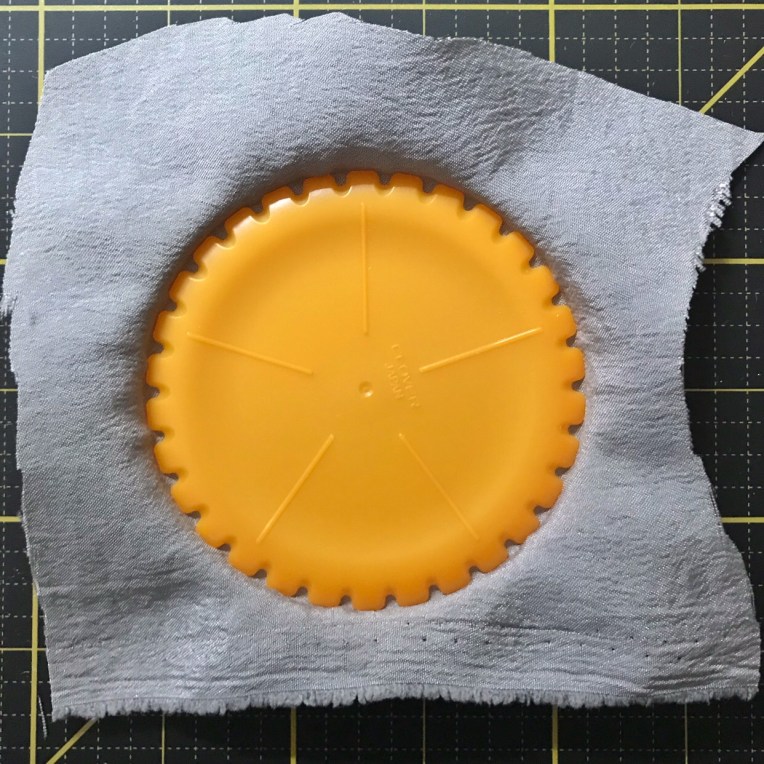
See the little notches around the outside edge? Those are what will line up with the lines on the other side of the disk. This is the front side of the maker and fabric and it is what you will be looking at while you stitch.

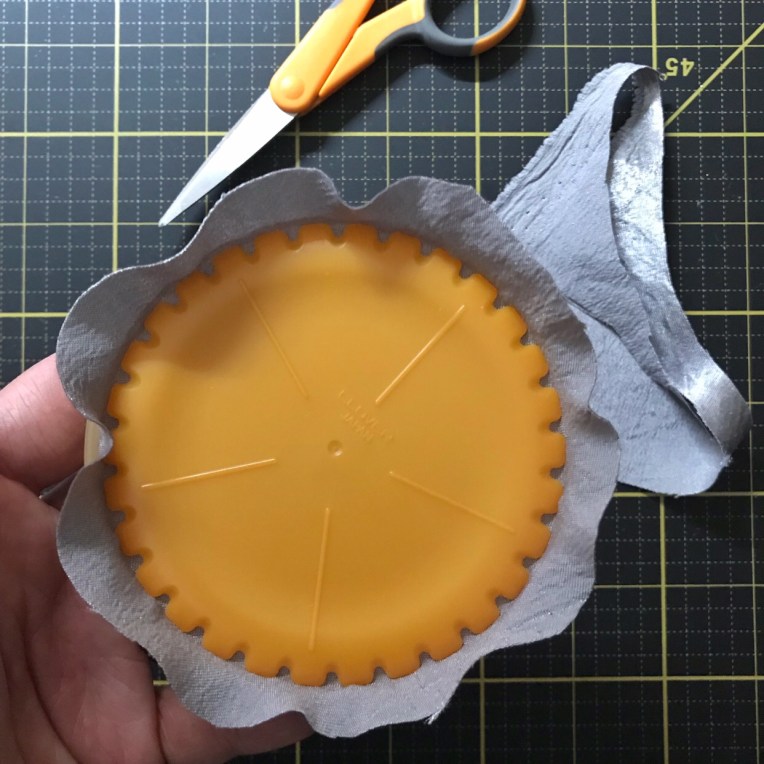
Trim your fabric, leaving about 1/2″ of fabric all the way around.
Here’s a close up of the thread. This is the thread that I use for all of my beadwork and yo-yo making! I love that it comes on a spool and that I don’t have to divide threads before stitching.
It’s time to get stitching!
Thread your needle and knot the end of your thread.
Bring your needle and thread up through the right side of a slot (it doesn’t matter which slot you start with) and then take the needle and thread down on left side of the slot)

Continue this all the way around until you have stitched in each slot. When you stitch your way around and you have arrived back at the first slot on the yo-yo maker, you are going to stitch that one again.

It’s time to take your fabric out of the yo-yo maker. Just pop the sections apart and gently pull your fabric off of the disk.

With your needle and thread still attached, you are going to pull the fabric tight and you’ll see that it starts to bunch up. Continue doing this until you have a lovely little yo-yo shape.
You will need to adjust the fabric yo-yo until it looks symmetrical all the way around.

When it looks good to you, tie off your stitch. I like to make a small stitch and knot it, just to make sure the yo-yo is secure and won’t come apart. Trim your thread and you have made your first yo-yo!

Wasn’t that fun?! Now picture making these to coordinate with fabrics that you are embroidering!

