This crazy school year has ended and we are finally getting into our summer groove. After a year of virtual school (with some really amazing teachers!), the kids and are I ready to step away from scheduled zoom meetings and computers and just have some fun creating at our own pace.
Perler Beads are always my go-to craft because they never get old, we never outgrow crafting with them, and they are an easy activity to just jump into. Don’t get me wrong, there are times when I’m ready to try a new craft and expand our overflowing craft supply stash (can you ever have enough crafting supplies?!), but sometimes my summer brain just needs something easy and comfortable!
My boys usually have their own ideas for projects, which leaves me to play around with my own ideas. As a fiber artist who embroiders on printed fabric, I always have scraps of fabric that I can’t part with. I decided to pick one of those scraps to use as a base for my Perler Bead project.
Now, a small disclaimer before I show you what I created from my fabric and beads…a project like this is just for fun and not something that I would sell. Always be aware of copyrighted designs and do not sell projects that are direct copies of a fabric designed by an artist. I like to turn my projects into magnets to give as gifts or to put on our refrigerator!
So here we go!
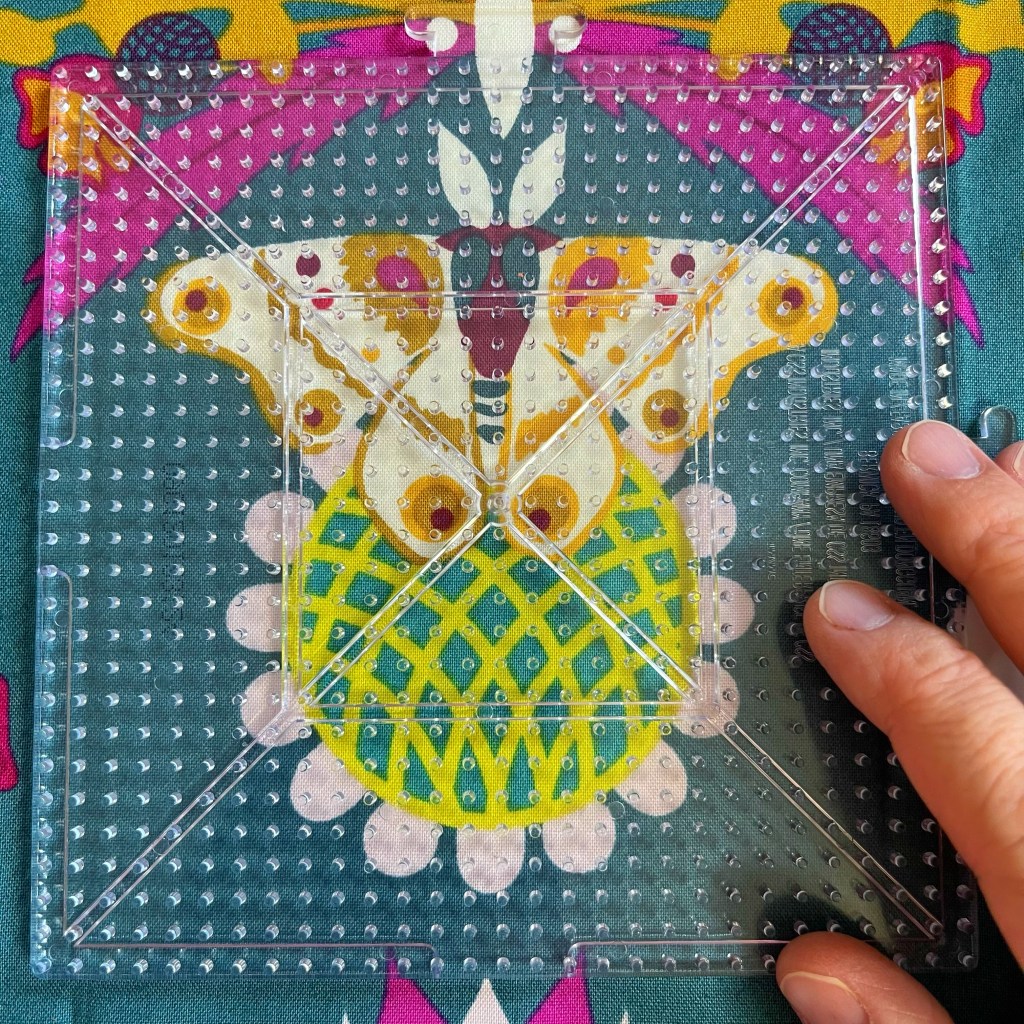
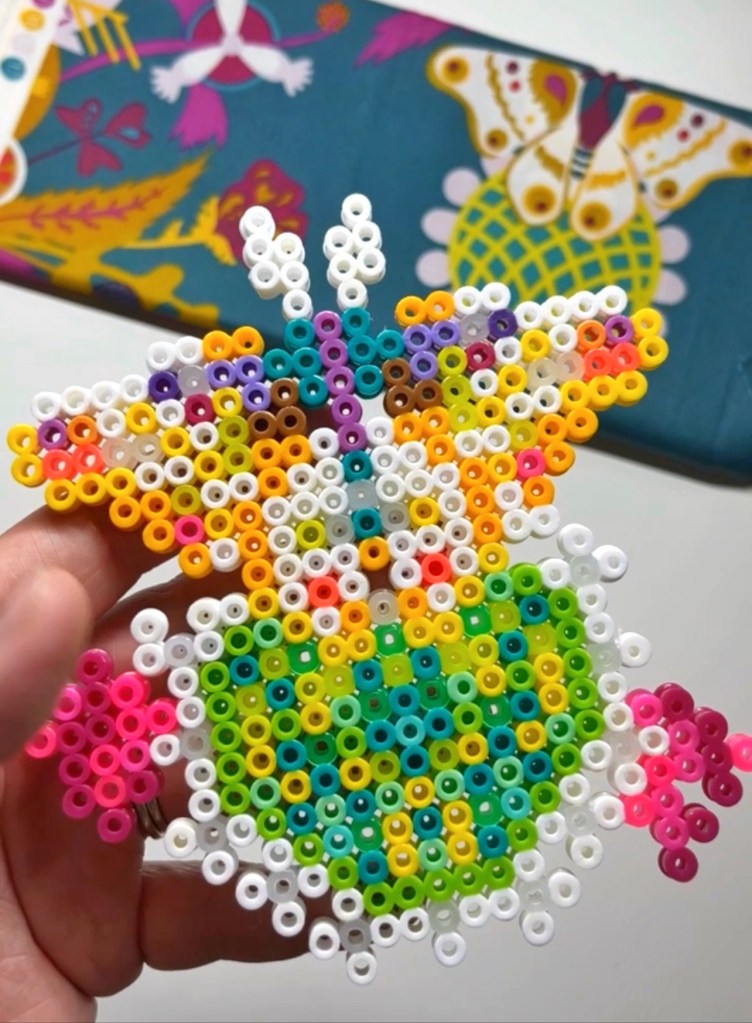
I chose a fabric designed by Alison Glass for Andover Fabrics. I love Alison’s colorful, floral-inspired designs! When choosing your fabric, look for a larger print that can translate well into a Perler Bead pattern. Remember that it will not look exactly like the fabric…it is a jumping off point for a fun beaded pattern.
Once you select your fabric, iron it to get any wrinkles out. I love to use my Oliso Mini Project Iron for Perler Bead projects because it is small enough to keep by my side as I craft.

Place a clear Perler pegboard on top of the fabric design, or multiple pegboards if you are creating a larger project.
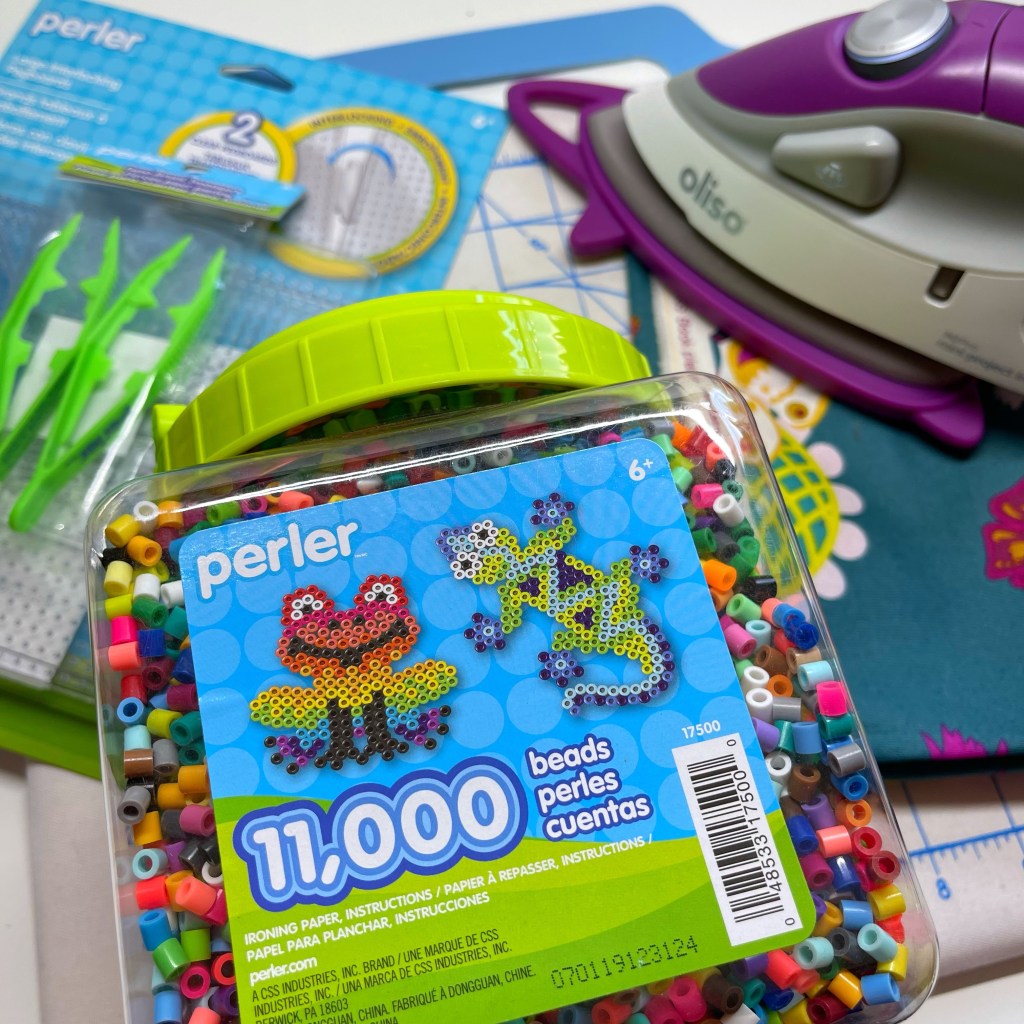
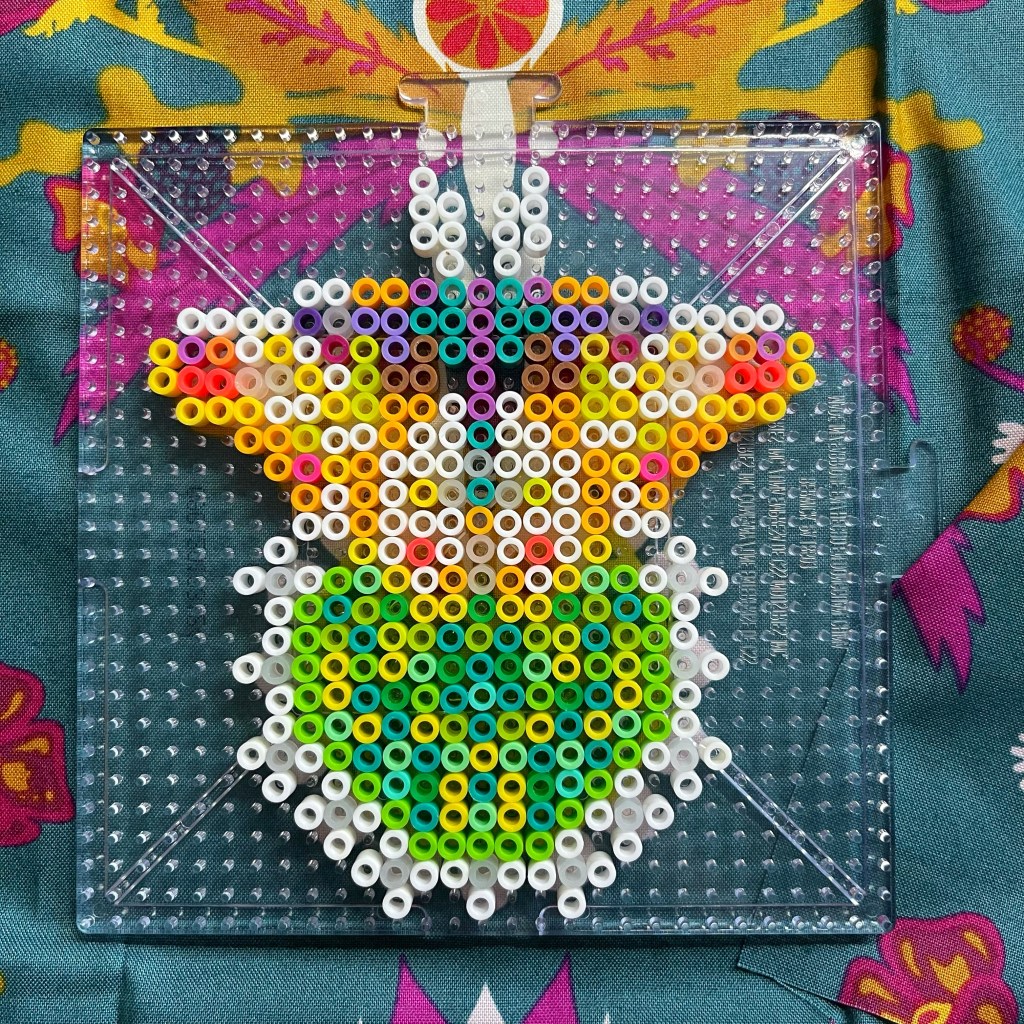
Once you have decided on the placement of the pegboard, it’s time to start beading! I like the variety bucket of beads so that I have lots of colors on hand! Follow the fabric design to choose your bead colors and feel free to change colors as you go…that’s the fun of a project like this! Your finished design does not need to look like the design you started following.
Remember that because you are not using a pattern designed to be used with Perler Beads, you may have to make small changes to make the design work for beads. But this is a project for you to have fun with, so don’t feel pressured to get the design exact!
When you are finished with the Perler Beads, place the wax paper on top of the design and slowly iron it into place. I like to place a small ironing board under my Perler Bead board so that I protect my workspace. Continue ironing until the beads have melted. Be sure to follow the Perler Bead instructions for ironing the beads!

Let your project cool. I always place my project on a flat surface and place a stack of books on top of it so that it cools and flattens at the same time. Once cool, add a magnet to the back and start your next project!
If you’re looking for another fun project that includes both kids and Perler Beads, check out this fun Mixed-Media Sunshine project that I created a step-by-step tutorial for!

And, as always, if you create a project from this idea, be sure to tag me on social media so that I can see what you created!
Happy beading!
