Last week I began the Boho Stitch Along project that I’m going to take you through step by step so that you can see what is involved in an embroidery project using one piece of fabric. My hope is that you can see how simple this is and you will feel inspired to start your own project!
My first step, which I outlined last week, was to cut out the words “Magpie Dreams” with my Cricut Maker and adhere them to the fabric. The Dritz Spray Adhesive that I use works great for the first part of getting the letters to stick to the fabric, but that method is not a permanent way of adhering the letters. I planned to embroider the letters and whenever I adhere something with a spray, I make sure that I embroider that part first so that it does not begin to peel away from the fabric as I move the hoop around and embroider other sections.
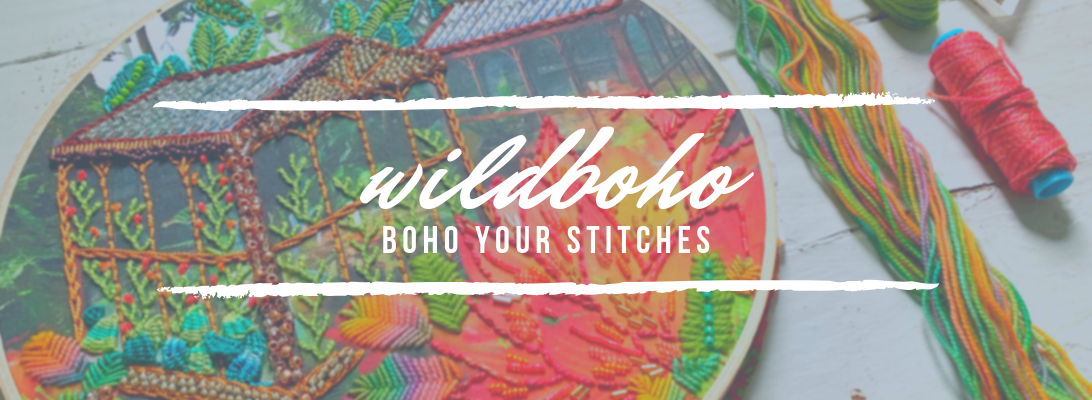
I love the stem stitch for working with curves and adding beads. You can see a close up of my bead work. In some areas I added a bead to every stitch and in other areas I added it to every other stitch. And in some areas I just embroidered with thread. I hadn’t planned on the look that I was going for before I began stitching. I just started adding beads to the stitches to see what I liked!

The hoop that I am working with is 14″ and with a large hoop like this it can be tricky to hold the hoop while also embroidering. Add beads into the mix and you’ll feel like you need an extra pair of hands in no time!
I have typically managed to prop my hoop up on a pillow or a small table but it’s becoming increasingly cumbersome and so I was looking for something that could be my extra pair of hands!
I decided on this Universal Craft Stand after reading lots of reviews. Does anyone else get sucked into amazon reviews like I do?!
Let me just say…this stand is amazing. Seriously. It has a clamp to hold your work, so you are not tied to a fixed hoop size. The clamp is adjustable so I can also use it with my square frames that are thicker. And each section is adjustable, so there are lots of ways to adjust it to make it fit how you need to work!

(This is not an affiliate link…I just really like this stand and want to share it with you!)
So this week i’m going to finish up those words and hopefully start on either the birds or the feathers next week.

Love your work and I’m excited to see you work through this piece. I just have one question (it’s probably a dumb one) about the stand…when you have your hoop in the stand how do you flip it over to tie off your work?
LikeLiked by 1 person
That’s a great question! I leave the top adjustor screw a little loose so that I can flip it up and down as I need to get to the bottom of my work….it’s working pretty ok so far!!!
LikeLike