School just wrapped up here and so it finally feels like we have a summer stretching before us! Yes, I know how fast it will fly by, but let me just pretend that it is an endless amount of time!!!
I’m adding lots to my own summer to-do list, and one of those to-dos is to keep bringing you a brand new stitch tutorial every Sunday! As a stitcher who sometimes even references her own stitching videos (yes, I really do!!), I appreciate a clear and concise stitch tutorial and so that is what I am creating for you!
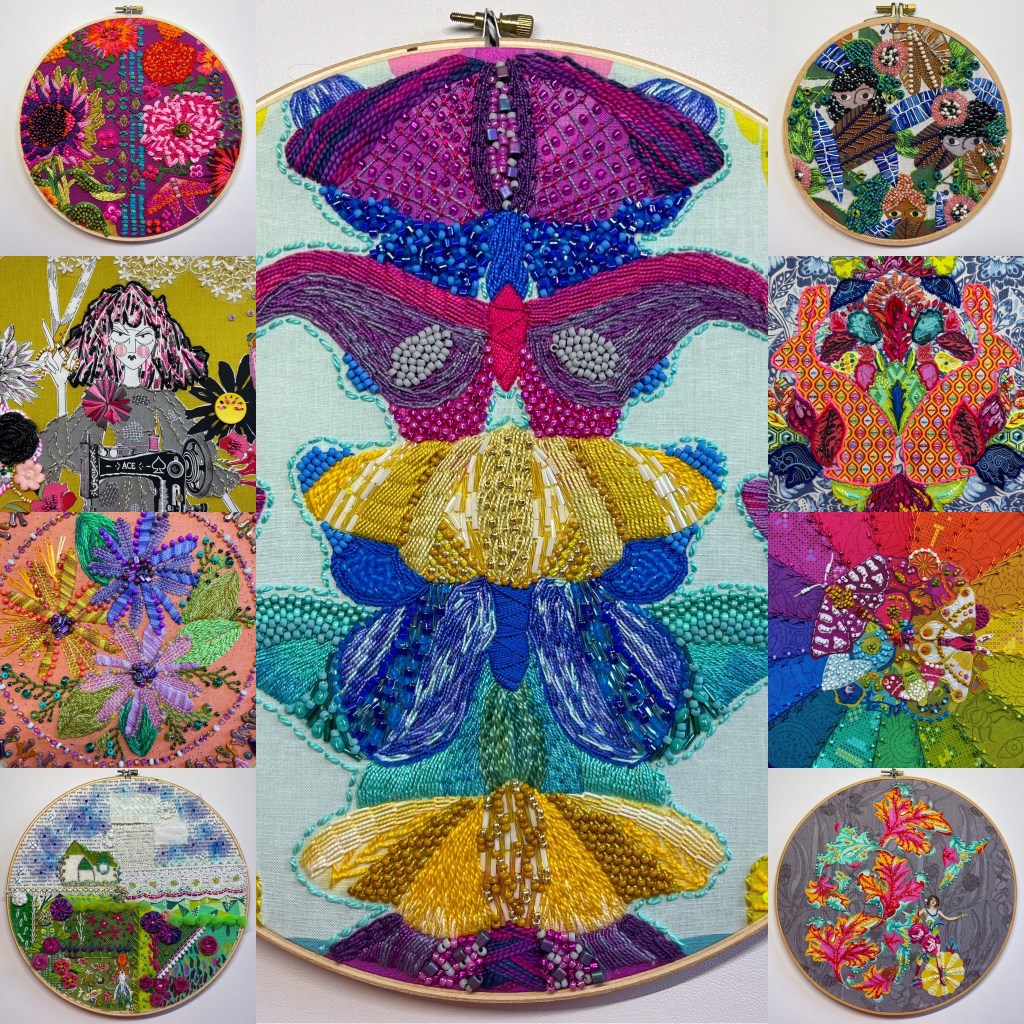
Most recently, I have shared the Chain Stitch, the Woven Cross Stitch (one of my favorites!), the Oyster Stitch (a great alternative to a single or double Lazy Daisy), the Feather Stitch and the Stem Stitch. Be sure to check them out and let me know if there is a stitch you’d like me to add a tutorial for!
Here is the complete stitch playlist!
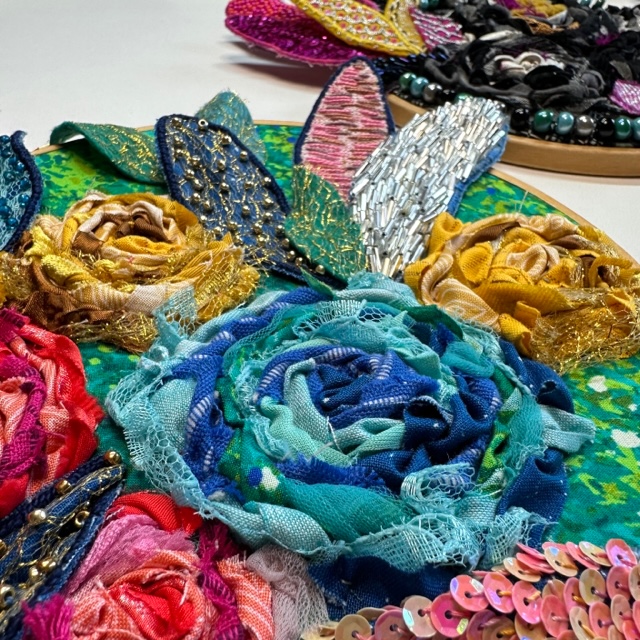
And if you want something a little more focused for your summer project, be sure to check out my latest workshop, available for purchase just this month! Once you purchase Floral Stumpwork Embroidery, you will have unlimited access (that does not expire!) to the class so you can start at any time and take as long as you need to complete your project!
Here is a preview to check it out: Floral Stumpwork Embroidery Workshop. And here is the link with all of the additional information: Online Workshop with Nichole Vogelsinger.

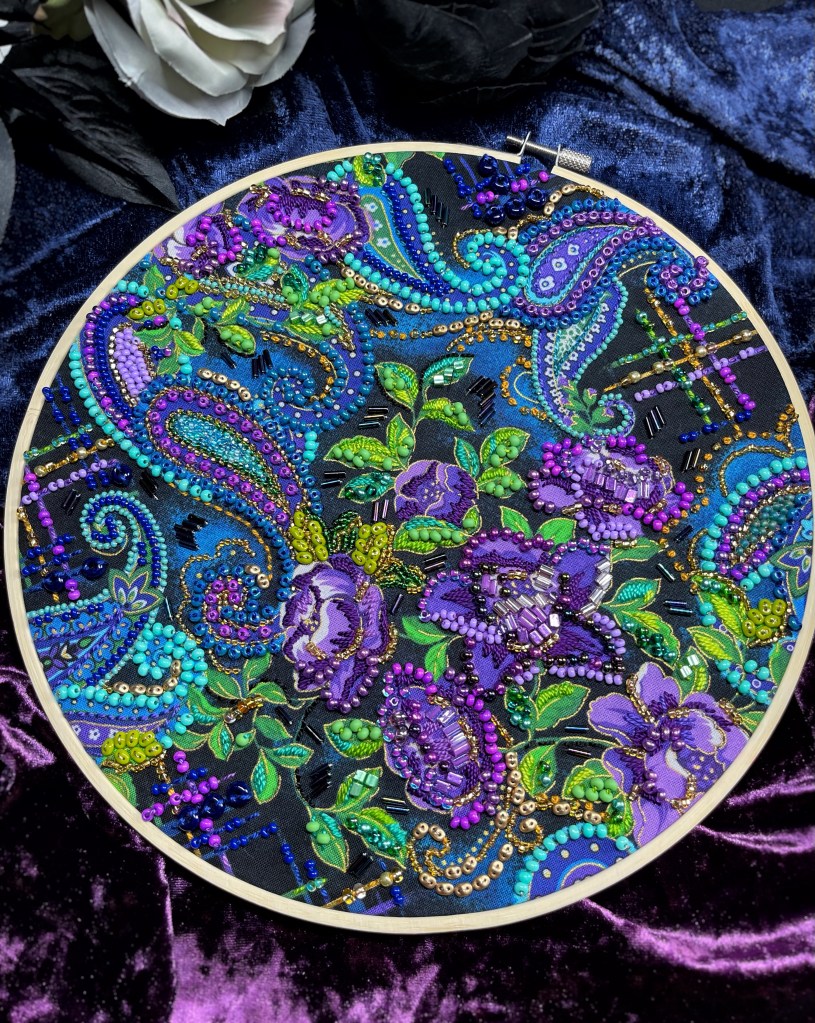
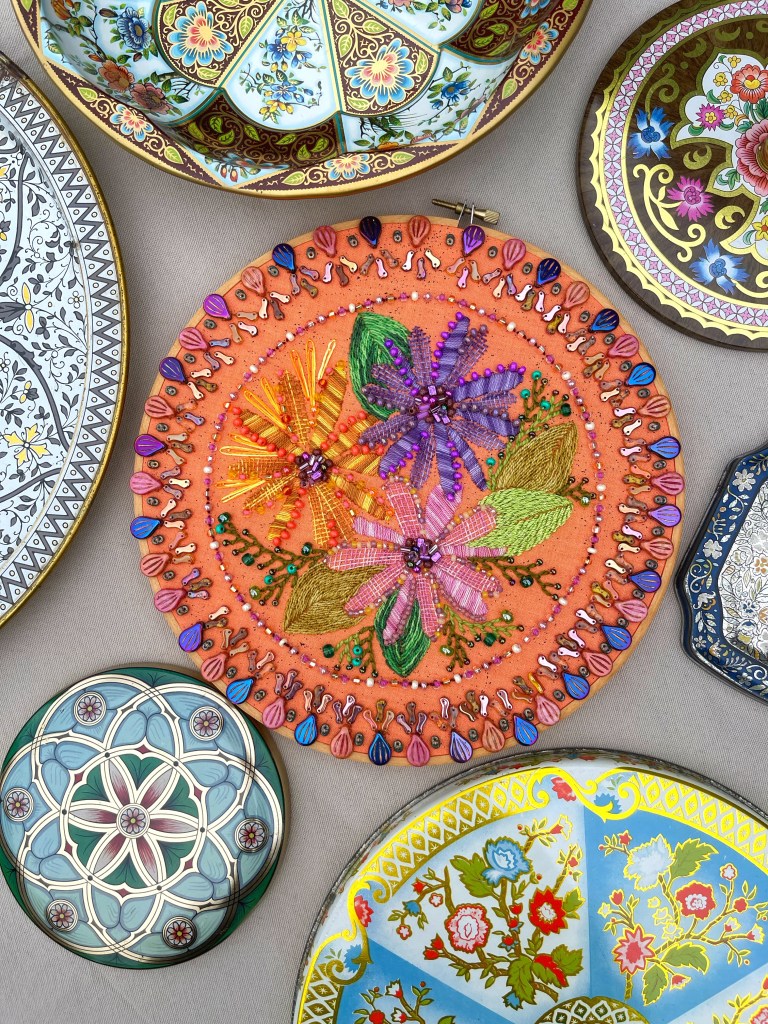
And here is another (smaller!!) sample of what you can create with this class, which is great for all levels of embroiderers!

Happy stitching to all of you and thanks always for your support!
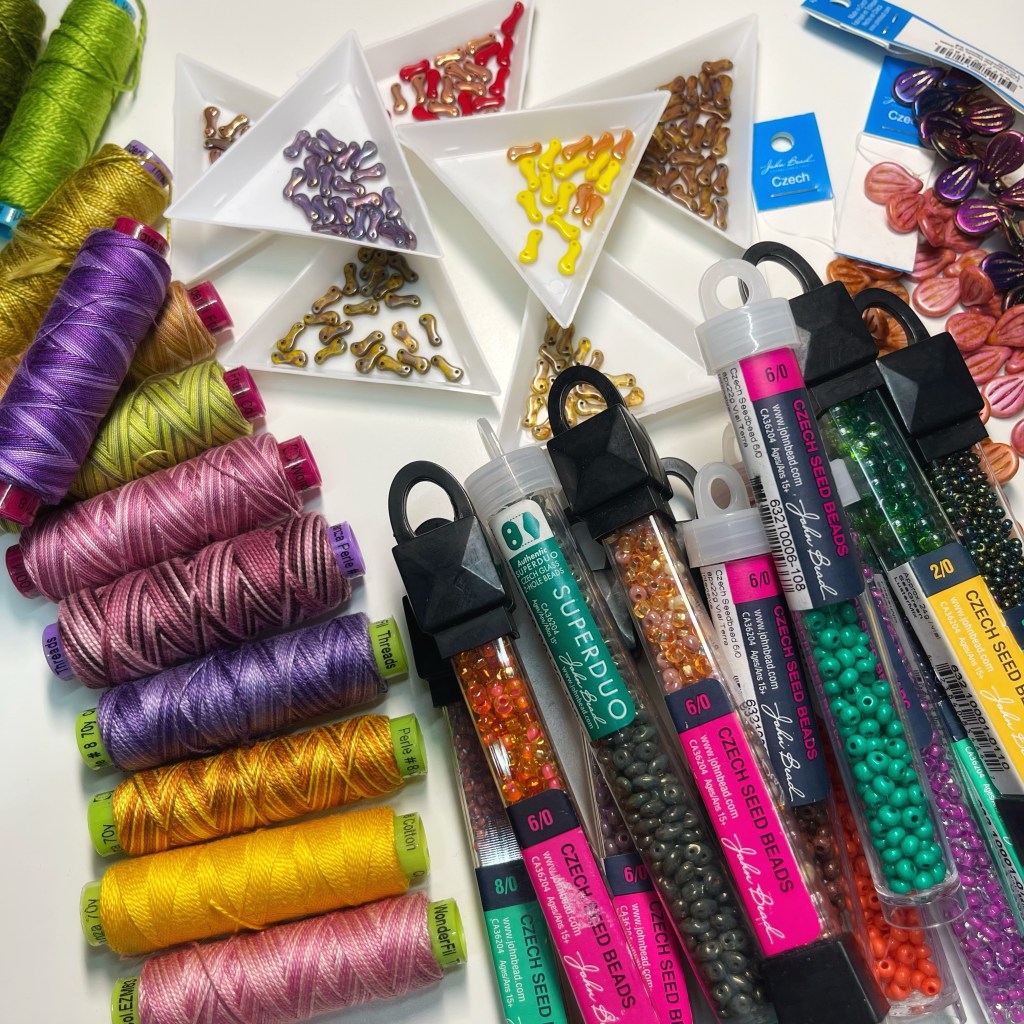
Now get those needles out and lets get stitching!
xx Nichole